Introduction
In this post, you are going to learn what Docker is and how it can help you not only to keep your developing environment organized but also portable to any machine irrespective of the operating system. This is the first part of the series. Read on!
What is Docker?
Docker is a computer program that performs operating-system-level virtualization, also known as “containerization”.[6] It was first released in 2013 and is developed by Docker, Inc.[7]
Wikipedia
History
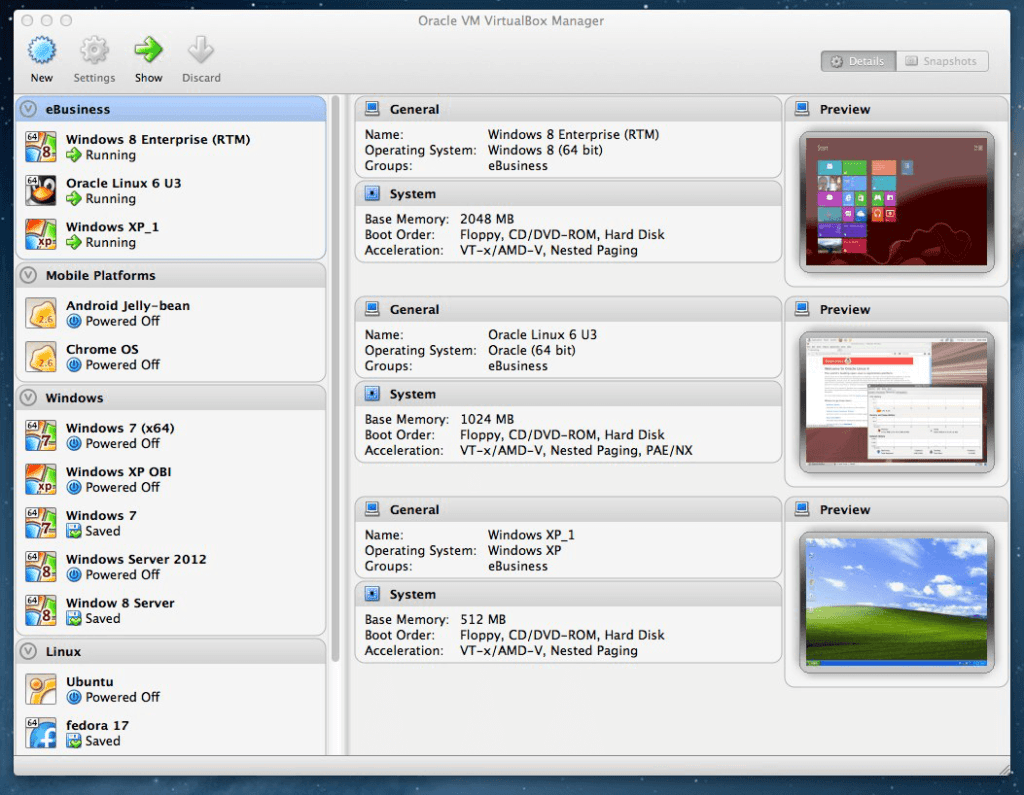
Docker is not the first such attempt. Earlier we saw attempts like VMWare and Oracle’s VirtualBox were made. I remember when I was working for a company in 2007, I had to manage different copies of VMWare containing IBM Websphere and FileNet that was minimum in 60GM in size. You also needed a machine with a good resource ( ~ 4GB of RAM at that time) to run it smoothly. It was very tedious, nevertheless, because you were importing an entire operating system and it’s resources in your host machine (the machine that runs VMWare itself). After a few years, Vagrant came into the market. Vagrant improved the portability and flexibility in a way that it provided a wrapper around existing VirtualBox, called Vagrant Box and let the developers log into it via terminal instead of going via GUI route. Still, it was not helping much in portability. It did solve the problem of isolating the development environment though but at the cost of using too many resources. Things were working like that and then the Docker was born.
Docker solved a few main problems:
- Implementing virtualization with the help of Linux Containers which made it very lightweight and less resource hungry.
- Providing a mechanism of deploying entire containers as it is on remote machine thus killed the infamous developers’ excuse: But it works on my machine! by letting deploy the entire system(DB connections, servers, libs etc as it as they were working on a developers machine).
- Since containers are isolated environments, it then allows developers to use the latest versions of existing software and even the software that are not compatible with their own host operating system. For instance, a developer on his Windows machine can run servers inside a Docker container that are only available for Windows.
- Mimic a scaleable scenario on a developer by running multiple containers for a server.
- Implement and test a micro-services architecture on a single machine without getting worried about resources.
- Creating a Workflow for a seamless deployment.
And probably many more!
Docker Architecture and its working
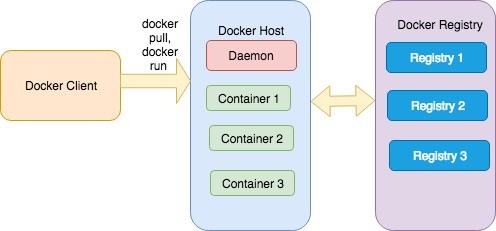
The entire docker environment is based on client-server architecture. The docker client, which runs on your machine, interacts with docker daemon, called, dockerd and performs operations. It is not necessary that both docker client and daemon reside on the same machine. The docker client could interact with a remote daemon as well. The image depicts the entire system flow.
Images
An image is a template that consists of instructions on how a container should be created. Think of it a recipe that consists of instructions that how to use ingredients to make a dish. Every image is based on a base image which usually belongs to an operating system. For instance, you download a Java image which itself could be based on a ubuntuDockerfile that contains a set of instructions to make an image. Suppose you are a technical lead in your company and response to provide a development environment for juniors or each new hiring. The ancient and traditional way is that you ask network guy or the new employ to install certain Dockerfile and put everything the developer should have for a kickstart. What all is required for him to build an image and make everything up and running in a few mins.
Containers
A container is the running instance of the image. Think of it as a dish prepared with the help of a recipe. So whatever you put in your Dockerfile, you see the output of it in your container. The idea of a container was taken from shipping containers which contain different goods and are move as it as from one place to other. An app within a docker container follow the similar approach and make a developer’s life easier.
Registry
Docker registries are actually repositories which store images. You can have a public registry like Docker Hub or private registry pertaining images related to your organization. When you execute docker commands like run, pull build
Installation
Docker is available for Windows, Linux, and Mac which you can download from here. I am on Mac so have no choice other than using the OSX version for this tutorial but I am pretty much sure it is akin to the Windows one. Once installed, go to the terminal or Shell and run the following command:
docker version
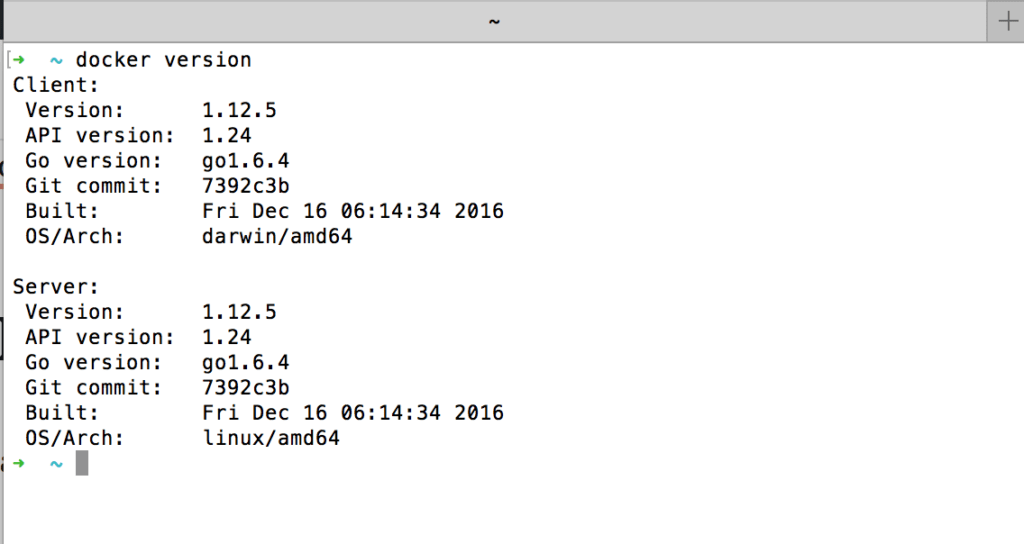
You will see a different version as you can see mine one is pretty old and can’t upgrade due to my OSX limitations. Regardless of that, if you can see something similar it means all is well. Shall we move on? Good! read on.
The object is to setup a development environment related to PHP and MySQL so that you can create php based web apps. You are willing to use the latest version of PHP and MySQL. For this tutorial I will go for PHP 7.3.x and MySQL8. You want to keep your code on Github so for that you must have Git installed.
Creating Dockerfile file
I already brief above what DockerfileDockerPHPTutorial and inside that create a subfolder with srcDockerfile
.
├── Dockerfile
└── src
└── index.php
Now it’s time to start finding our required PHP image. For that, I will head to Docker Hub website and search PHP. I will go with the Official Image.
If you scroll down a bit you will find a heading Supported tags and respective Dockerfile links where you can find your required image. I will go with 7.3-apache (Ctrl+F for search) because besides PHP I need to have Apache web server installed as well. After all, I have to run websites! If you click on the link of it, you will find it another Dockerfile. I discussed above that images could be developed with a base image. If you visit the Dockerfile of it you will find that the image itself was developed from Debian Stretch, how did I find it? FROM debian:stretch-slim
So, the first line DockerfileFROM php:7.3-apachedocker pulldocker pull php it then pulls the image having :latest
FROM php:7.3-apache
COPY src/ /var/www/html/
EXPOSE 80
The second line is used to copy data from srcfolder. /var/www/htmlEXPOSE
docker build -t php_img . right docker build-tDockerfile.
Alright, once build, you can verify it by running the command docker images in the terminal.

Notice the column REPOSITORY and TAG, you can see php_img under REPOSITORY section and latest under TAG section. Docker recommends you to set name in name:tag format. So when you run the build command like docker build -t tut:php_img . then it will then show like below:

Now tut is under REPOSITORY and php_img under TAG section. When you don’t mention under Repo
It’s build but not running. This is similar to compile a program. When you build, it’s just create a binary but not executing it. You gotta run it. Same is here. You only have BUILT an image, You still have to run it, for this you have to run docker runcommand.
docker run -p 80:80 tut:php_imgAnd when I run it, I get this!
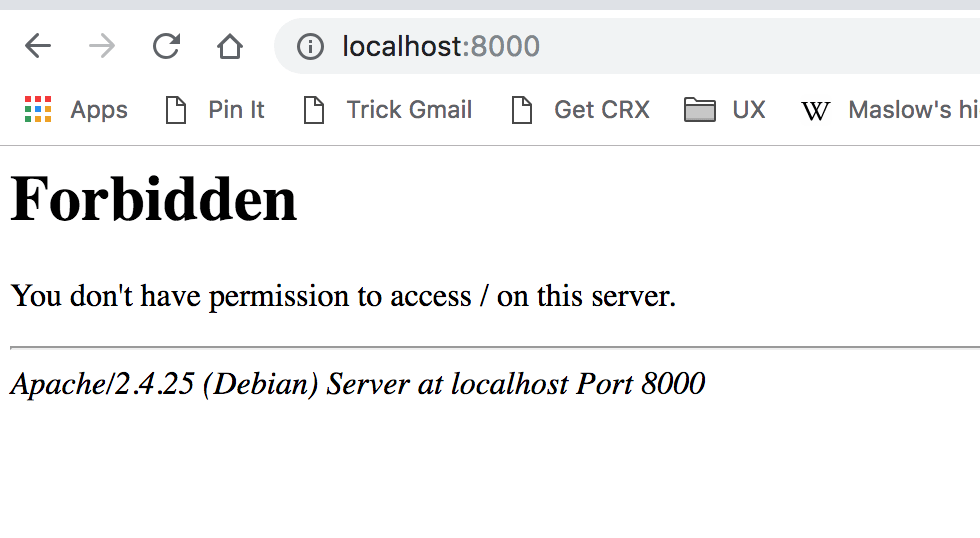
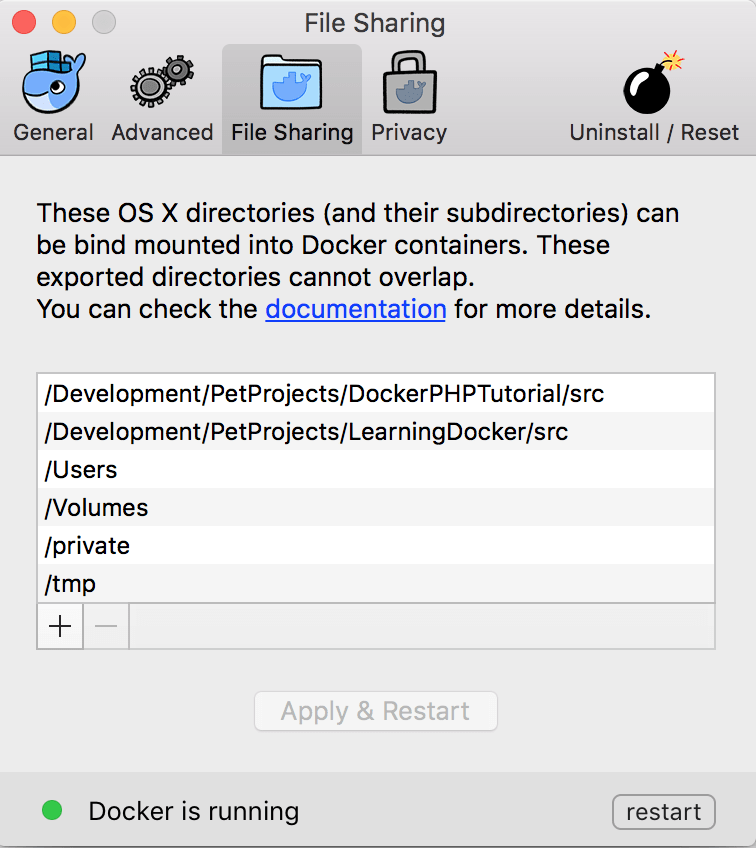
Ouch! what happened! Looks like file permission issue. Turns out that the image volume is not mapped with our host machine path. If you are on OSX and probably windows too, Docker is allowed to mount a few selective folders only. Click on Docker Icon, go to preference > File Sharing and add the absolute path of the folder where your app files will reside:
You also have to make changes in your docker run command:
docker run -p 8000:80 -v /Development/PetProjects/DockerPHPTutorial/src:/var/www/html/ tut:php_img
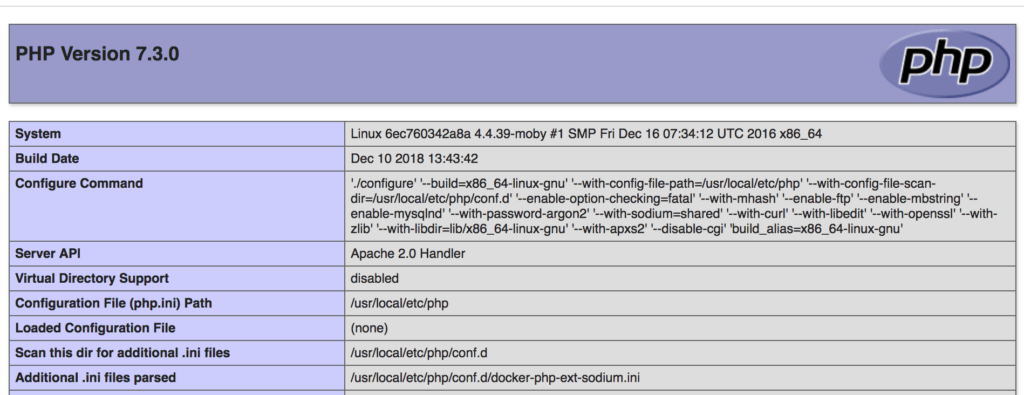
So first the volume was mounted and then -vindex.phpsrc/phpinfo()
Conclusion
In this docker-compose.yml
Read the second part Create your first PHP/MySQL application in docker