In the first
Docker Compose
In the last post you learned how to install the docker itself and create a Dockerfile. Using command line based tools like docker build and docker run could be tedious in real-world scenarios where you have to run multiple containers.
You can consider Compose a batch file that contains a set of instructions, commands to perform operation.
Just like you create a Dockerfile to define how your image docker-compose.ymlrundocker build commands. Without further ado, let’s start creating docker-compose.yml
You can check the docker compose version by running the command docker-compose --version on command line. Mine output is docker-compose version 1.23.1, build b02f1306.
Let’s create a simple docker compose file that will be doing the same thing that we did in the previous post.
version: '2'
services:
  website:
    container_name: php72
    image: tut:php_img
    build:
      context: ./
    volumes:
      - /Development/PetProjects/DockerPHPTutorial/src:/var/www/html/
    ports:
      - 8000:80
The very first line is about the version of docker compose itself. Right now version 3 is available but since I have an old installation so I stick with it. serviceswebsitewebsitecontainer_nameimagedocker runbuildcontextDockerfile
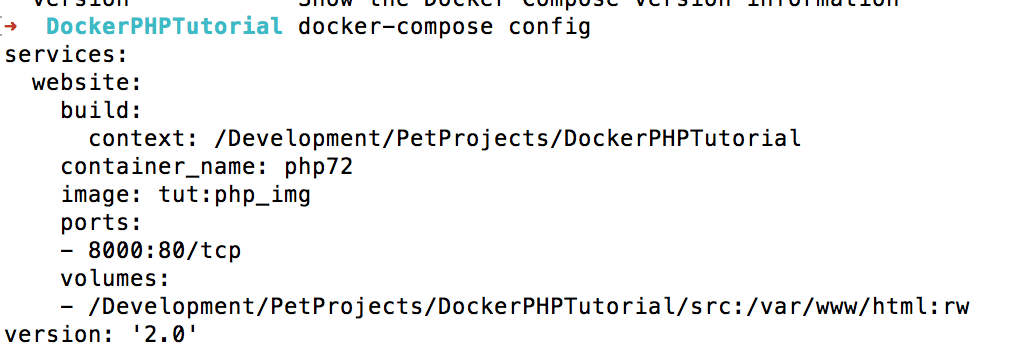
OK, the file is ready, before you actually execute it, let’s check whether all is well in it. For that you will run docker-compose config
Worked well, now it’s time to execute the docker-compose up command to build and create the images(If they don’t exist already) and create containers.
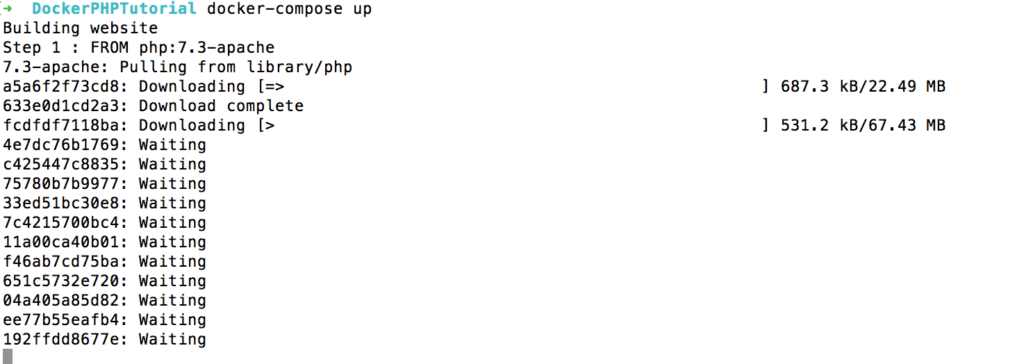
It will take a while if the required image does not exist. Again, same console output will be seen. Docker compose is not doing something different, as I told earlier.
Now, I am going to install MySQL. I am going to use MySQL v8. The docker-compose.yml will now look like this:
version: '2'
services:
  mysql:
        image: mysql:8.0
        container_name: mysql-server-80
        command: --default-authentication-plugin=mysql_native_password
#        working_dir: /application
        volumes:
          - .:/application
        restart: always
        environment:
          - MYSQL_ROOT_PASSWORD=.sweetpwd.
          - MYSQL_DATABASE=my_db
          - MYSQL_USER=db_user
          - MYSQL_PASSWORD=.mypwd
        ports:
          - "8082:3306"
  website:
    container_name: php72
    build:
      context: ./
    volumes:
      - /Development/PetProjects/DockerPHPTutorial/src:/var/www/html
    ports:
      - 8000:80
    depends_on:
      - mysql
Here you see that envrionmentsection contains parameters related to connecting with MYSQL_USERMYSQL_PASSWORD33068082restart:alwaysdepends_onwebsitesection. It means that in order to run this service (PHP), MySQL service must be up.
I am also going to make changes in Dockerfile
FROM php:7.3-apache
#Install git
RUN apt-get update \
    && apt-get install -y git
RUN docker-php-ext-install pdo pdo_mysql mysqli
RUN a2enmod rewrite
#Install Composer
RUN php -r "copy('https://getcomposer.org/installer', 'composer-setup.php');"
RUN php composer-setup.php --install-dir=. --filename=composer
RUN mv composer /usr/local/bin/
COPY src/ /var/www/html/
EXPOSE 80
You will need Git to be installed. Also I want to have an updated box. To run the commands inside the container you use RUNcommand which sole purpose to execute commands within a container.
I also want to have PHP extensions installed for MySQL , docker provides docker-php-ext-install command to install PHP extensions.
PHP Composer is the famous package manager, modern PHP environment must have it installed on your machine.
We have made changes in the Dockerfilewhich will not reflect unless we re-build the everything. All you have to do is to append --build switch in docker-compose up command:
docker-compose up --build
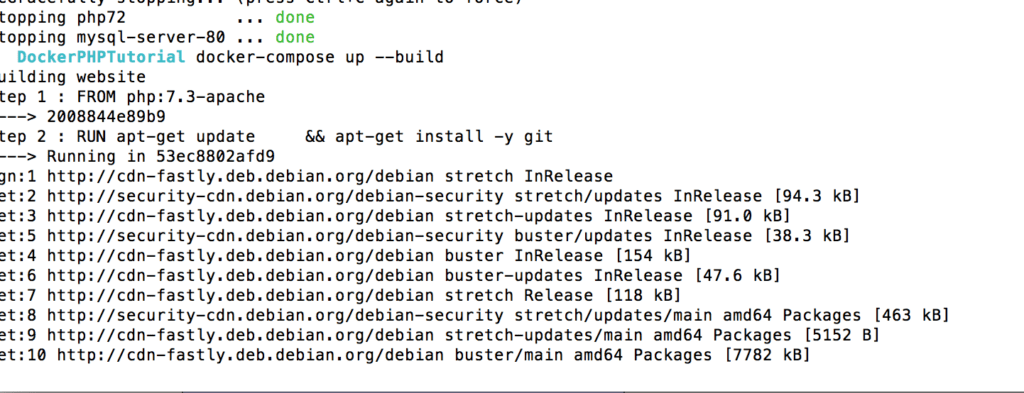
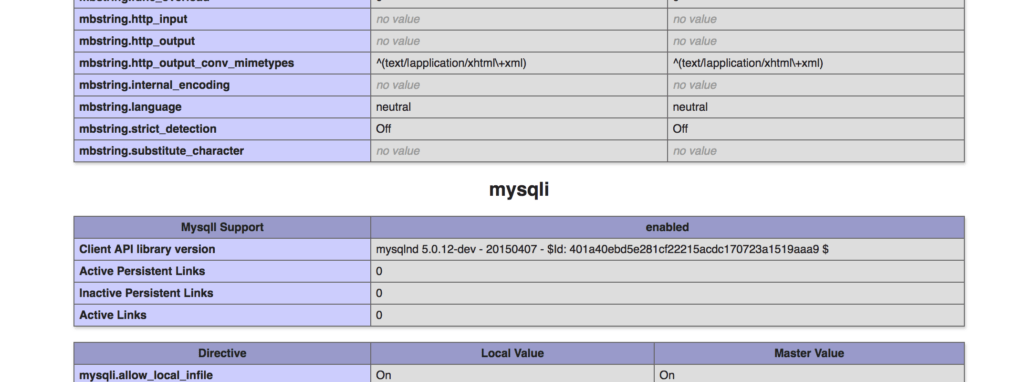
As you can everything is being updated and installed. Do remember that if you don’t add the --build switch then docker-compose will access the already downloaded images and their configuration. You can verify mysqli extension is installed by visiting the page
OK fine, but how’d you check whether git is installed or mysql is running. Is there a way to SSH a docker container? Yes there is one.
Interacting with Docker containers
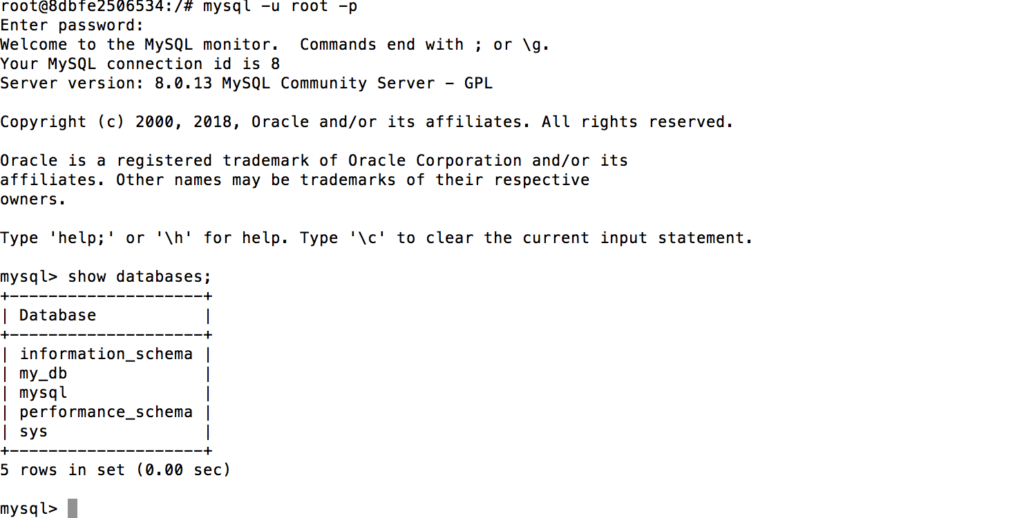
Docker let you run a command inside a container with the help of docker exec command. For instance I want to logon to MySQL, how’d I do it? First you must know MySQL image name, for that run docker ps -a on terminal. If you remember we set the name of the container as mysql-server-80, so the command will look like:
docker exec -it mysql-server-80 bash -l
-it means an interactive terminal and we are going to use Bash shell here. Once logged in you should see something like below:
➜  DockerPHPTutorial docker exec -it mysql-server-80  bash -l
mesg: ttyname failed: Success
root@8dbfe2506534:/#
You can run ls command or any other command here. If everything is fine, the screen below should welcome you:
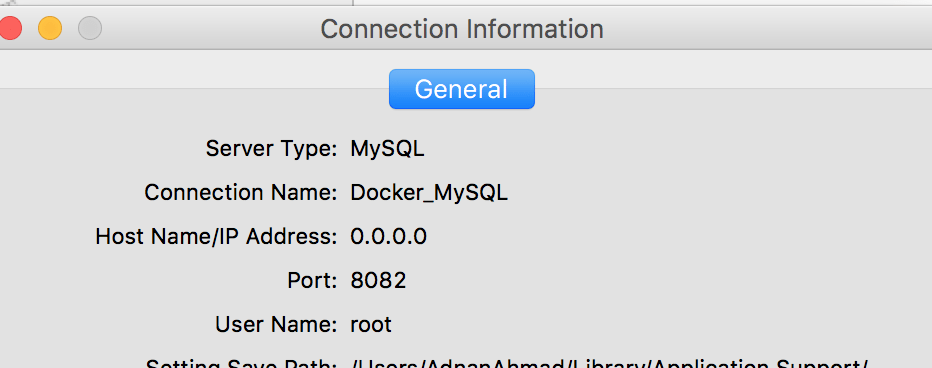
This is fine but how’d I interact MySQL outside of docker. What if I want to connect my favorite MySQL client with the MySQL server inside the container. Docker let you to do it with the help of port forwarding.
First run docker ps -a, find your container id, usually the very first column and then run the command like docker port 8dbfe2506534 where 8dbfe2506534 is my container id. Even if you just do a docker ps -a you can see how a port is being forwarded and on which IP. In this case it is 0.0.0.0:8082->3306/tcp so all I have to open Navicat MySQL client and 0.0.0.0 as a host and 8082 as a MySQL IP, that’s it.
Everything is set up. All is required to start coding.
Interaction between docker containers
So far you saw how docker can communicate with an outside world but what if containers have to interact with each other?
One way is to connect via an internal IP. You can find it by running docker inspect <container_id> command where container_id is the ID of MySQL container. A readable way is to just use the service name, in this case it is mysql which was mentioned in docker-compose.yml file.
So the index.php will now look like:
<?php
$conn = new mysqli("mysql", "root", ".sweetpwd.", "my_db");
// Check connection
if ($conn->connect_error) {
die("Connection failed: " . $conn->connect_error);
}
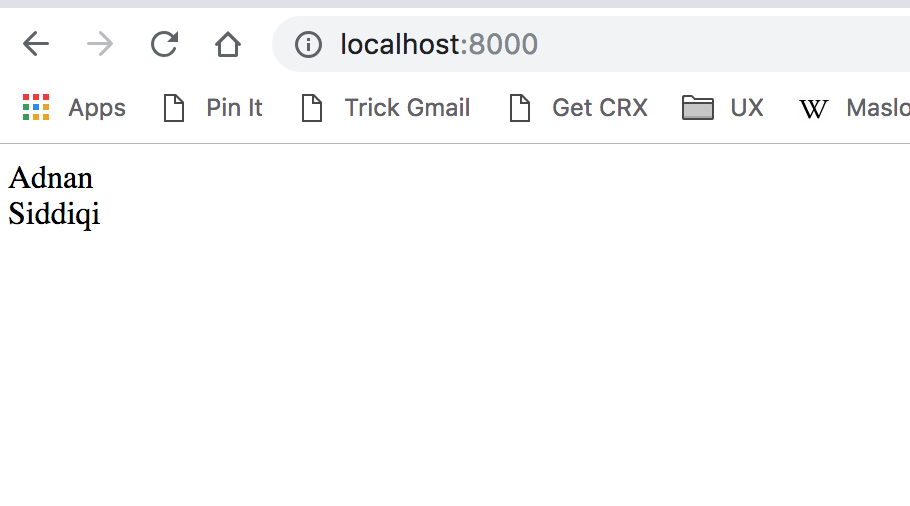
$sql = "SELECT name FROM users";
$result = $conn->query($sql);
if ($result->num_rows > 0) {
// output data of each row
while($row = $result->fetch_assoc()) {
echo $row['name']."<br>";
}
} else {
echo "0 results";
}
$conn->close();And as expected it printed the records from the table.
You can run docker-compose down command to bring everything gracefully down.
To delete all containers run the command docker rm $(docker ps -a -q)
To delete all images run the command docker rmi $(docker images -q)
I highly encourage you to go thru the documentation of both docker and docker-compose commands for other options.
Conclusion
So you learned how easily you can
This docker series was not possible without the guidance and help of PythonDev Slackers’s DevOps team. A big shout-out to Jim Kelly, Bala and Michael.