I recently started playing with OpenCV, an open-source Computer Vision library for image processing. Luckily there are Python bindings available. More luck that the guys like Adrian has done a great service by releasing both book and blog on a similar topic.
I have also made a demo which can see below.
Conclusion
So this was a basic image processing tutorial in OpenCV. It is not a mature product as it can’t tell you about unique colors in a picture. It is just telling you informaiton based on pixel colors rather than performing color segmentation and clustering based on a ML algorithm.
So what is it all about? Well, it is simple, or I say, the simplest demonstration of using OpenCV to load an image and finding color-related to that image and show insights in a Flask based web application. This is not a state of art application neither it is currently serving the way I intend to do but hey, it is just a start, not the end. I could not find a better excuse other than converting my basic learning of pixels into a product (Google! Beware!!)
I am not going int nitty-gritty details of both OpenCV and Flask and I will be covering what the application is actually doing.
The app consists of two parts: a Web-based application that is used to store images from Web and display processed images and their dominant colors and a command-line script that is run on the downloaded image and extract color codes. The web image looks like below:

You search images by color code and it returns the result, something like below:

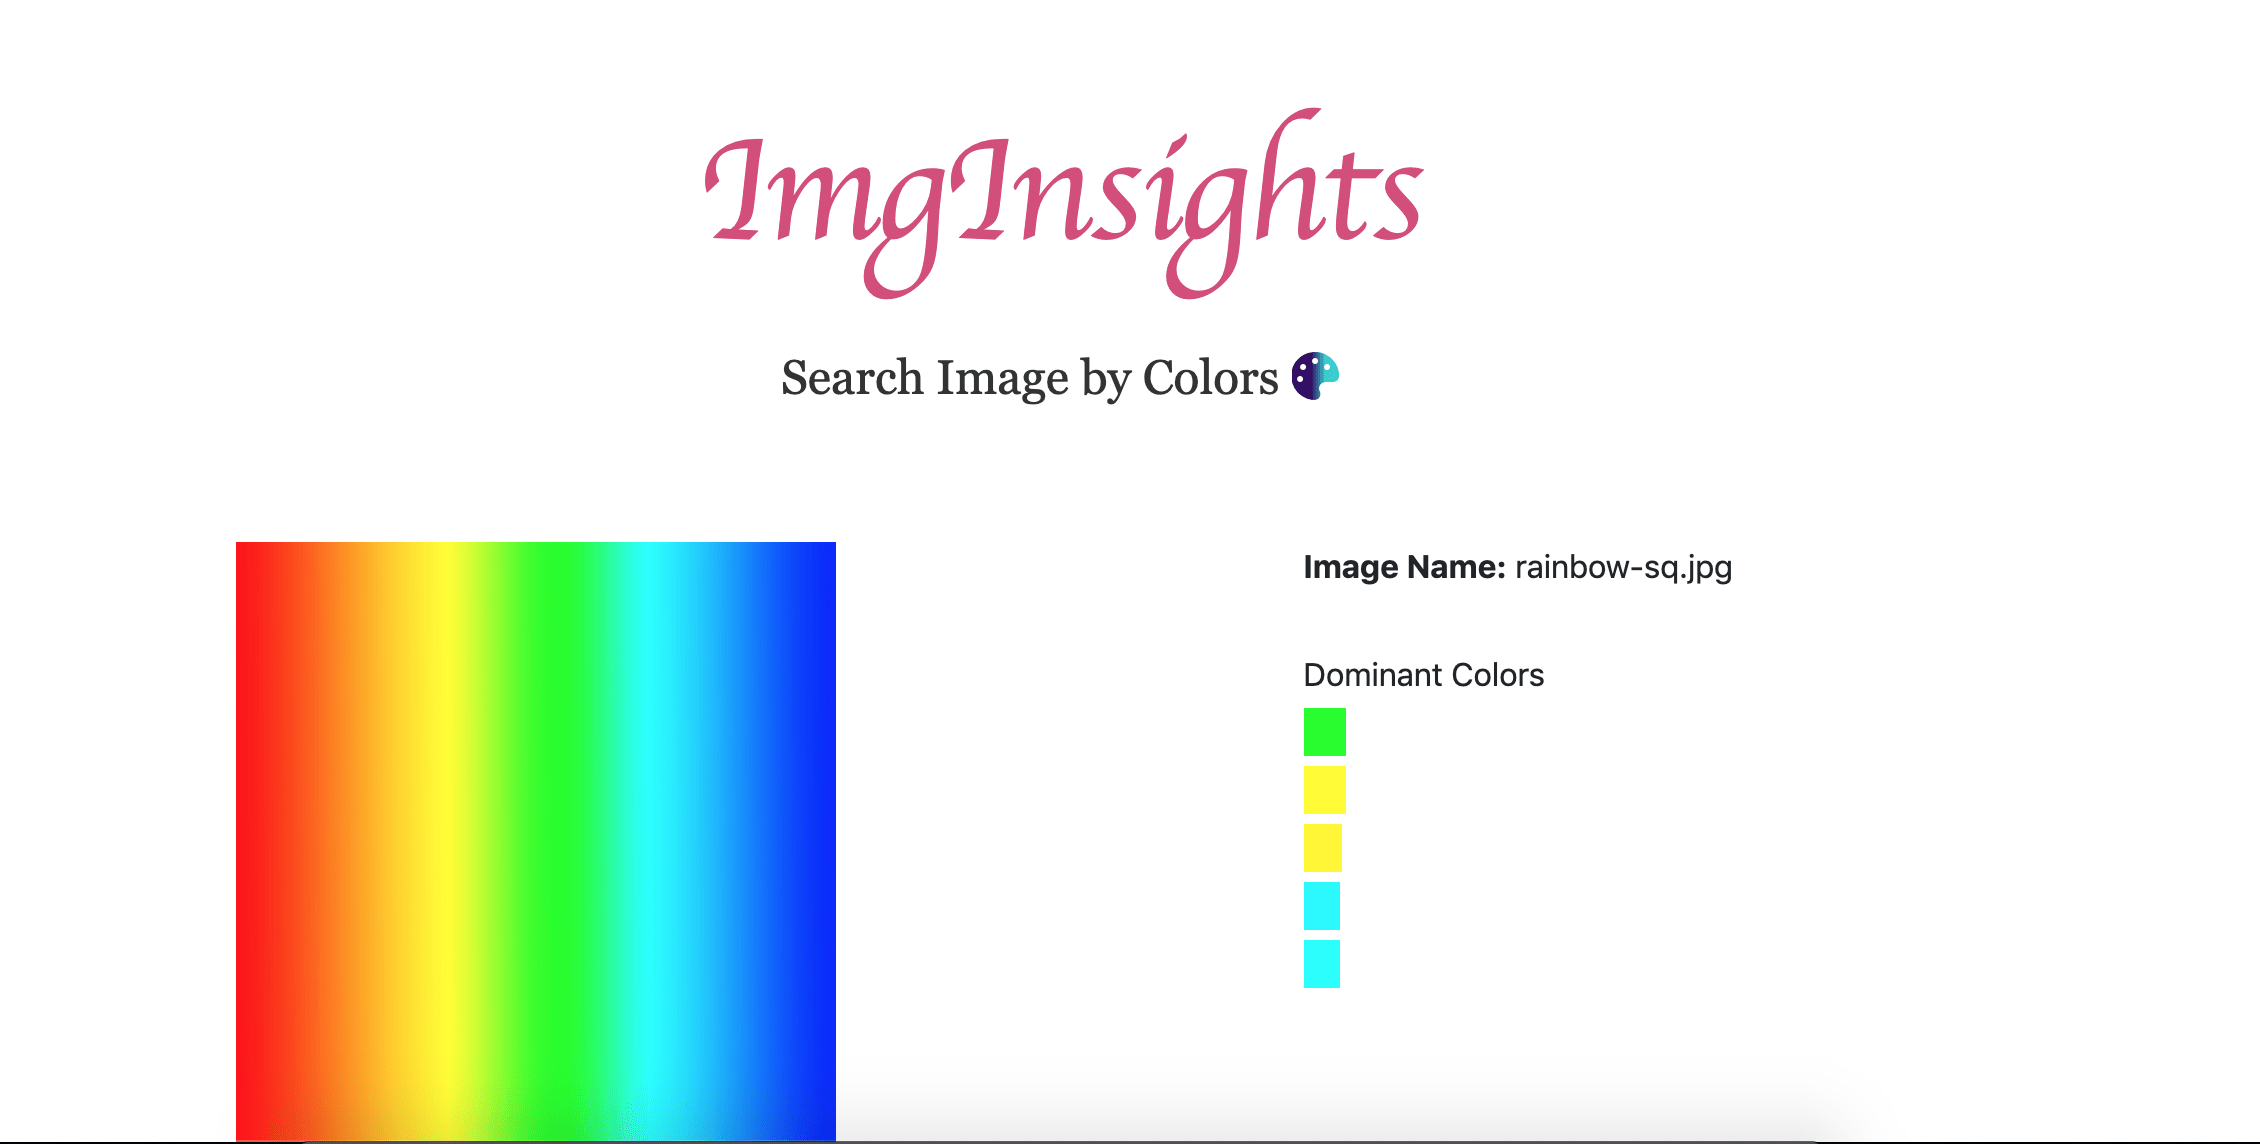
And the view of the single image looks like:

Let’s discuss the core part of the system that is, the command-line script that is doing the main work.
def process_image(image_name):
    color_count = {}
    print('Processing the image {}'.format(image_name))
    path = 'website/static/uploaded_images/' + image_name

    image = cv2.imread(path)

    for i in range(image.shape[0]):
        for j in range(image.shape[1]):
            (b, g, r) = image[i, j]
            h_value = rgb2hex(r, g, b)

            if h_value in color_count:
                color_count[h_value] += 1
            else:
                color_count[h_value] = 1
    return color_count
After importing computer-vision we read the image from the disk by calling cv2.imread(). The data is available in the form of numpy array hence using it’s shape method to find details like width, heights, and channel. By the way, OpenCV stores image data in BGR format instead of RGB color space. Once the data is retrieved in BGR format, we are using a custom rgb2hex method to convert RGB to HEX color. The function then returns a list of dictionaries consist of color code in HEX and its frequency which we will use to find the percentages of color in an image.
Hopefully I will be discussing OpenCV furhter in coming weeks on further advanced topics.
Like always, the code is available on Github.


