In this post, I am going to talk about Django Rest Framework or DRF. DRF is used to create RESTful APIs in Django which later could be consumed by various apps; mobile, web, desktop, etc. We will be discussing how to install DRF on your machine and then will be writing our APIs for a system.
Before we discuss DRF, let’s talk a bit about REST itself.
What is Rest
From Wikipedia
Representational state transfer (REST) is a software architectural style that defines a set of constraints to be used for creating Web services. Web services that conform to the REST architectural style, called RESTful Web services, provide interoperability between computer systems on the Internet. RESTful Web services allow the requesting systems to access and manipulate textual representations of Web resources by using a uniform and predefined set of stateless operations. Other kinds of Web services, such as SOAP Web services, expose their own arbitrary sets of operations.[1]
Rest API(Application Programming Interface) is a client-server architecture that is stateless and used a typical URL scheme for data exchange. It was first presented by Roy Fielding in 2000 in his famous dissertation. The URL that is used to provide communication between a client and server is often called an endpoint. Different HTTP methods are used for this purpose:
- GET:- it returns the requested data which could be a list of records or a single record.
- POST:- It creates a new record.
- PUT/PATCH:- It updates an existing record.
- DELETE; It deletes the record.
The returned data could either be in XML, JSON, or other formats but the first two are most common.
OK, now you have learned a bit about REST API, let’s discuss Django Rest Framework itself.
What is Django Rest Framework
Django Rest Framework is an open-source framework to write RESTful APIs in Python. It is based on the Django framework so knowledge of Django is quite beneficial though not necessary.
So we are going to make APIs for a contact management system where a user will be able to use our APIs to create/update and delete contacts. The returned data will be in JSON format.
Installation and Setup
I am going to use Pipenv for setting up the development environment for our APIs. Pipenv makes it easier to isolate your development environment irrespective of what things are installed on your machine. It also lets you pick a different Python version that whatever is installed on your machine. It uses Pipfile to manage all your project-related dependencies. I am not gonna cover Pipenv here in detail so will only be using the commands that are necessary for the project.
You can install Pipenv via PyPy by running pip install pipenv
Once installed, we now have to select the Python version for our project. I am willing to use Python 3.8 version instead of the Py3.7 already installed on my machine. To install Python 3.8, all you have to do is to run the following command:
pipenv install --python 3.8
And it will be installing like below:
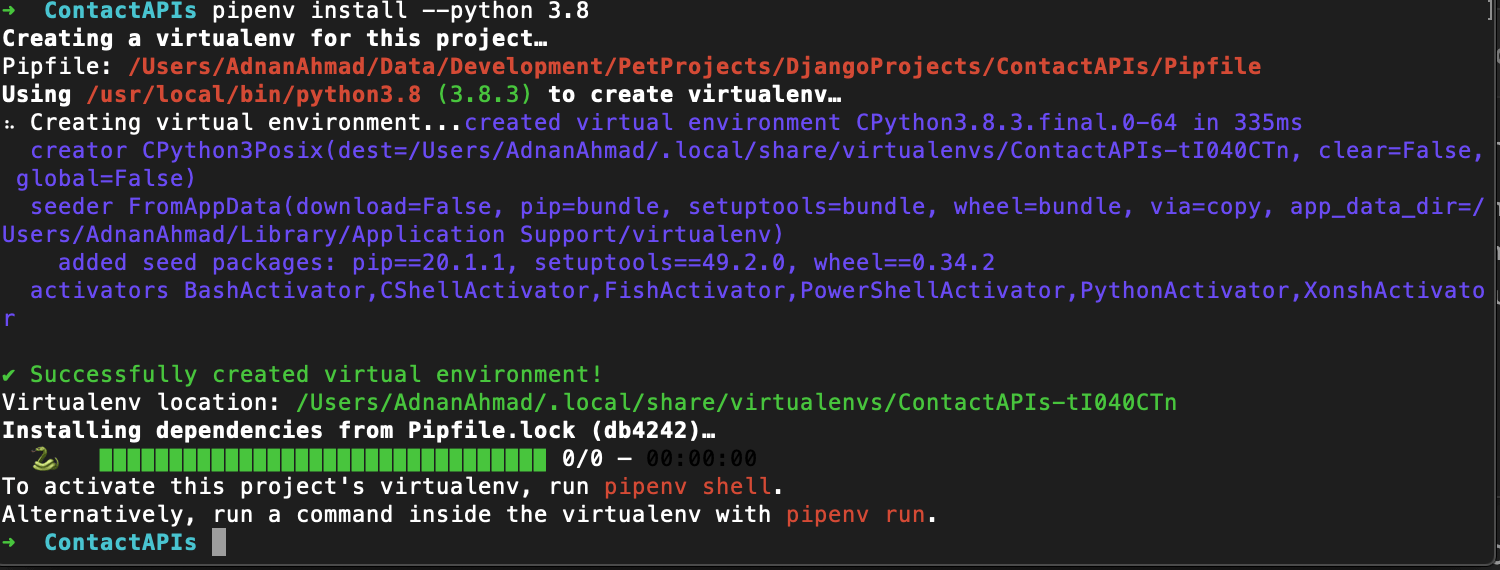
You may also run pipenv install --three where three means Python 3.x.
Once installed you can activate the virtual environment by running the command pipenv shell
➜  ContactAPIs pipenv shell
Launching subshell in virtual environment…
 . /Users/AdnanAhmad/.local/share/virtualenvs/ContactAPIs-tI040CTn/bin/activate
➜  ContactAPIs  . /Users/AdnanAhmad/.local/share/virtualenvs/ContactAPIs-tI040CTn/bin/activate
Once you are in the shell(You will see a prompt like (ContactAPIs) ➜ ContactAPIs), you will be able to install required libraries. First, we will install Django by running the following command:
pipenv install django
Note it’s pipenv, NOT pip. When you are into the shell you will be using pipenv. Underlying it is using pip but all entries are being stored in Pipfile. After than run pipenv install djangorestframework. The Pipfile will be looking like below:
[[source]]
name = "pypi"
url = "https://pypi.org/simple"
verify_ssl = true

[dev-packages]

[packages]
django = "*"
djangorestframework = "*"

[requires]
python_version = "3.8"
Now we have to create a Django project. To create a Django project we will be running the django-admin command like below:
django-admin startproject contact_api .
It will create a directory structure like below:
(ContactAPIs) ➜  ContactAPIs tree  contact_api
contact_api
├── __init__.py
├── asgi.py
├── settings.py
├── urls.py
└── wsgi.py
So far so good, let’s see whether we can run the local development server. Run the command python manage.py runserver. If all goes well you should be seeing a window like below:
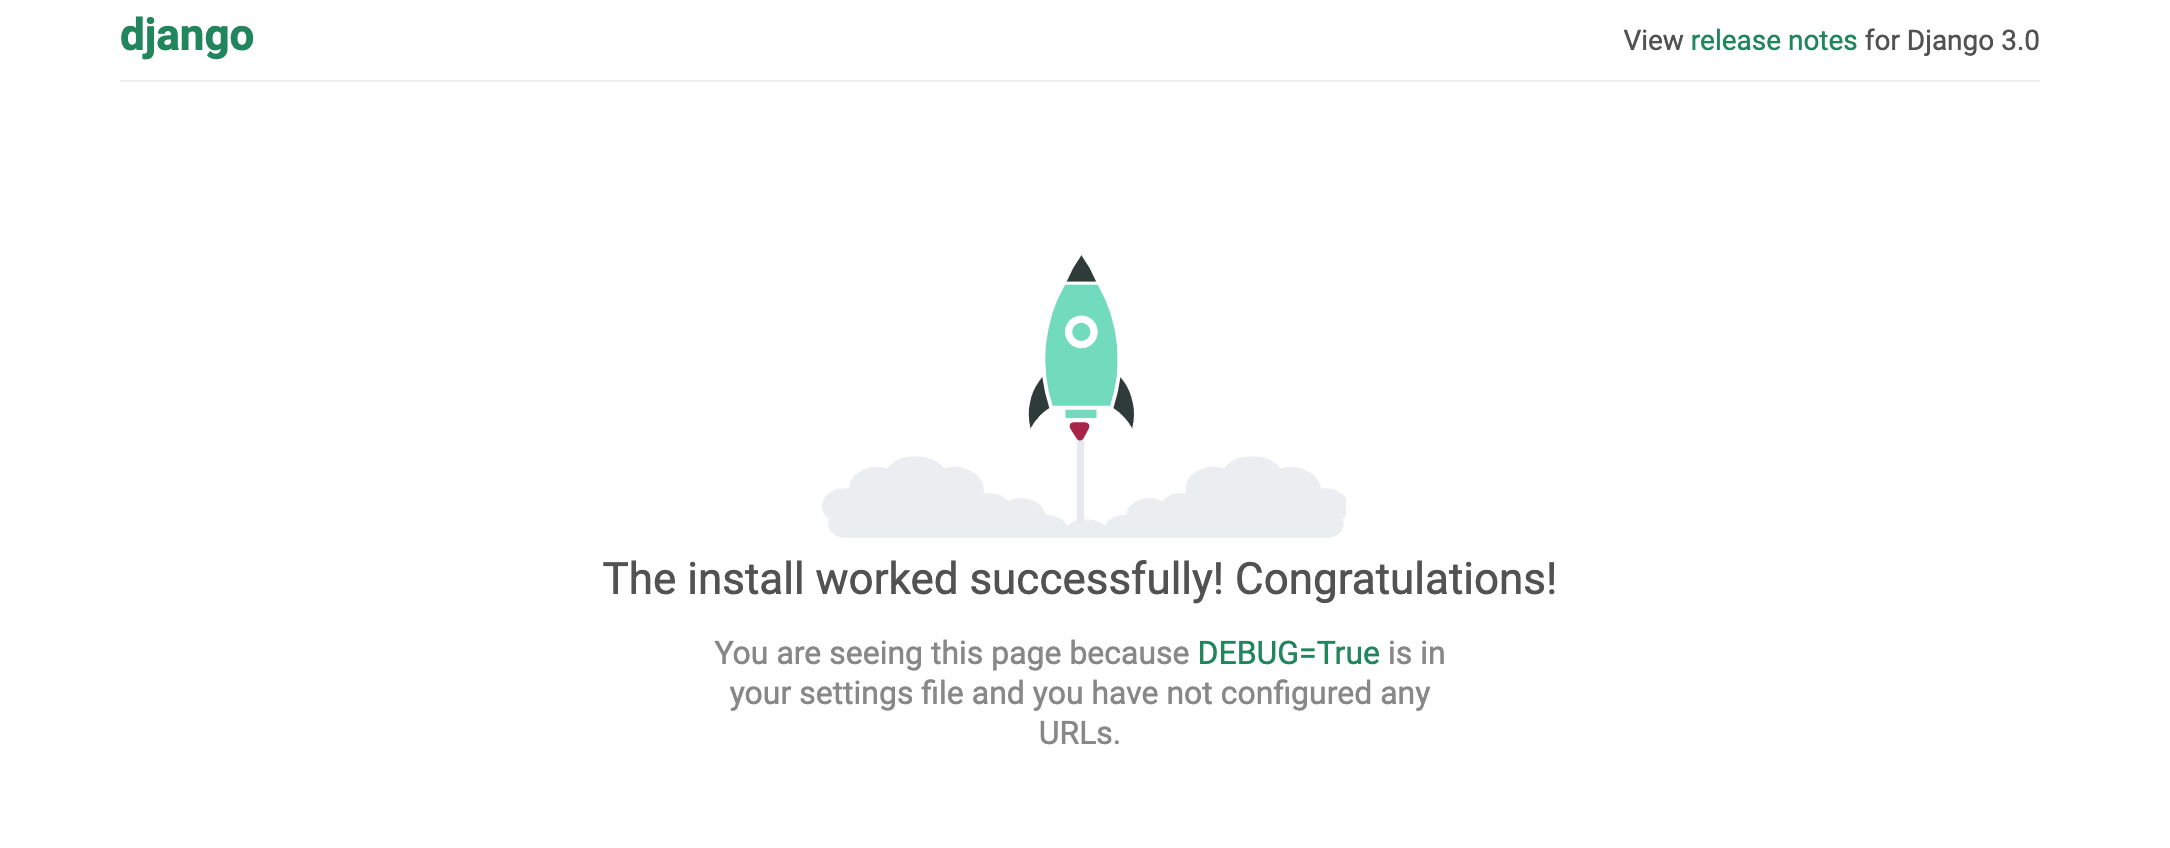
Beautiful, No? OK let’s run some existing migrations. For that, we will run the command python manage.py migrate.
(ContactAPIs) ➜  ContactAPIs python manage.py migrate
Operations to perform:
  Apply all migrations: admin, auth, contenttypes, sessions
Running migrations:
  Applying contenttypes.0001_initial... OK
  Applying auth.0001_initial... OK
  Applying admin.0001_initial... OK
  Applying admin.0002_logentry_remove_auto_add... OK
  Applying admin.0003_logentry_add_action_flag_choices... OK
  Applying contenttypes.0002_remove_content_type_name... OK
  Applying auth.0002_alter_permission_name_max_length... OK
  Applying auth.0003_alter_user_email_max_length... OK
  Applying auth.0004_alter_user_username_opts... OK
  Applying auth.0005_alter_user_last_login_null... OK
  Applying auth.0006_require_contenttypes_0002... OK
  Applying auth.0007_alter_validators_add_error_messages... OK
  Applying auth.0008_alter_user_username_max_length... OK
  Applying auth.0009_alter_user_last_name_max_length... OK
  Applying auth.0010_alter_group_name_max_length... OK
  Applying auth.0011_update_proxy_permissions... OK
  Applying sessions.0001_initial... OK
Django uses Sqlite3 by default but you may always use your favorite RDBMS engine by changing the settings. Alright, so all the system related tables created. We should be able to visit http://127.0.0.1:8000/admin/ but we can’t log in. How can we while we don’t have any credentials? So now, we will be creating a superuser.
python manage.py createsuperuser --email me@example.com --username admin
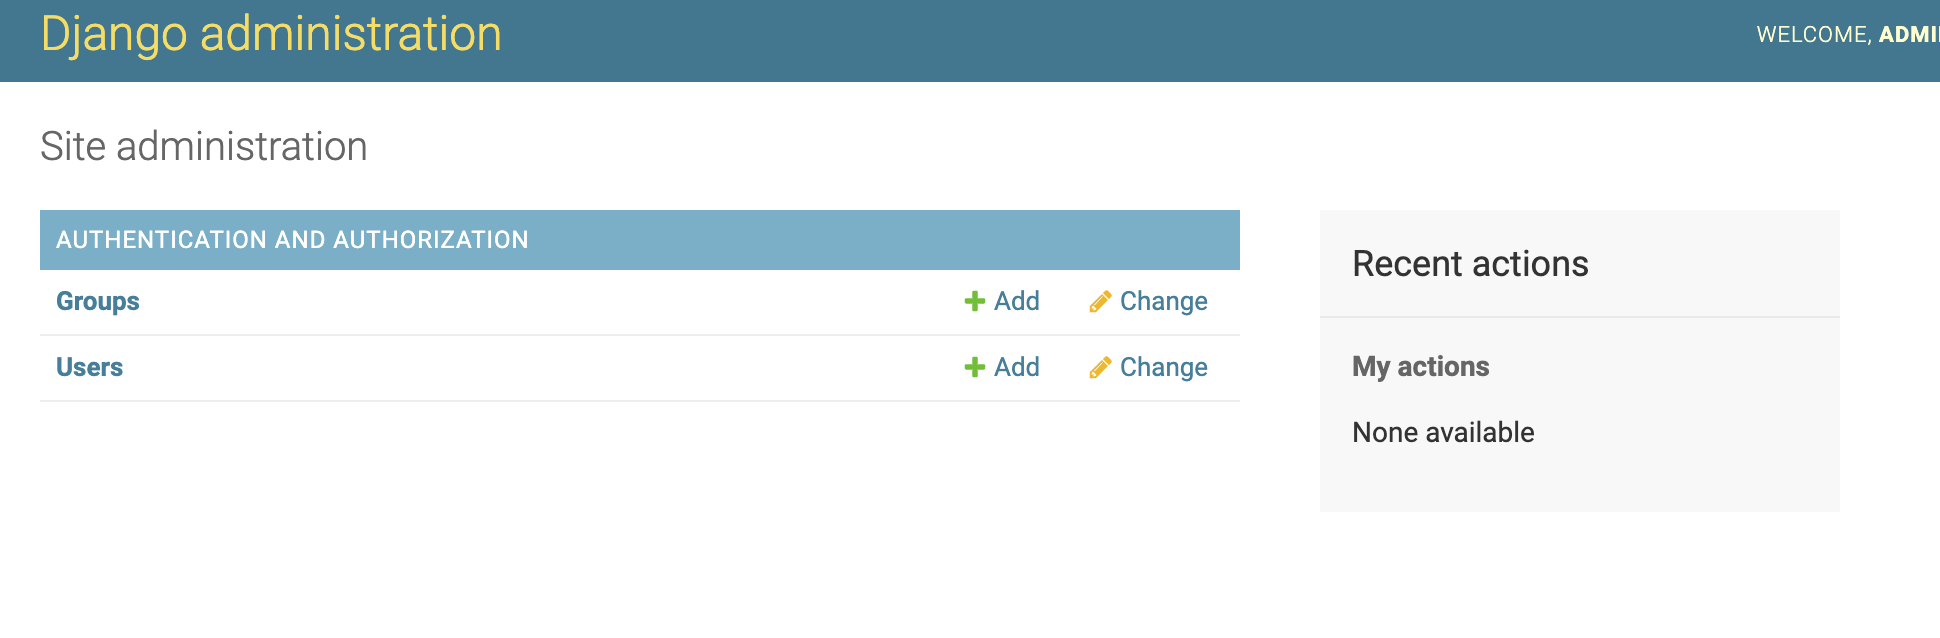
It will prompt you to set a password. Once done and you get into the Admin, you will be welcomed by a window similar to the below:
Now we will be creating a Django App. For that purpose, first I will get into the contact_api folder and then will run the following command:
(ContactAPIs) ➜  ContactAPIs cd contact_api
(ContactAPIs) ➜  contact_api  django-admin startapp contact
After that the folder structure will look like below:
(ContactAPIs) ➜  contact_api tree .
.
├── __init__.py
├── asgi.py
├── contact
│   ├── __init__.py
│   ├── admin.py
│   ├── apps.py
│   ├── migrations
│   │   └── __init__.py
│   ├── models.py
│   ├── tests.py
│   └── views.py
├── settings.py
├── urls.py
└── wsgi.py
Django developers might find it unusual to create an app within the project folder but it was recommended on DRF official website. You can always follow your way which is to create an app out of the project folder.
Now we will be including our DRF framework and the newly created app within INSTALLED_APPS. So head over to settings.py in contact_api folder and add the entries like below:
INSTALLED_APPS = [
    'django.contrib.admin',
    'django.contrib.auth',
    'django.contrib.contenttypes',
    'django.contrib.sessions',
    'django.contrib.messages',
    'django.contrib.staticfiles',
    'rest_framework',
    'contact_api.contact',
]
Notice the last two entries. We added rest_framework so that we can have API functionality. Second, we added our newly created app. Notice that path. Since the app created WITHIN the contact_api folder so we have to give the complete path with dot notation.
We will now be creating models and views for our API endpoints. In the models.py file we will be writing our model. This model will be the sole responsibility of retrieving or inserting the data via APIs.
from django.db import models


# Create your models here.
class Contact(models.Model):
    first_name = models.CharField(max_length=50)
    last_name = models.CharField(max_length=50)
    email = models.CharField(max_length=50)
    address = models.CharField(max_length=100)
So here is our model with a few fields. It’s time to create the migration and then migrate it so that the schema could be generated in the DB file. We will be running the command python manage.py makemigrations contact which will produce an output like the below:
(ContactAPIs) ➜  ContactAPIs python manage.py makemigrations contact
Migrations for 'contact':
  contact_api/contact/migrations/0001_initial.py
    - Create model Contact
The migration file is created. It’s to migrate it!
(ContactAPIs) ➜  ContactAPIs python manage.py migrate
Operations to perform:
  Apply all migrations: admin, auth, contact, contenttypes, sessions
Running migrations:
  Applying contact.0001_initial... OK
(ContactAPIs) ➜  ContactAPIs
Besides creating previous migrations, it created the one which we just created. We now will be registering our model in admin.py so that we could interact with the model in the admin interface:
from django.contrib import admin
from .models import Contact

# Register your models here.
admin.site.register(Contact)
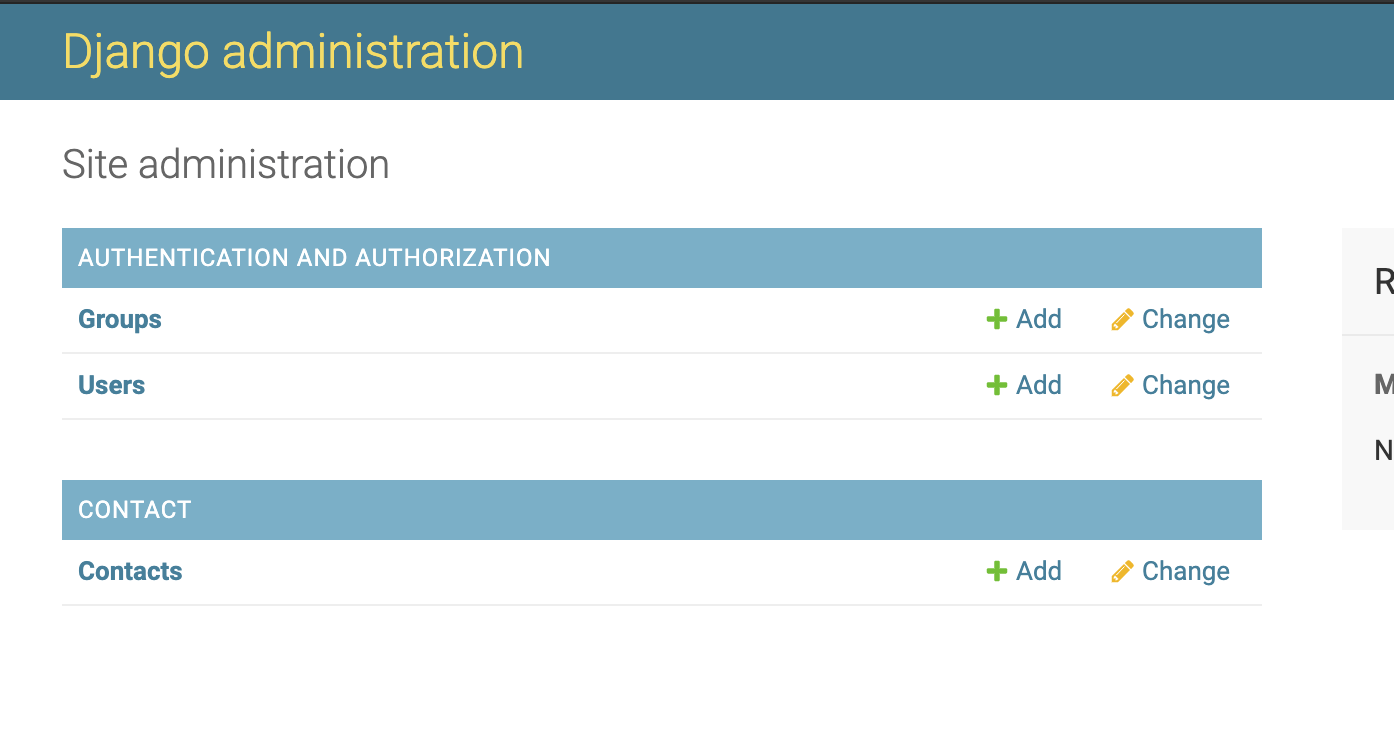
If you visit http://127.0.0.1:8000/admin, you will be finding the newly created Contact model over there.
Next, we will be creating the View and Data Serializer.
First, we will be creating the serializer.
Serializers help to convert models and querySets into native Python data types so that they could then be rendered as JSON or XML. Since they serialize data hence you can always deserialize them back to models and querySets. The serialized file will look like below:
from rest_framework import serializers

from .models import Contact


class Contactializer(serializers.HyperlinkedModelSerializer):
    class Meta:
        model = Contact
        fields = ('id', 'url', 'first_name', 'last_name', 'email', 'address')
After importing the necessary classes, we created a class and mentioned the class we want to be serialized. We also mentioned what fields we want to expose hence serialize.
Next, we will be creating the view and for that, we will be using ViewSet.
Viewsets combines the logic of multiple views under a single class.
Now we have to set up our API endpoints and for that, we have to do a bit of hard work. First, we have to create a file urls.py within our app folder that is contact folder.
from rest_framework import routers
from django.urls import path,include
from . import views

router = routers.DefaultRouter()
router.register('contacts', views.ContactView)

urlpatterns = [
    path('',include(router.urls))
]
Here you are going to learn a new concept, Router. If you are coming from the background of Laravel, Rails, or even NodeJS, you would have an idea of what a router does; it routes the request to an appropriate resource. DRF provides three kinds of routers: Simple, Default, and Custom. The Default router is similar to Simple Router which returns all CRUD related endpoints plus URL of each record’s endpoint and optional JSON view. Next up, we register our viewset into a root name which is contacts here. Hence all endpoints will contain contacts/ in the API endpoints. Once it is registered, you are going to use the same old include to set the paths of your endpoints by including router.urls. In RoR and Laravel world these are called resourceful routs because you do not have to create separate views and their respective URLs for create, update, get, post and delete. Of course you can always add your own custom endpoint by adding a method and decorating with an @action decorator. For instance, check below:
@action(detail=False, methods=['get'])
    def lol(self, request, pk=None):
        return Response({'status': 'OK'})
Here we added another custom route so when one visits http://127.0.0.1:8000/contacts/lol/, it returns a JSON response. We set detail=False because it is not a resourceful endpoint hence only serving a single endpoint only.
Alright, things don’t end here. Next, we have to add our APIs to the main urls.py and for that we are going to do the below in contact/urls.py
from django.contrib import admin
from django.urls import path,include

urlpatterns = [
    path('admin/', admin.site.urls),
    path('',include('contact_api.contact.urls')),
]
So besides Admin we finally have our APIs included in the main project’s urls.py which makes it available to explore APIs besides Admin or other apps URLs.
Now it’s time to taste the fruit of our efforts. Head over to http://127.0.0.1:8000/contacts/ on your browser and you will be seeing something like below:
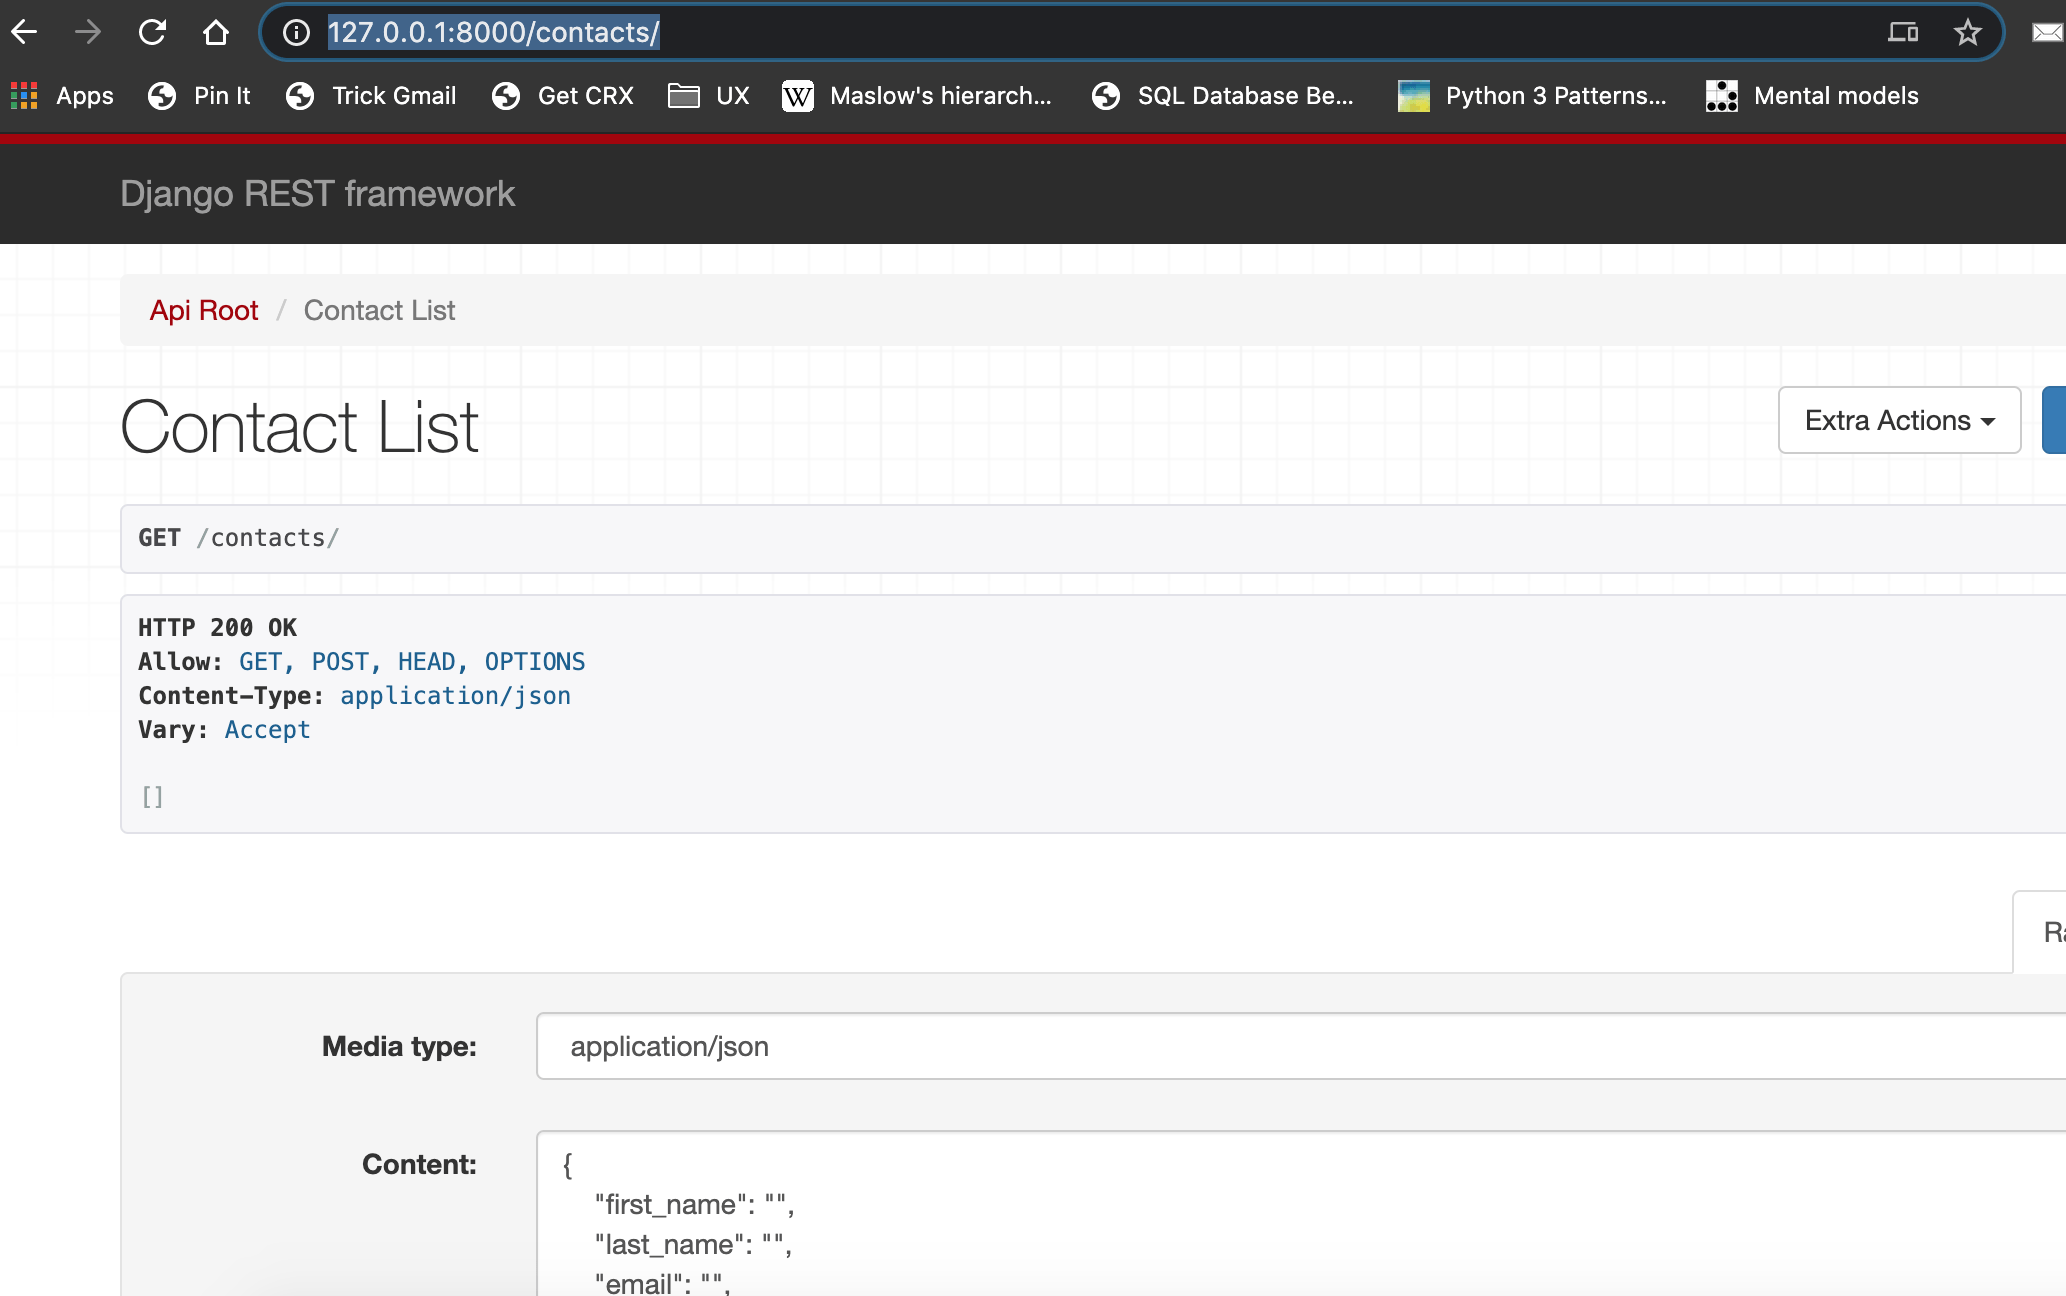
It shows a fancy interface for adding records and other things. You also see an Extra Option button, it is for our custom method we just added. Let’s play with it. I have created an animated Gif for you to see how a record is being added both in HTML and JSON format. How records are being listed and how an individual record is being explored.
Of course, you will not see all this HTML based interface while you access it directly via CURL or other libs.
(ContactAPIs) ➜  ContactAPIs curl http://127.0.0.1:8000/contacts/
[{"id":1,"url":"http://127.0.0.1:8000/contacts/1/","first_name":"Adnan","last_name":"Ahmad","email":"adnan@mail.com","address":"A29 Sweet House"},{"id":2,"url":"http://127.0.0.1:8000/contacts/2/","first_name":"Ali","last_name":"Ahmad","email":"ali@email.com","address":"5th Street New way Town"}]%
Oh BTW, you can always visit http://127.0.0.1:8000/contacts/lol/ LOL!!
Conclusion
In this tutorial, you learned how you can create REST APIs in Python by using Django Rest Framework. I have just given you an intro and there’s a lot more you can do like securing a certain API endpoint behind a login/password or using JWT or other modern authentication mechanisms. I will try to cover them in coming posts. As always, the code is available on Github.