This post is part of the FastAPI series.
In the first post, I introduced you to FastAPI and how you can create high-performance Python-based applications in it. In this post, we are going to work on Rest APIs that interact with a MySQL DB. We will also be looking at how we can organize routers and models in multiple files to make them maintainable and easier to read.
FastAPI does not strict you to use a certain database framework. You may use SQLAlchemy or any other you want. I’d prefer to use peewee since it’s more expressible and easier to use.
Installing Peewee and MySQL Drivers
Before start using MySQL in our app we must have all things at our end ready. We will first install peewee ORM for that purpose.
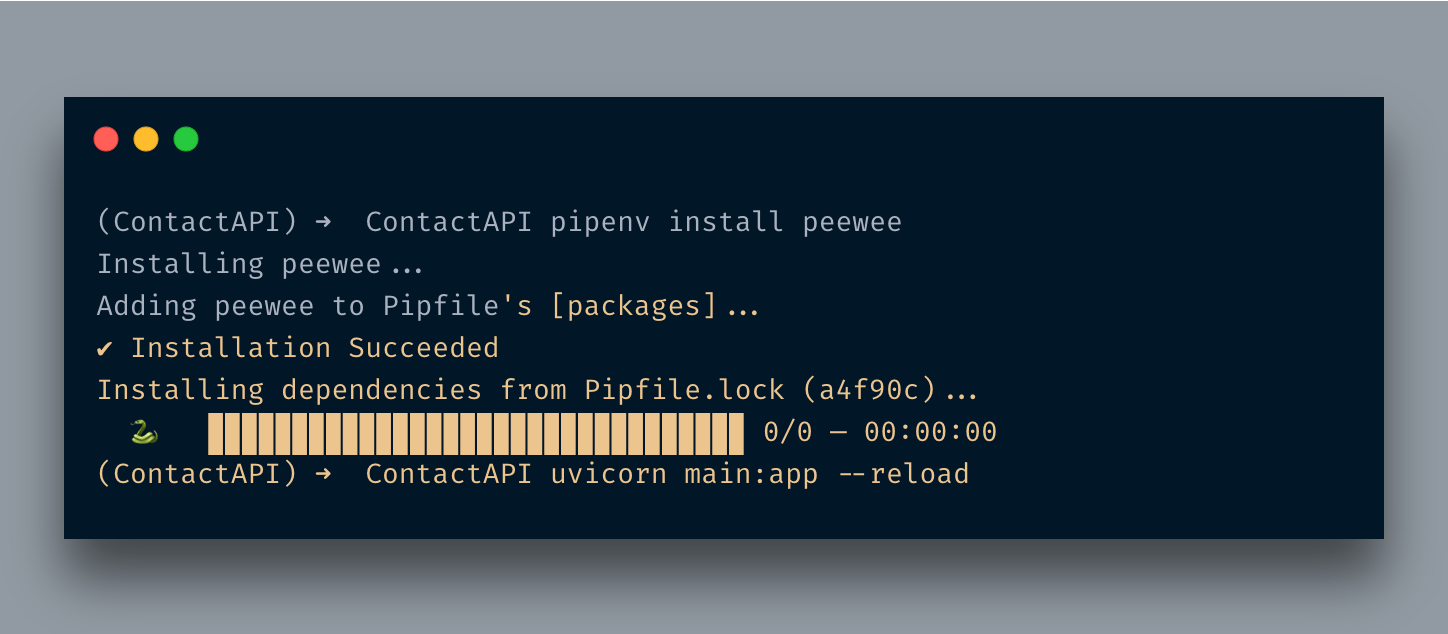
I will create a separate file called database.py and I will be adding the following code to it.
from peewee import *

user = 'root'
password = 'root'
db_name = 'fastapi_contact'

conn = MySQLDatabase(
    db_name, user=user,
    password=password,
    host='localhost'
)

class BaseModel(Model):
    class Meta:
        database = conn
I imported the framework and created a MySQLDatabase object. I am passing all required credentials to make it a successful connection.
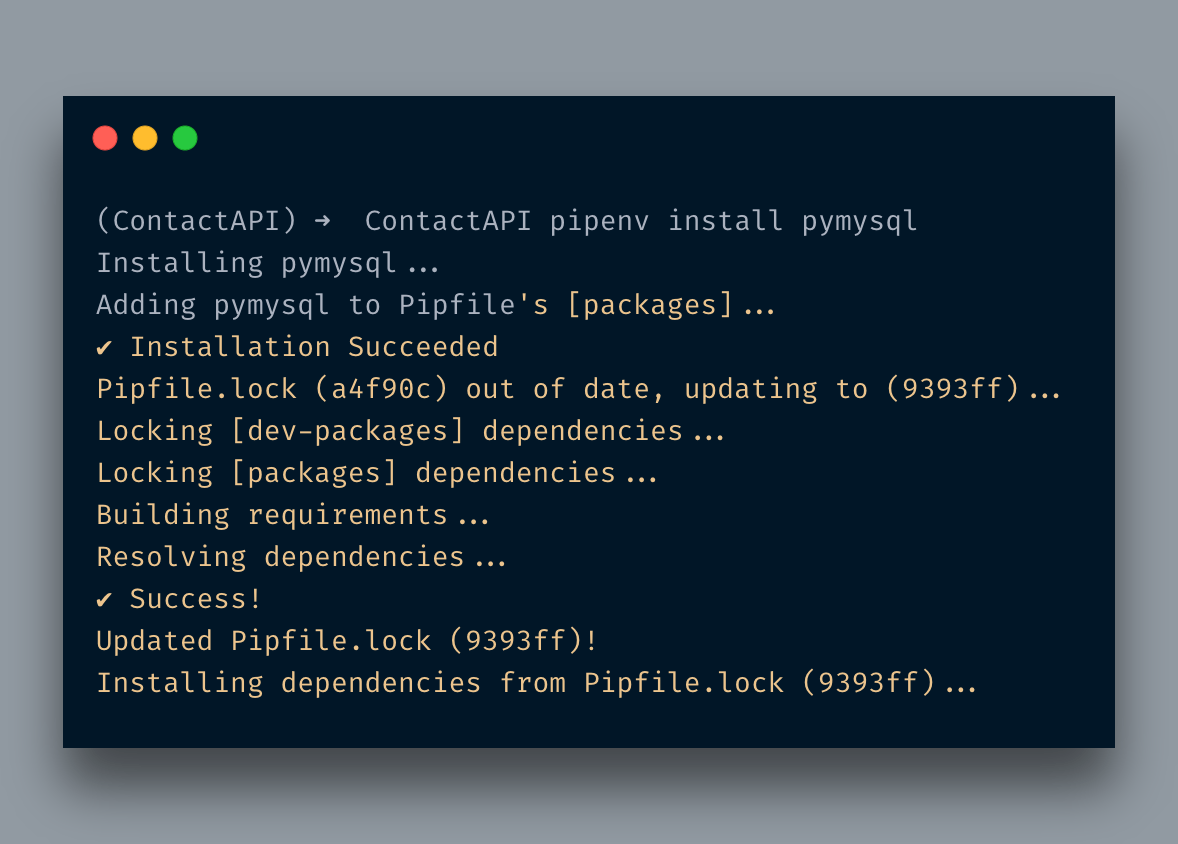
But wait… before we run the server, we also need to install the MySQL driver. I will be using PyMySQL to connect the MySQL database otherwise you will be getting the error:
    self._state.set_connection(self._connect())
  File "/Users/AdnanAhmad/.local/share/virtualenvs/ContactAPI-Ycq5CXn7/lib/python3.9/site-packages/peewee.py", line 3964, in _connect
    raise ImproperlyConfigured('MySQL driver not installed!')
peewee.ImproperlyConfigured: MySQL driver not installed!

So far so good. Now I am going to change the main.py to import database.py file contents.
app = FastAPI(title='Contact.ly', description='APIs for contact Apis', version='0.1')

@app.on_event("startup")
async def startup():
    print("Connecting...")

@app.get("/")
async def root():
    return {"message": "Contact Applications!"}
A few things happening but let me discuss the important one first: FastAPI events.
FastAPI Events
FastAPI comes up with a couple of events that you can use in your apps: Startup and Shutdown.
Startup Event: This event is responsible to carry out certain tasks while starting the application. By starting the application means that when you hit a certain API endpoint, it gets executed first. Tasks like connecting to the database are one of the tasks necessary to be performed before doing anything else.
Shutdown Event: This event is triggered when the app is quitting or shutting down. You might like to use this event to store all info before leaving the app.
The advantage of these events is that you do not have to call the code in every API endpoint.
So as you understood by now, I am connecting the DB on the startup event.
The other thing you would have noticed that I passed some named parameters in FastAPI constructor. when I do that, it produces something like below:
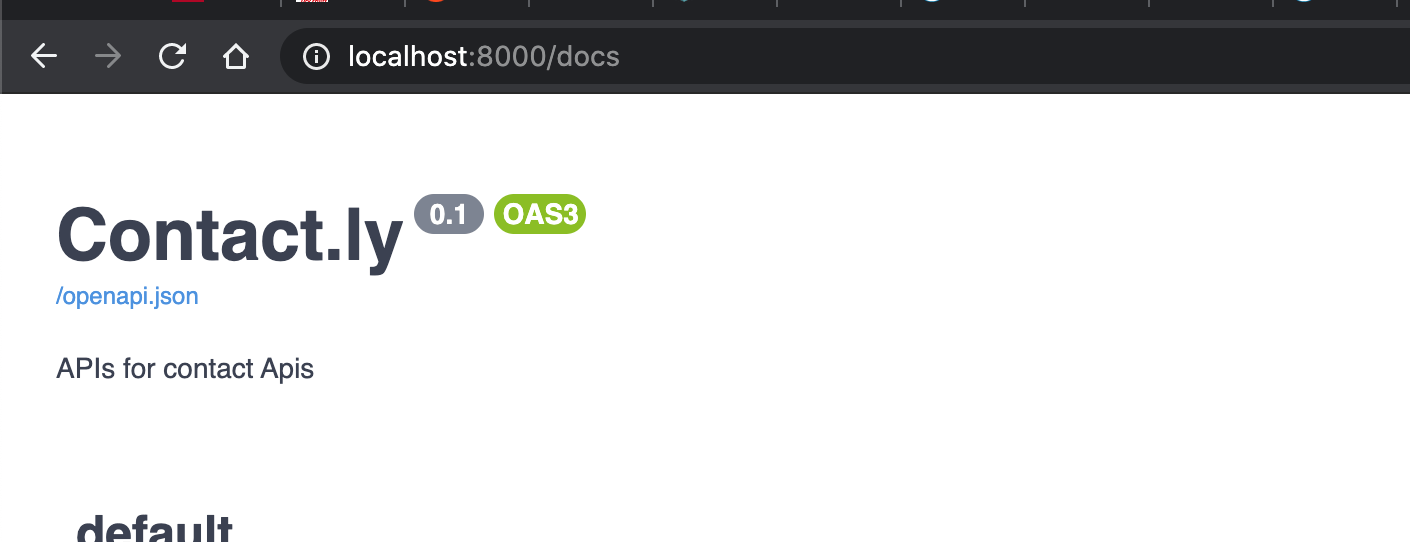
Looks much better, No?
Now I have to create routers, models, DB connections, etc. These all in a single file will make the app bloated. I am going to create a couple of folders right now with the name models and routers respectively. I am also creating a file database.py in the root folder that will have instantiate MySQLDatabase class object.
What is APIRouter
It is OK to put all your routes in a single main.py file if you have a small app but what if you are working on a big system then putting all routes in a single file would make it clumsy and bloated. How nice would it be if we can organize a set of routers as per entity or apps? Something like Django offers.
FastAPI’s APIRouter can help you to organize your routes and logic in multiple files.
In the root folder, I created a folder named routers where I will be adding my contact API related routers. I am adding an __init.py__ in it to turn it into a package. You are free not to do it. I am adding my route file, contact.py in it with the following content:
from fastapi import APIRouter

router_contacts = APIRouter(
    prefix="/contacts",
    tags=["contacts"]
)

@router_contacts.get("/",summary="List of contacts", description="Returns all contacts" )
async def get_contacts():
    #create(first_name='Addu', last_name='Pagal', email='addu@gmail.com', phone='123-494', status=1)
    return [{'status': 'OK'}]
I created an APIRouter object by passing two parameters: prefix and tags. This frees us to add /contacts/ in every end-point.
I also added summary and description parameters which are rendered in docs.
FastAPI also lets you use docstring to document your API endpoints. For instance:
@router_contacts.get("/view/{id}", summary="Returns a single contact")
async def view(id: int):
    """
        To view all details related to a single contact

        - **id**: The integer id of the contact you want to view details.
    """
    return [{'status': 'OK'}]
Here I am using docstring with markdown. When it’s rendered it is displayed as:
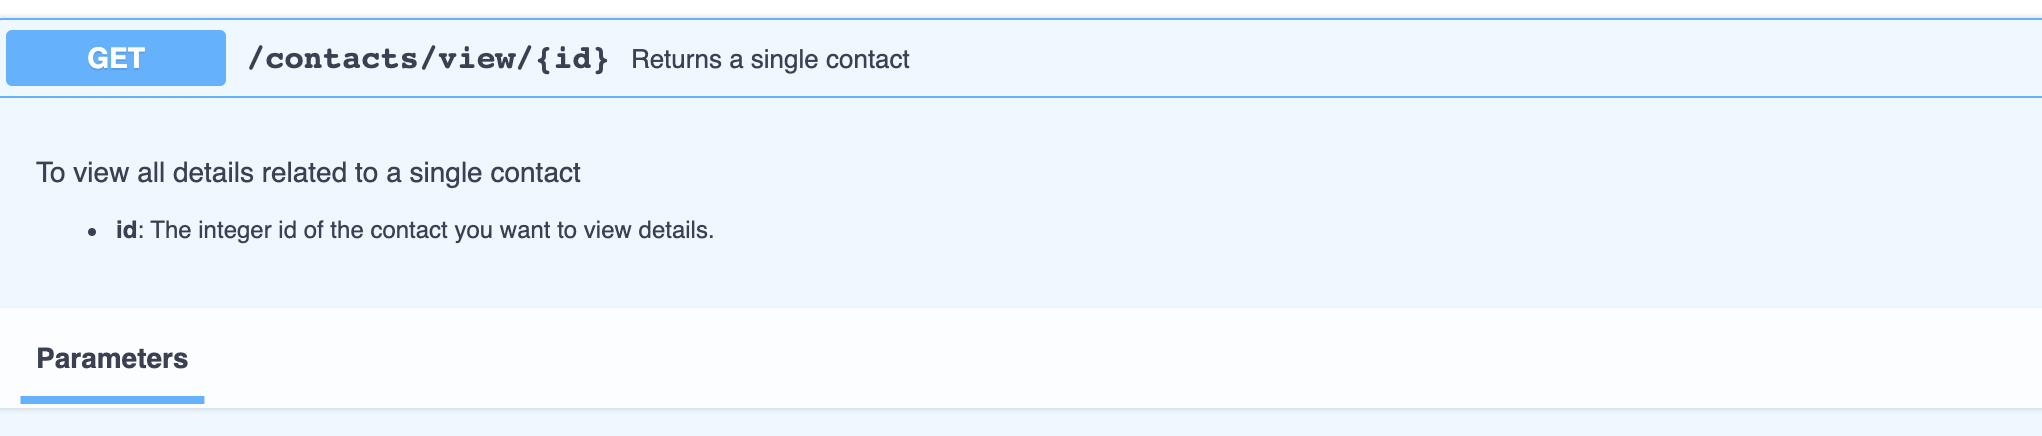
Cool, No? Docstring gives you more flexibility on how do you want to display your API endpoint documentation.
Tags help to organize app-related APIs at a single place in docs. They are also used in OpenAPI. For instance when I visit http://localhost:8080/openapi.json it shows the following where you can see tags are given there.
{"openapi":"3.0.2","info":{"title":"Contact.ly","description":"APIs for contact Apis","version":"0.1"},"paths":{"/":{"get":{"summary":"Root","operationId":"root__get","responses":{"200":{"description":"Successful Response","content":{"application/json":{"schema":{}}}}}}},"/contacts/":{"get":{"tags":["contacts"],"summary":"List of contacts","description":"Returns all contacts","operationId":"get_contacts_contacts__get","responses":{"200":{"description":"Successful Response","content":{"application/json":{"schema":{}}}}}}},"/contacts/view/{id}":{"get":{"tags":["contacts"],"summary":"View","description":"Returns a single contact","operationId":"view_contacts_view__id__get","parameters":[{"required":true,"schema":{"title":"Id","type":"integer"},"name":"id","in":"path"}],"responses":{"200":{"description":"Successful Response","content":{"application/json":{"schema":{}}}},"422":{"description":"Validation Error","content":{"application/json":{"schema":{"$ref":"#/components/schemas/HTTPValidationError"}}}}}}}},"components":{"schemas":{"HTTPValidationError":{"title":"HTTPValidationError","type":"object","properties":{"detail":{"title":"Detail","type":"array","items":{"$ref":"#/components/schemas/ValidationError"}}}},"ValidationError":{"title":"ValidationError","required":["loc","msg","type"],"type":"object","properties":{"loc":{"title":"Location","type":"array","items":{"type":"string"}},"msg":{"title":"Message","type":"string"},"type":{"title":"Error Type","type":"string"}}}}}}
We have created our routes file but things are not done yet. We have to call them in the main.py file. In the main file, I am going to make the following changes.
from routers import contact

app = FastAPI(title='Contact.ly', description='APIs for contact Apis', version='0.1')
app.include_router(contact.router_contacts)
Since routers folder is a package now, I can call the router_contacts variable and pass it to include_router function.
After doing the new contacts related routes will be appearing on the documentation page.
Peewee Models
As I mentioned I am going to use peewee ORM instead of SqlAlchemy, I am going to create relevant models for this purpose. Before I do that, let’s take a look at what database.py file will look like. This file will contain the class object for MySQLDatabase class having all the required parameters passed to it.
The database.py will look like below:
from peewee import *

user = 'root'
password = 'root'
db_name = 'fastapi_contact'

conn = MySQLDatabase(
    db_name, user=user,
    password=password,
    host='localhost'
)
Later, in the main.py file, I am going to call this like:
from database import *

@app.on_event("startup")
async def startup():
    if conn.is_closed():
        conn.connect()

@app.on_event("shutdown")
async def shutdown():
    print("Closing...")
    if not conn.is_closed():
        conn.close()
So whenever any API-endpoint will be accessed, it’d create a connection and then close it once all execution is done.
Now models… I will be creating a couple of models: A BaseModel that will be responsible for associating models with MySQL DB and a Contact model dealing with the contacts table. I am assuming that table is already created hence not covering it. To learn more about it you may check my article here.
from peewee import *
from database import conn

class BaseModel(Model):
    class Meta:
        database = conn
and contact.py
from peewee import *

from .Base import BaseModel

class Contact(BaseModel):
    first_name = CharField(max_length=30)
    last_name = CharField(max_length=30)
    email = CharField(max_length=40)
    phone = CharField(max_length=25)
    status = SmallIntegerField()
    updated_at = DateTimeField()

    class Meta:
        db_table = 'contacts'
We are going to create CRUD endpoints to manage the entire app that is API endpoints for creating a record, updating, deleting, and retrieving.
I am going to create our very first contact API endpoint which will be adding a contact in the DB. In models/contact.py I am going to create a method for data insertion
async def create_contact(first_name: str, last_name: str, email: str, phone: str, status: int):
    contact_object = Contact(
        first_name=first_name,
        last_name=last_name,
        email=email,
        phone=phone,
        status=status
    )
    contact_object.save()
    return contact_object
Pretty straight forward. I created a Contact object and passed the required parameters in it. Now pay attention. The create_contact model method is returning a ModelSelect object which is not useful for us as it contains several peewee-related information hence, we need a Pydantic model to take care of it. It is not so straightforward so let’s dive in!
First, I am going to create a class that will map peewee models to Pydantic models. The code has been taken from the FastAPI official website:
class PeeweeGetterDict(GetterDict):
    def get(self, key: Any, default: Any = None):
        res = getattr(self._obj, key, default)
        if isinstance(res, peewee.ModelSelect):
            return list(res)
        return res
Next, we are going to create our Pydantic model for contact.
class ContactModel(BaseModel):
    id:int
    first_name:str
    last_name:str
    email:str

    class Config:
        orm_mode = True
        getter_dict = PeeweeGetterDict
After adding the fields we want to show, I am setting orm_mode as True and then set the getter_dict parameter to the class we just created that is PeeweeGetterDict This is what offered by Pydantic. For more info, you can visit here. The orm_mode actually maps the ORM model object to the Pydantic object thus we do not need to construct a return object manually.
Next, I am going to create a POST endpoint for creating a new contact.
from models.contact import create_contact

@router_contacts.post("/", summary="Create a new contact")
async def create(first_name: str, last_name: str, email: str, phone: str, status: int):
    return await create_contact(first_name=first_name, last_name=last_name, email=email, phone=phone, status=status)
You do not have to make a function async function. FastAPI supports both. Anyways, so I am creating a POST endpoint that accepts a JSON object as input and creates a record. For sake of simplicity, I am just returning an OK here but in the real-world application, you will take care of all exceptions and other stuff.
Let’s hit the /doc to create our first record. When it’s created it returns the below:
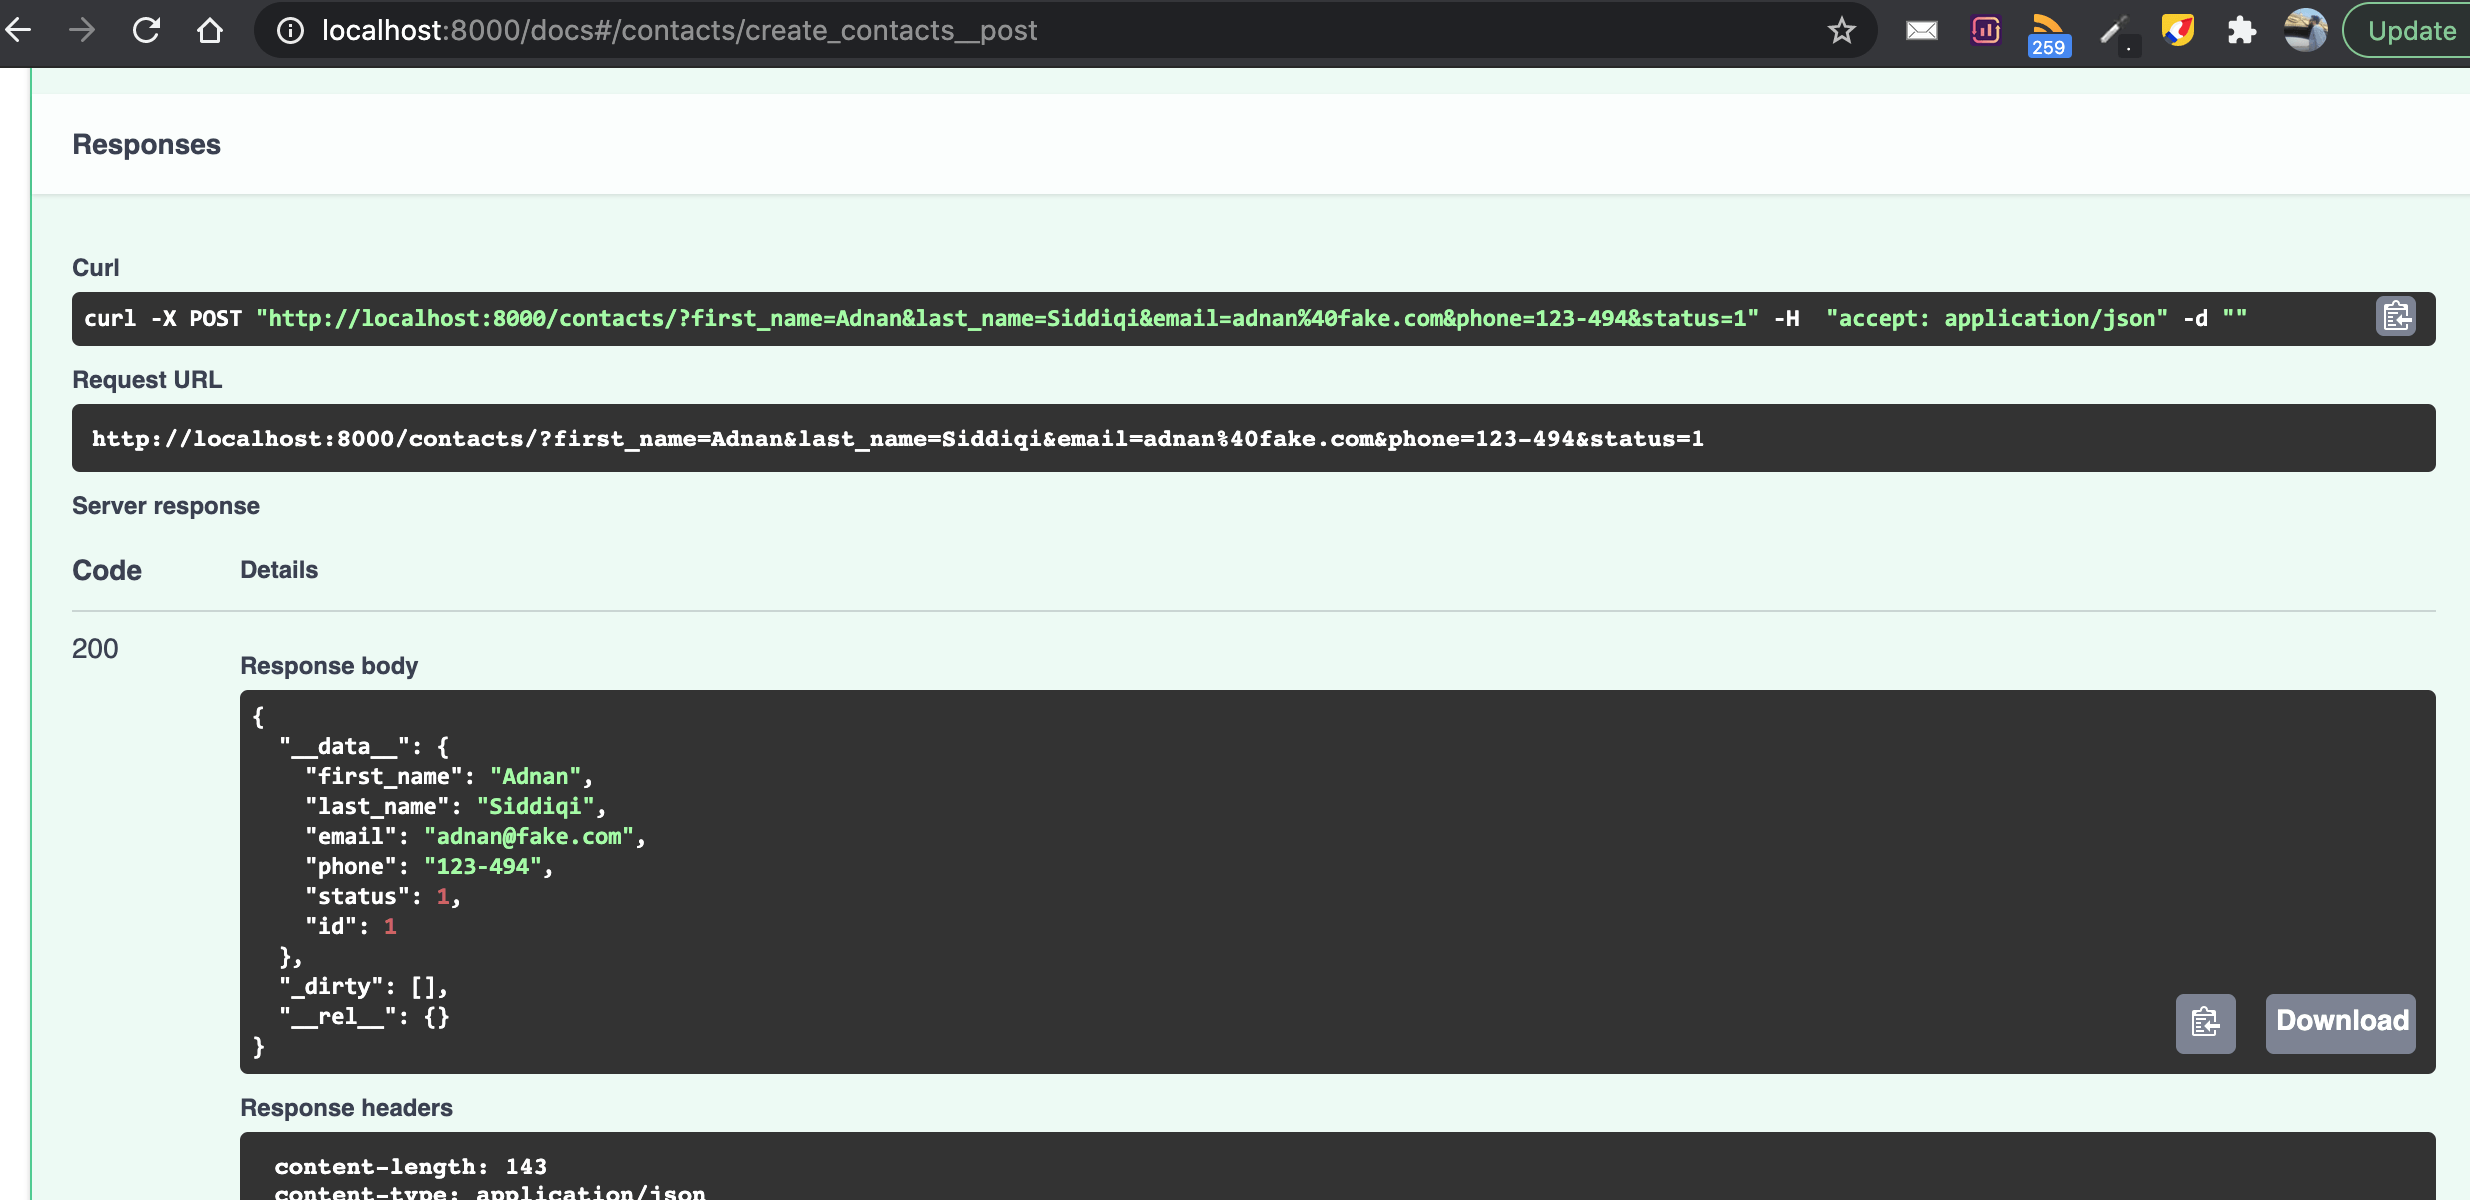
Umm OK, it does return successfully but do you like the returned JSON response? I do not. It is just returning whatever the stuff threw up by peewee object. How to make it better, yeah you got it right! by using the response_model parameter. The API routine will now look like the below:
@router_contacts.post("/", response_model=ContactModel, summary="Create a new contact")
async def create(first_name: str, last_name: str, email: str, phone: str, status: int):
    return await create_contact(first_name=first_name, last_name=last_name, email=email, phone=phone, status=status)
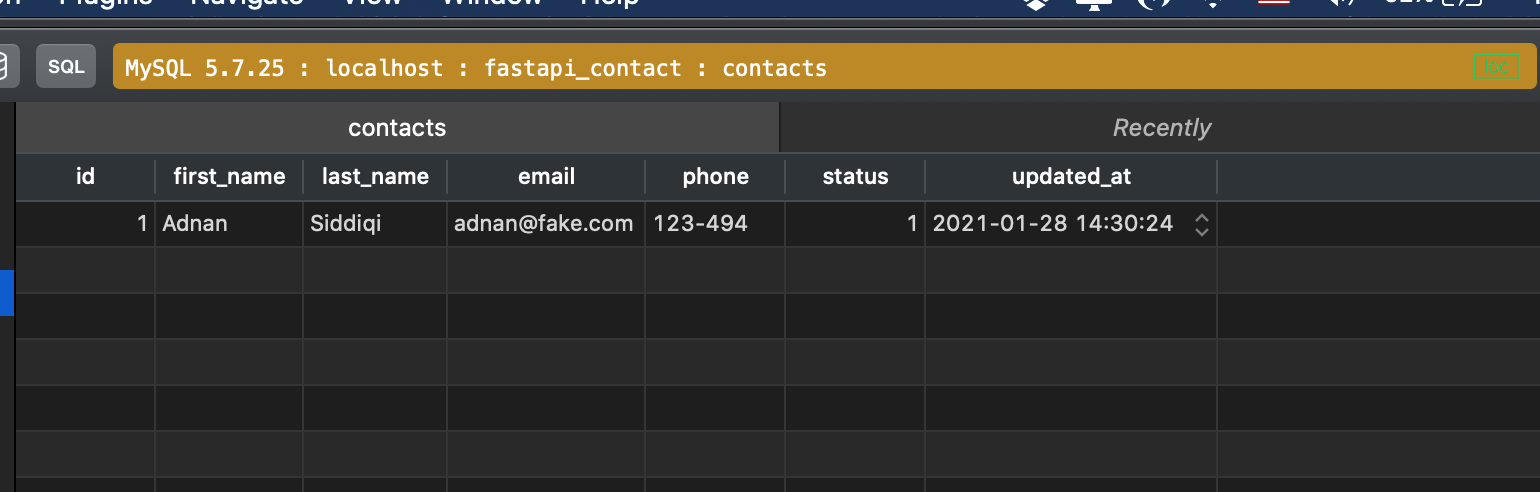
Now let’s create again. Sweet! As you can see, the output does not look nasty anymore. It shows what we want to show.

And my MYSQL client shows the newly inserted data.
I am going to create a couple of more endpoints here, one for listing and the other for delete. UPDATE is something you gotta do yourself 😉
In models/contact.py I am adding a routine to list all contacts up to 100 entries by default.
def list_contacts(skip: int = 0, limit: int = 100):
    return list(Contact.select().offset(skip).limit(limit))
Then in routers/contact.py I will be doing this:
@router_contacts.get("/", response_model=List[ContactModel], summary="List of contacts", description="Returns all contacts")
def get_contacts():
    return list_contacts()
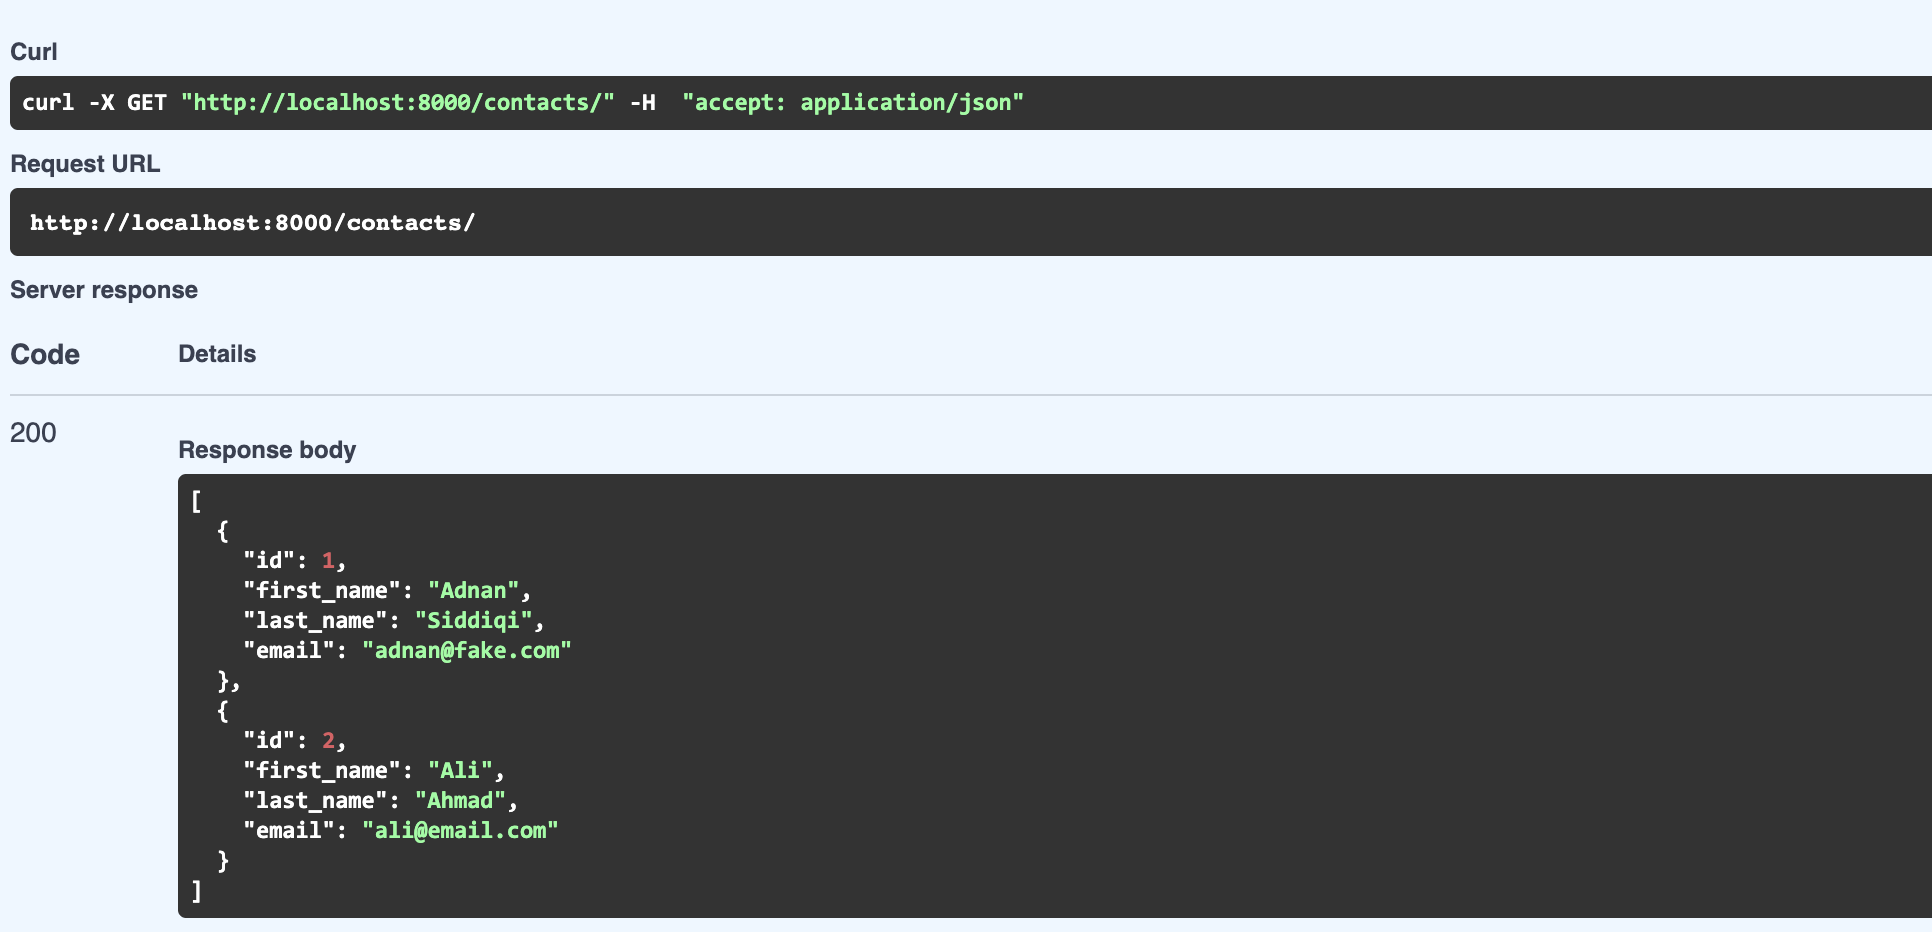
It is the same as the individual contact. The only difference is that response_model is of type List and the reason to do this is that the model is returning a list so our model should be a list too. On executing it shows like below:
For removing a record I am going to add the following in the model file:
def delete_contact(id: int):
    return Contact.delete().where(Contact.id == id).execute()
And in routers/contact.py
@router_contacts.delete(
    "/remove/{id}",
    summary="Delete an individual contact",
    response_class=Response,
    responses={
        200: {"description": "Contact successfully deleted"},
        404: {"description": "Contact not found"},
    },
)
def remove_contact(id: int):
    del_contact = delete_contact(id)
    if del_contact is None:
        return Response(status_code=404)
    return Response(status_code=200)
In the delete decorator, I added another parameter responses and added what message should be displayed in the doc for each HTTP status message.
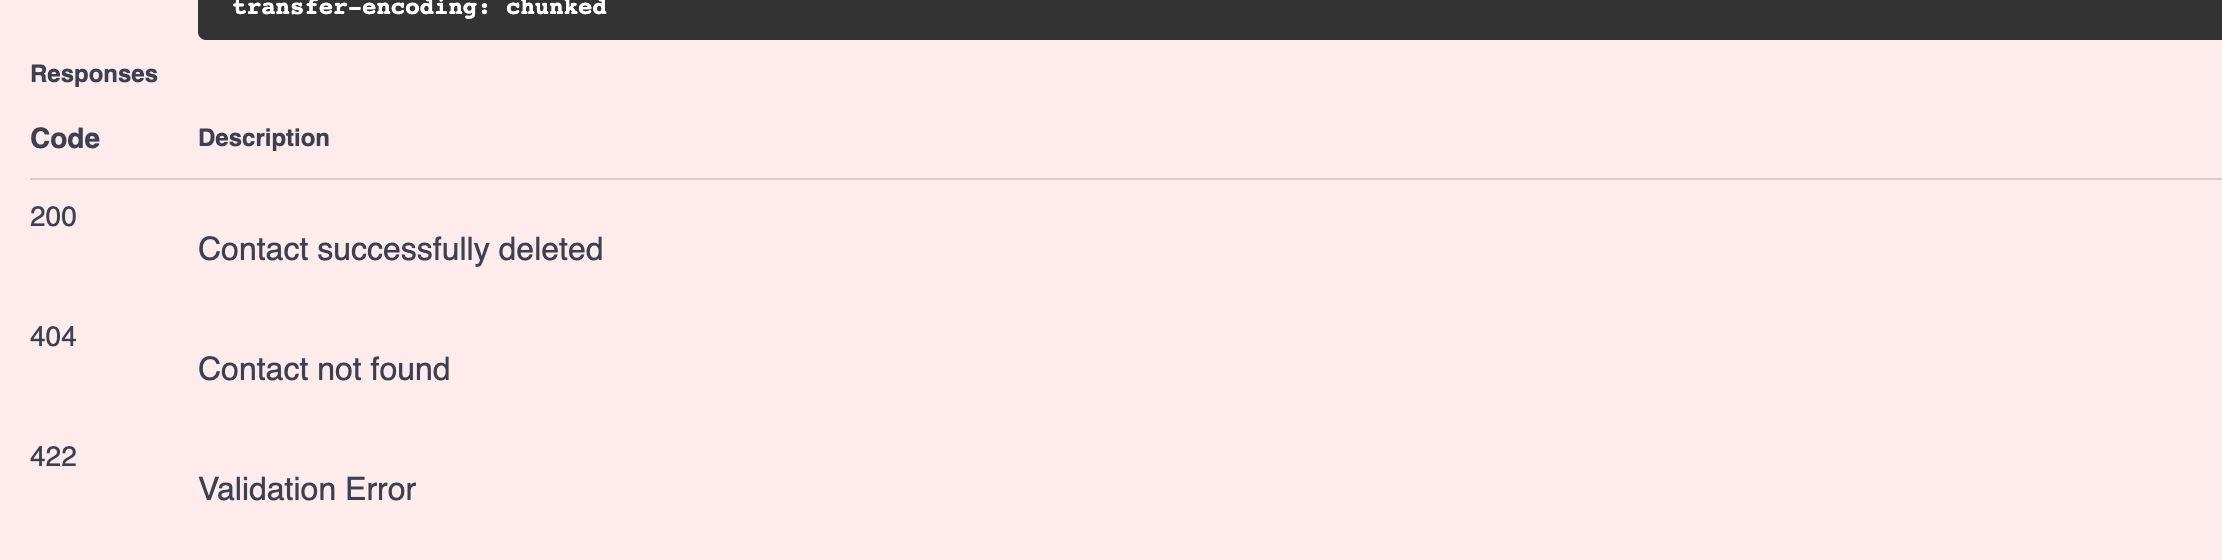
Looks much better, No?
Before I end this article, I would like to talk about another thing: Templates!!!!
FastAPI Templates
Just like Flask, you can use Jinja2 or any other templates in FastAPI too. You might not be needing this feature but it could be used if you need to offer simple HTML for instance a login form.
I will be installing Jinja2 first:
pipenv install jinja2
In order to serve static files, you will also need pipenv install aiofiles.
For sake of example, I am going to create the HTML version of viewing contact details.
I created two folders: static and templates. The static one will contain all assets while templates for HTML files and templates. I am just creating a simple HTML file for demo purpose and a simple CSS file.
In main.py I am making the following changes
from fastapi.staticfiles import StaticFiles
app.mount("/static", StaticFiles(directory="static"), name="static")
Do remember that you use mount here as this is not part of the main API based app hence can’t be part of APIRouter if you try to do that you get an exception starlette.routing.NoMatchFound exception.
In routers/contact.py I am doing this:
from fastapi.responses import HTMLResponse
from fastapi.templating import Jinja2Templates
....
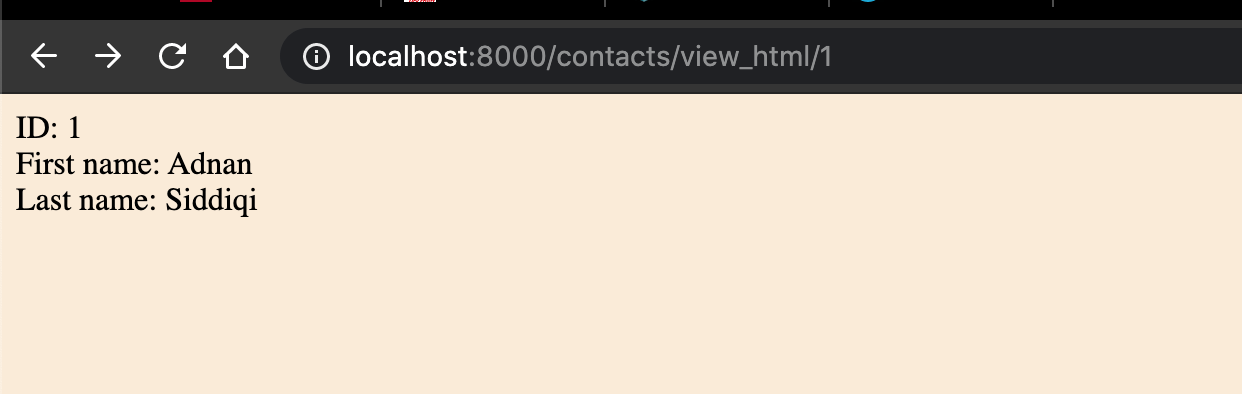
@router_contacts.get("/view_html/{id}", response_class=HTMLResponse, summary="Returns a single contact in HTML")
async def view_html(request: Request, id: int):
contact = get_contact(id=id)
if contact is None:
raise HTTPException(status_code=404, detail="Contact not found")
return templates.TemplateResponse("view.html", {"request": request, "contact": contact})
Notice that I am using the response_class instead of response_model parameter. When I access http://localhost:8000/contacts/view_html/1 then it is rendered as:
Conclusion
In this post, I discussed how you can integrate a database engine like MySQL in your FastAPI. I also discussed how you can create a frontpage of your APIs using Jinja2 templates. The code of this article is available on Github.
Related posts:
A step by step guide creating high performance APIs in Python
 Getting started with GraphQL in Python with FastAPI and Graphene
 Learn how to create your first Python based GraphQL application
 Getting started with Apache Kafka in Python
 Using Sitemap to write efficient web scrapers
 A step by step guide writing web scrapers without using extra resources.
