This post is part of the FastAPI series.
In this post, I am going to introduce FastAPI: A Python-based framework to create Rest APIs. I will briefly introduce you to some basic features of this framework and then we will create a simple set of APIs for a contact management system. Knowledge of Python is very necessary to use this framework.
Before we discuss the FastAPI framework, let’s talk a bit about REST itself.
From Wikipedia:
Representational state transfer (REST) is a software architectural style that defines a set of constraints to be used for creating Web services. Web services that conform to the REST architectural style, called RESTful Web services, provide interoperability between computer systems on the Internet. RESTful Web services allow the requesting systems to access and manipulate textual representations of Web resources by using a uniform and predefined set of stateless operations. Other kinds of Web services, such as SOAP Web services, expose their own arbitrary sets of operations.[1]
What is the FastAPI framework?
From the official website:
FastAPI is a modern, fast (high-performance), web framework for building APIs with Python 3.6+ based on standard Python type hints.
Yes, it is fast, very fast and it is due to out of the box support of the async feature of Python 3.6+ this is why it is recommended to use the latest versions of Python.

FastAPI was created by Sebastián Ramírez who was not happy with the existing frameworks like Flask and DRF. More you can learn about it here. Some of the key features mentioned on their website are:
- Fast: Very high performance, on par with NodeJS and Go (thanks to Starlette and Pydantic). One of the fastest Python frameworks available.
- Fast to code: Increase the speed to develop features by about 200% to 300%. *
- Fewer bugs: Reduce about 40% of human (developer) induced errors. *
- Intuitive: Great editor support. Completion everywhere. Less time debugging.
- Easy: Designed to be easy to use and learn. Less time reading docs.
- Short: Minimize code duplication. Multiple features from each parameter declaration. Fewer bugs.
- Robust: Get production-ready code. With automatic interactive documentation.
- Standards-based: Based on (and fully compatible with) the open standards for APIs(Open API)
The creator of the FastAPI believed in standing on the shoulder of giants and used existing tools and frameworks like Starlette and Pydantic
Installation and Setup
I am going to use Pipenv for setting up the development environment for our APIs. Pipenv makes it easier to isolate your development environment irrespective of what things are installed on your machine. It also lets you pick a different Python version than whatever is installed on your machine. It uses Pipfile to manage all your project-related dependencies. I am not gonna cover Pipenv here in detail so will only be using the commands that are necessary for the project.
You can install Pipenv via PyPy by running pip install pipenv
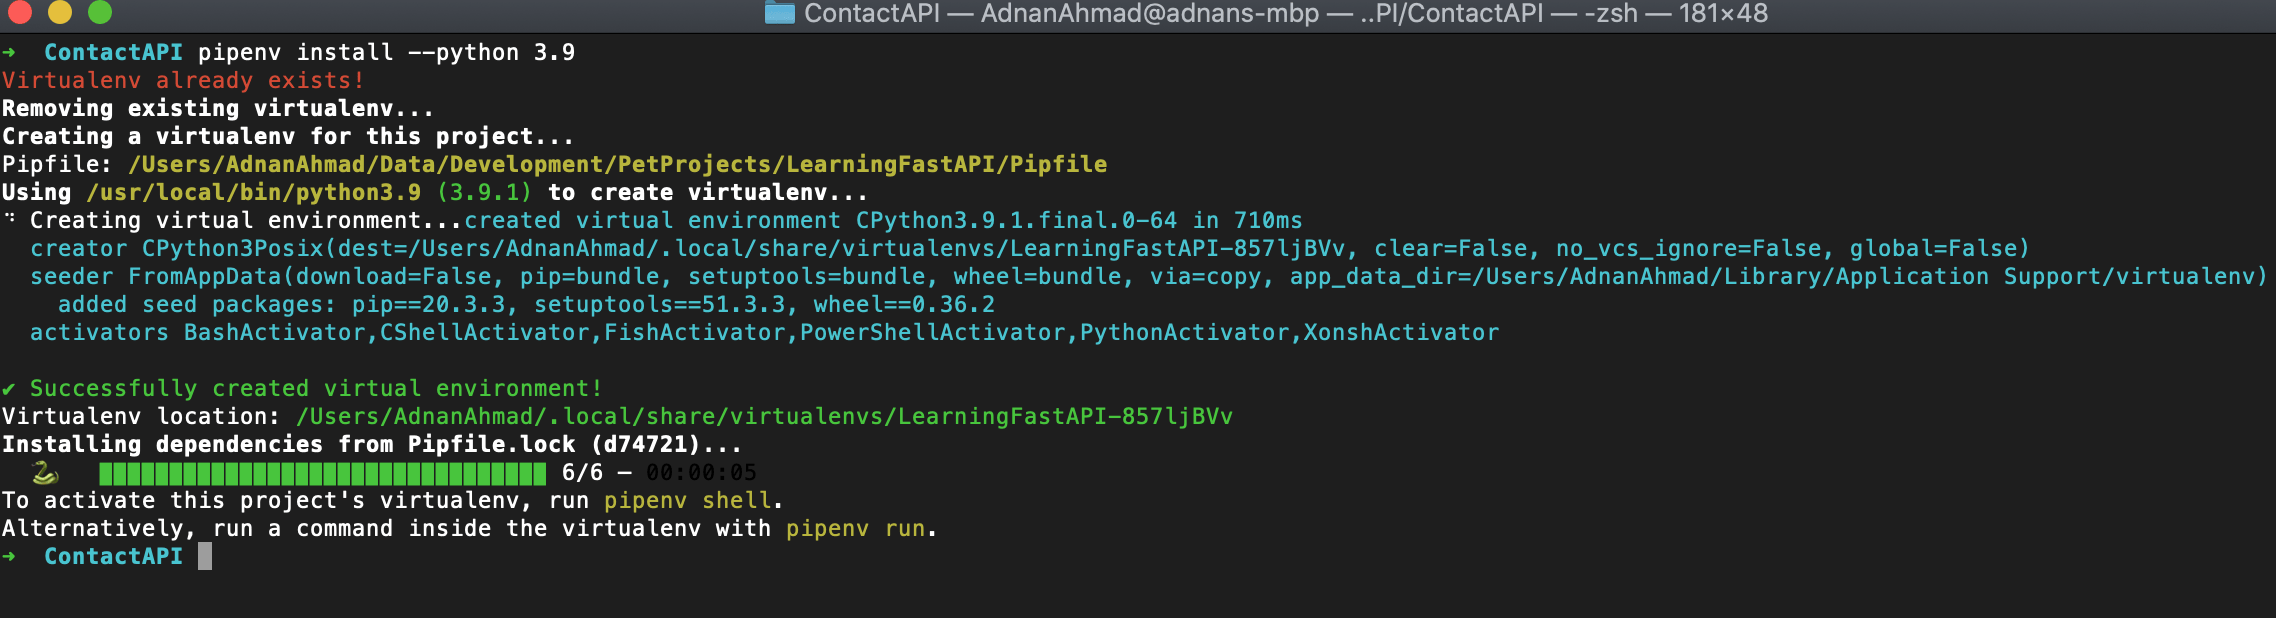
pipenv install --python 3.9
Once installed you can activate the virtual environment by running the command pipenv shell
You may also run pipenv install --three where three means Python 3.x.
Once installed you can activate the virtual environment by running the command pipenv shell

First, we will install FastAPI by running the following command: pipenv install fastapi
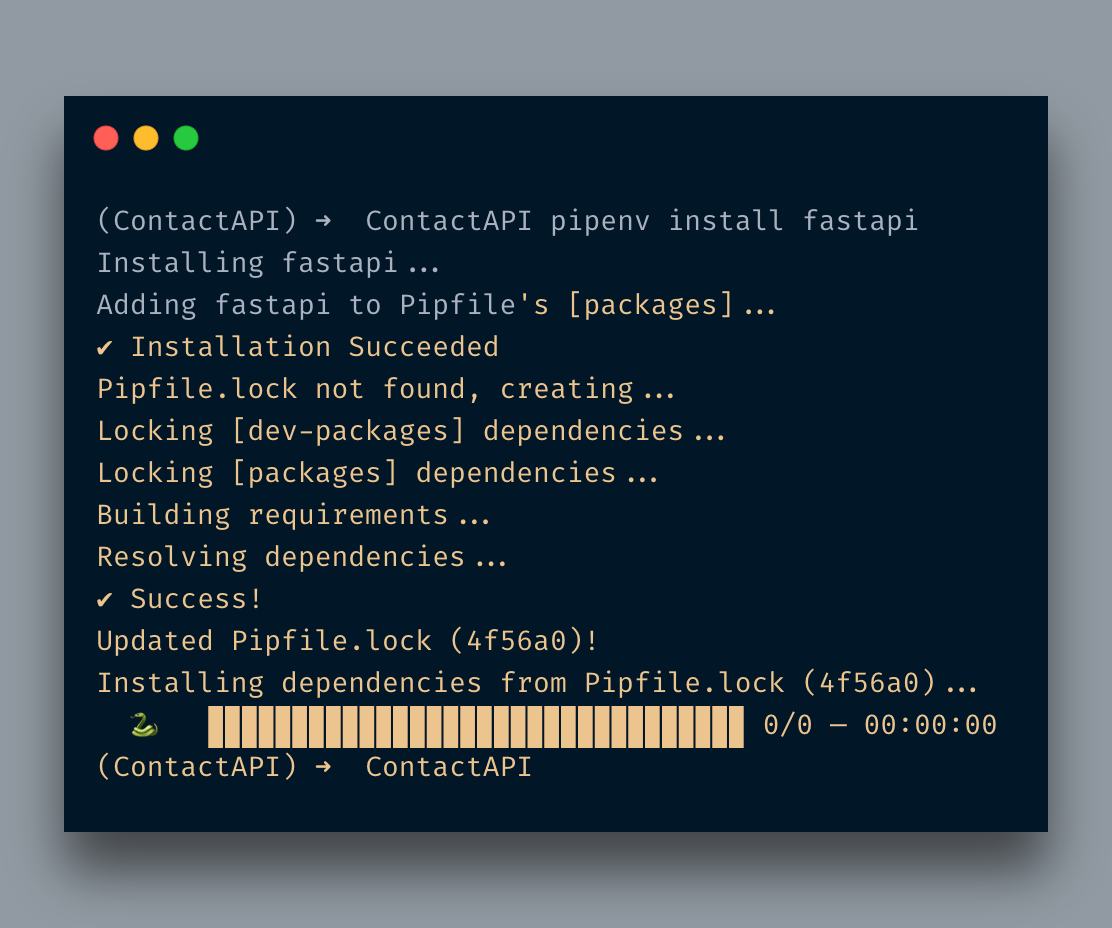
Note it’s pipenv, NOT pip. When you are into the shell you will be using pipenv. Underlying it is using pip but all entries are being stored in Pipfile. The Pipfile will be looking like below:
OK, so we have set up our dev environment. It’s time to start writing our first API endpoint. I am going to create a file called main.py. This will be the entry point of our app.
from fastapi import FastAPI

app = FastAPI()


@app.get("/")
def home():
    return {"Hello": "FastAPI"}
If you have worked on Flask then you will be finding it pretty much similar. After importing the required library you created an app instance and created your first route with a decorator.
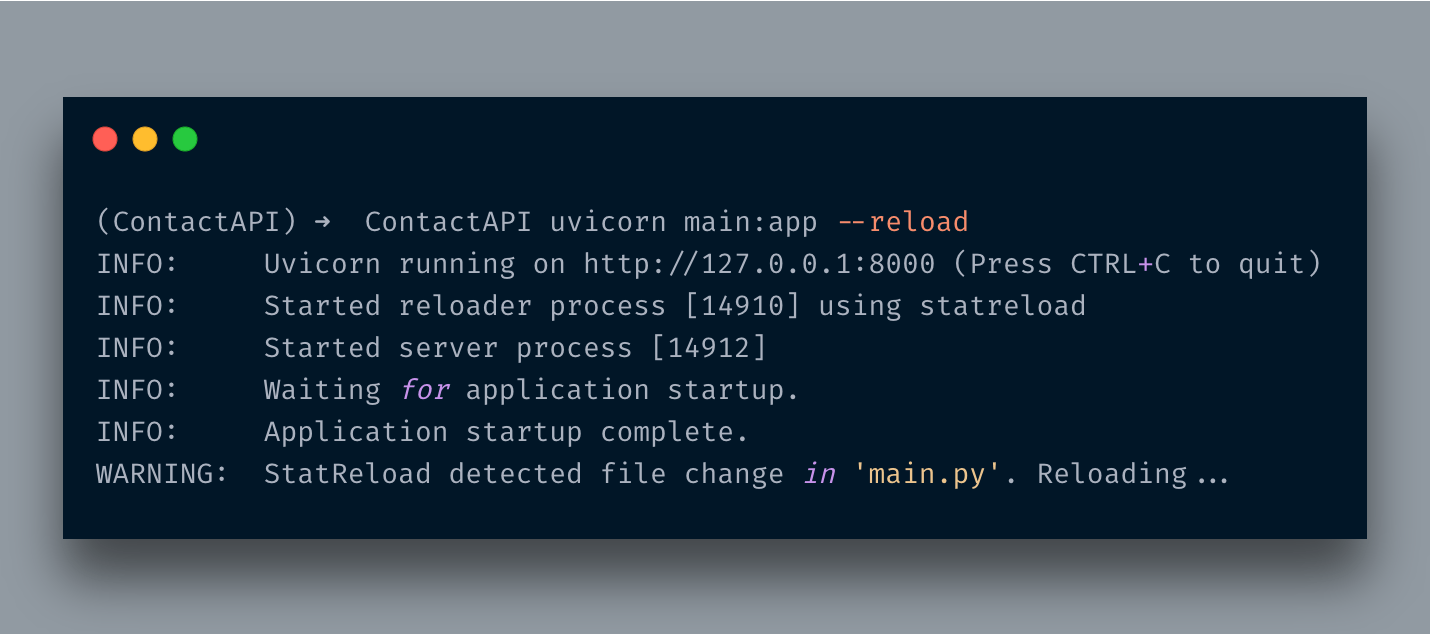
Now you wonder how to run it. Well, FastAPI comes with the uvicorn which is an ASGI server. You will simply be running the command uvicorn main:app --reload
You provide the file name(main.py in this case) and the class object(app in this case) and it will initiate the server. I am using the --reload flag so that it reloads itself after every change.
Visit http://localhost:8000/ and you will see the message in JSON format {"Hello":"FastAPI"}
Cool, No?
FastAPI provides an API document engine too. If you visit http://localhost:8000/docs which is using the Swagger UI interface.

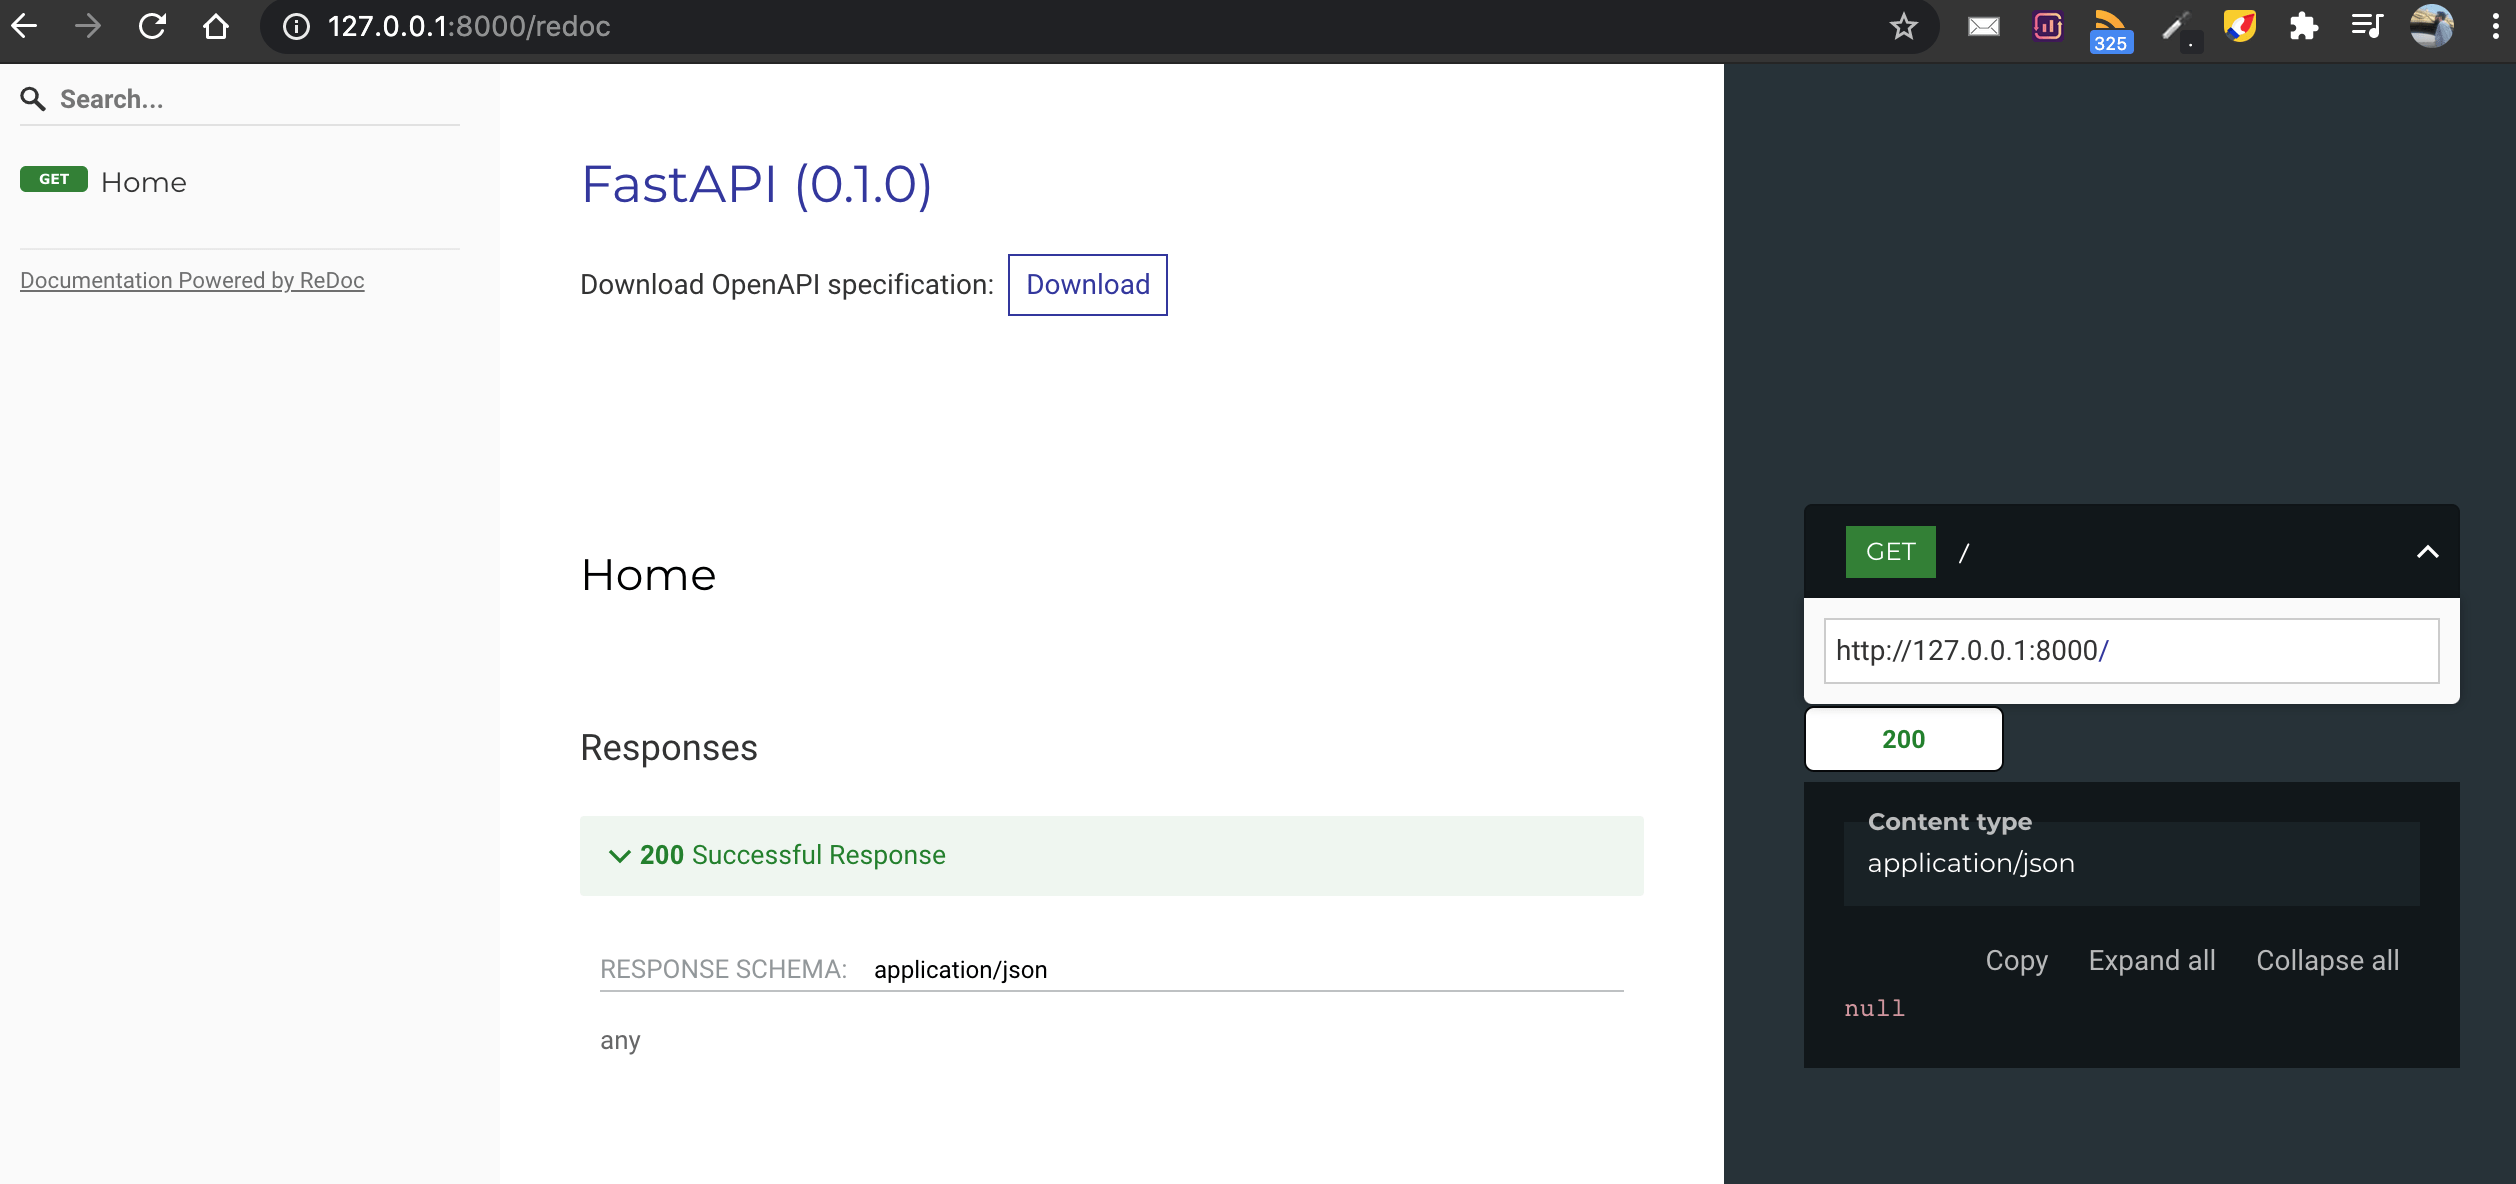
Or if you need something fancy then visit http://localhost:8080/redoc
FastAPI also provides an OpenAPI version of API endpoints, like this http://127.0.0.1:8000/openapi.json
Path and Parameters
Let’s move forward. We add another API endpoint. Say, it’s about fetching contact details by its id.
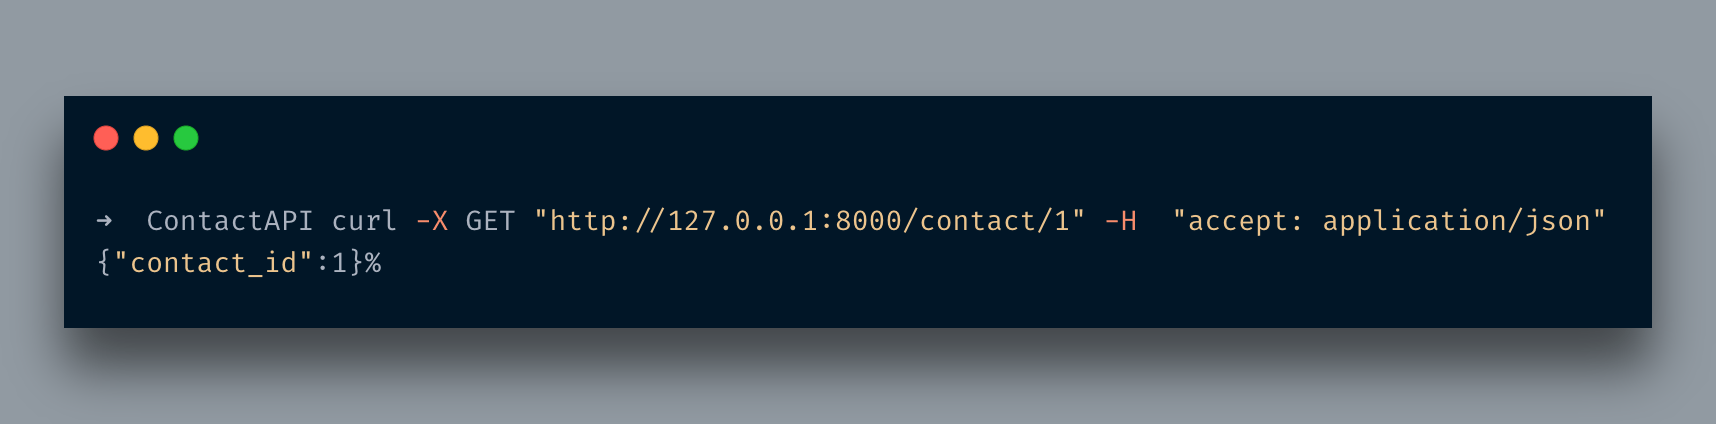
@app.get("/contact/{contact_id}")
def contact_details(contact_id: int):
    return {'contact_id': contact_id}
So here is a method, contact_details that accepts only an int parameter and just returns it as it in a dict format. Now when I access it via cURL it looks like below:
Now, what if I pass a string instead of an integer? You will see the below
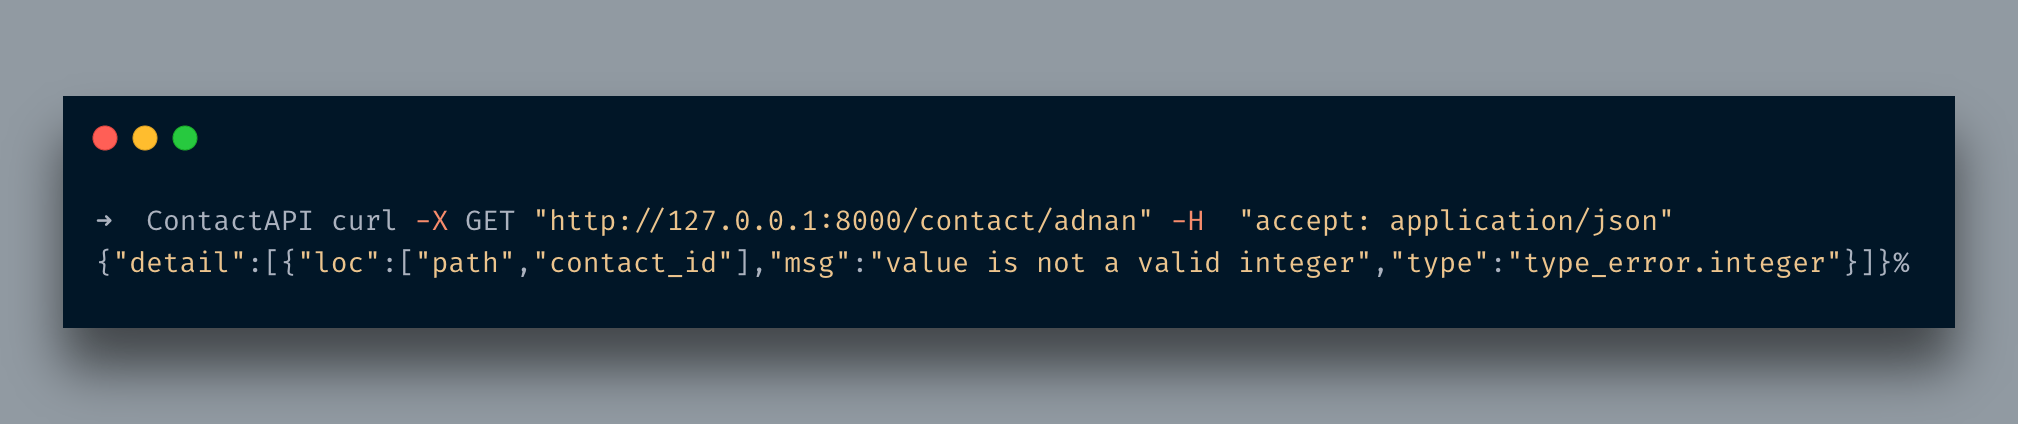
Did you see it? it returned an error message that you sent the wrong data type. You do not need to write a validator for such petty things. That’s the beauty while working in FaastAPI.
Query String
What if you pass extra data in the form of query strings? For instance your API end-point returns loads of records hence you need pagination. Well, no issue, you can fetch that info as well.
First, we will import the Optional type:
from typing import Optional
@app.get("/contact/{contact_id}")
def contact_details(contact_id: int, page: Optional[int] = 1):
    if page:
        return {'contact_id': contact_id, 'page': page}
    return {'contact_id': contact_id}
Here, I passed another parameter, page and set its type Optional[int] here. Optional, well as the name suggests it’s an optional parameter. Setting the type int is making sure that it only accepts the integer value otherwise, it’d be throwing an error like it did above.
Access the URL http://127.0.0.1:8000/contact/1?page=5 and you will see something like below:
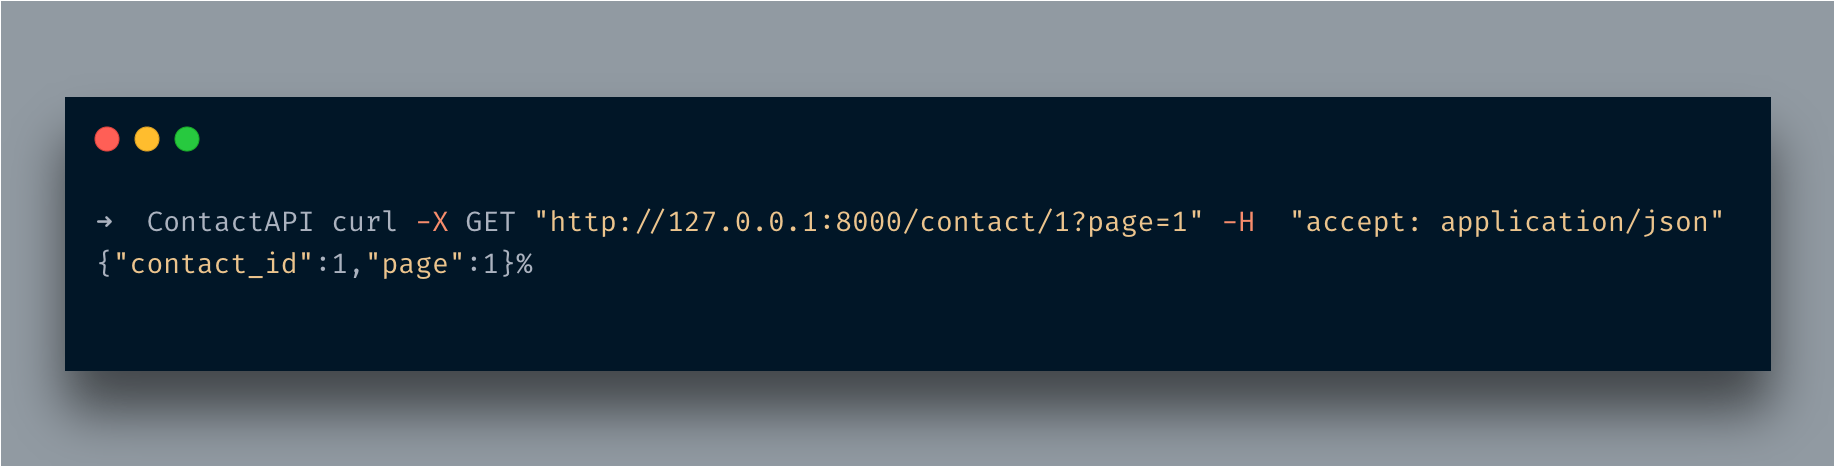

Cool, No?
So far we just manually returned the dict. It is not cool. It is quite common that you input a single value and return a YUUGE JSON structure. FastAPI provides an elegant way to deal with it, using Pydantic models.
Pydantic models actually help in data validation, what does it mean? It means it makes sure that the data which is being passed is valid, if not otherwise it returns an error. We are already using Python’s type hinting and these data models make that the sanitized data is being passed thru. Let’s write a bit of code. I am again going to extend the contact API for this purpose.
from typing import Optional

from fastapi import FastAPI
from pydantic import BaseModel
app = FastAPI()


class Contact(BaseModel):
    contact_id:int
    first_name:str
    last_name:str
    user_name:str
    password:str

@app.post('/contact')
async def create_contact(contact: Contact):
    return contact
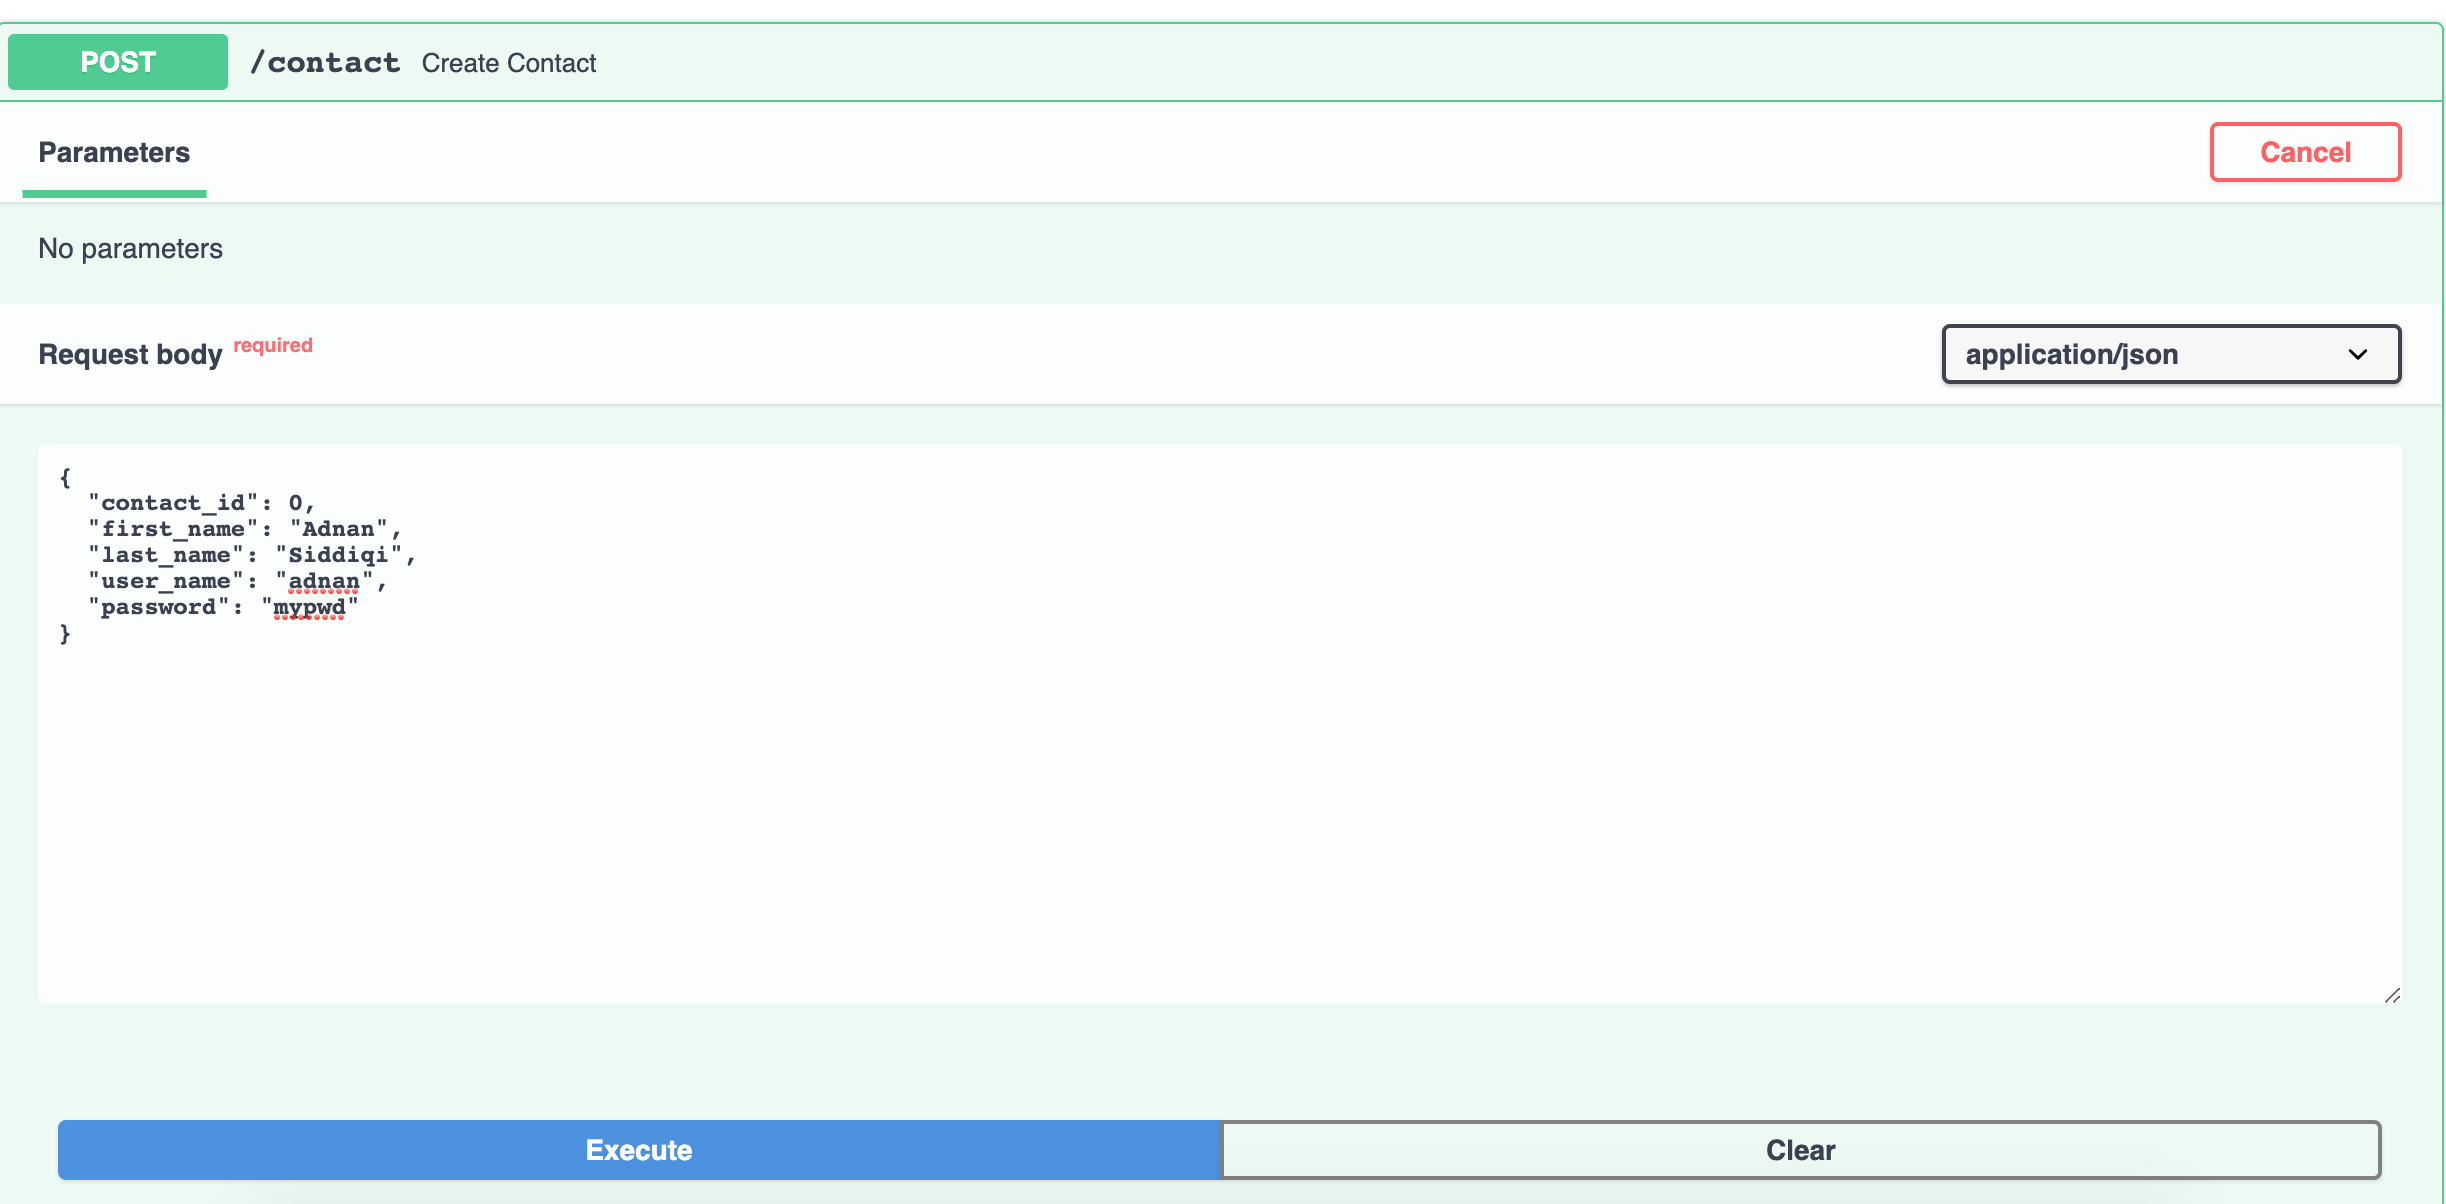
I imported the BaseModel class from pydantic. After that, I created a model class that extended the BaseModel class and set 3 fields in it. Do notice I am also setting the type of it. Once it’s done I created a POST API endpoint and passed an Contact parameter to it. I am also using async here which converts the simple python function into a coroutine. FastAPI supports it out of the box.
Go to http://localhost:8080/docs and you will see something like below:
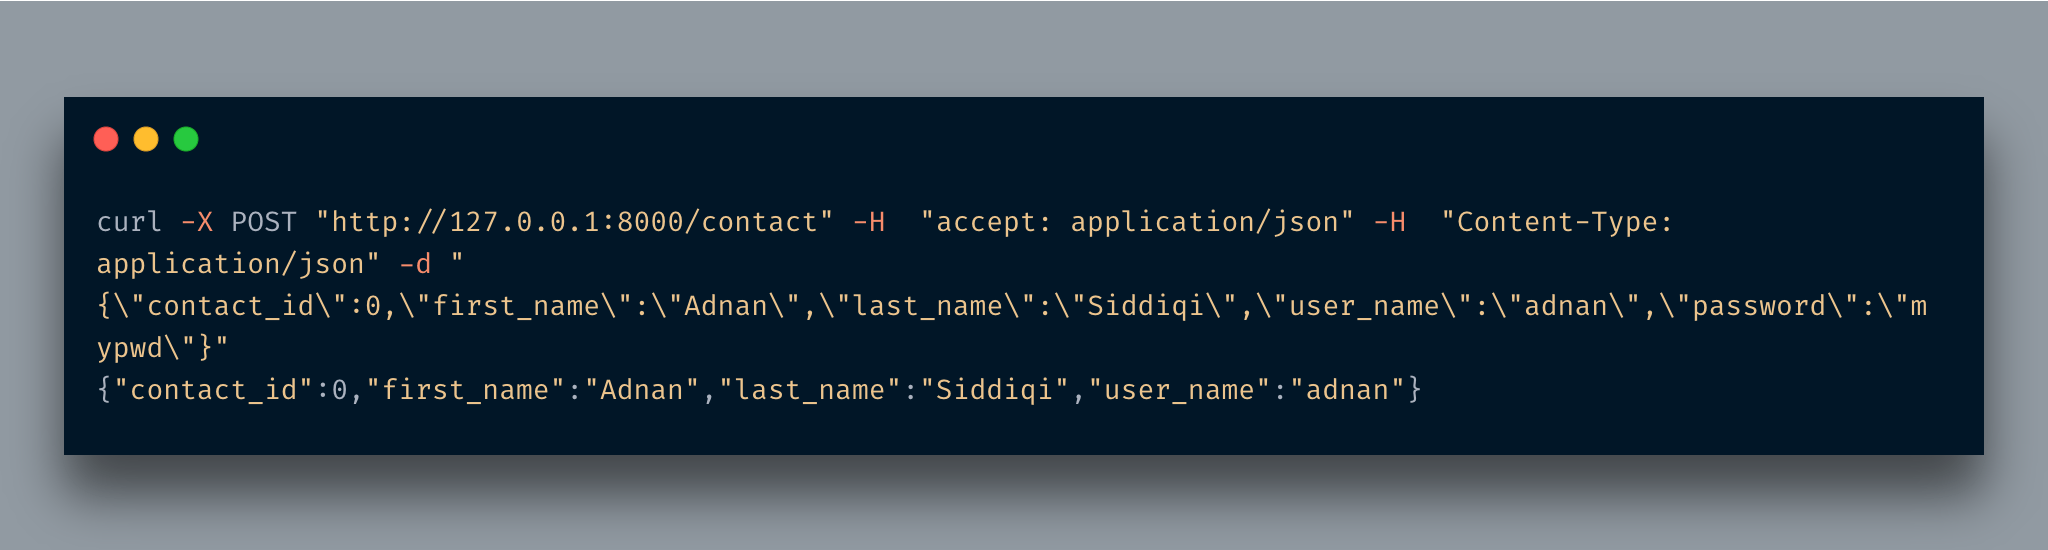
When you run the CURL command you would see something like the below:

As expected it just returned the Contact object in JSON format.
As you notice, it just dumps the entire model in JSON format, including password. It does not make sense even if your password is not in plain-text format. So what to do? Response Model is the answer.
What is Response Model
As the name suggests, a Response Model is a model that is used while sending a response against a request. Basically, when you just used a model it just returns all fields. By using a response model you can control what kind of data should be returned back to the user. Let’s change the code a bit.
class Contact(BaseModel):
    contact_id:int
    first_name:str
    last_name:str
    user_name:str
    password:str


class ContactOut(BaseModel):
    contact_id:int
    first_name:str
    last_name:str
    user_name:str


@app.get("/")
def home():
    return {"Hello": "FastAPI"}


@app.post('/contact', response_model=ContactOut)
async def create_contact(contact: Contact):
    return contact
I have added another class, ContactOut which is almost a copy of the Contact class. The only thing which is different here is the absence of the password field. In order to use it, we are going to assign it in the response_model parameter of the post decorator. That’s it. Now when I run hit the same URL it will not return the password field.
As you can see, no password field is visible here. If you notice the /docs URL you will see it visible over there as well.

Using a different Response Model is feasible if you are willing to use it in multiple methods but if you just want to omit the confidential information from a single method then you can also use response_model_exclude parameter in the decorator.
@app.post('/contact', response_model=Contact, response_model_exclude={"password"})
async def create_contact(contact: Contact):
    return contact
The output will be similar. You are setting the response_model and response_model_exclude here. The result is the same. You can also attach metadata with your API endpoint.
@app.post('/contact', response_model=Contact, response_model_exclude={"password"},description="Create a single contact")
async def create_contact(contact: Contact):
    return contact
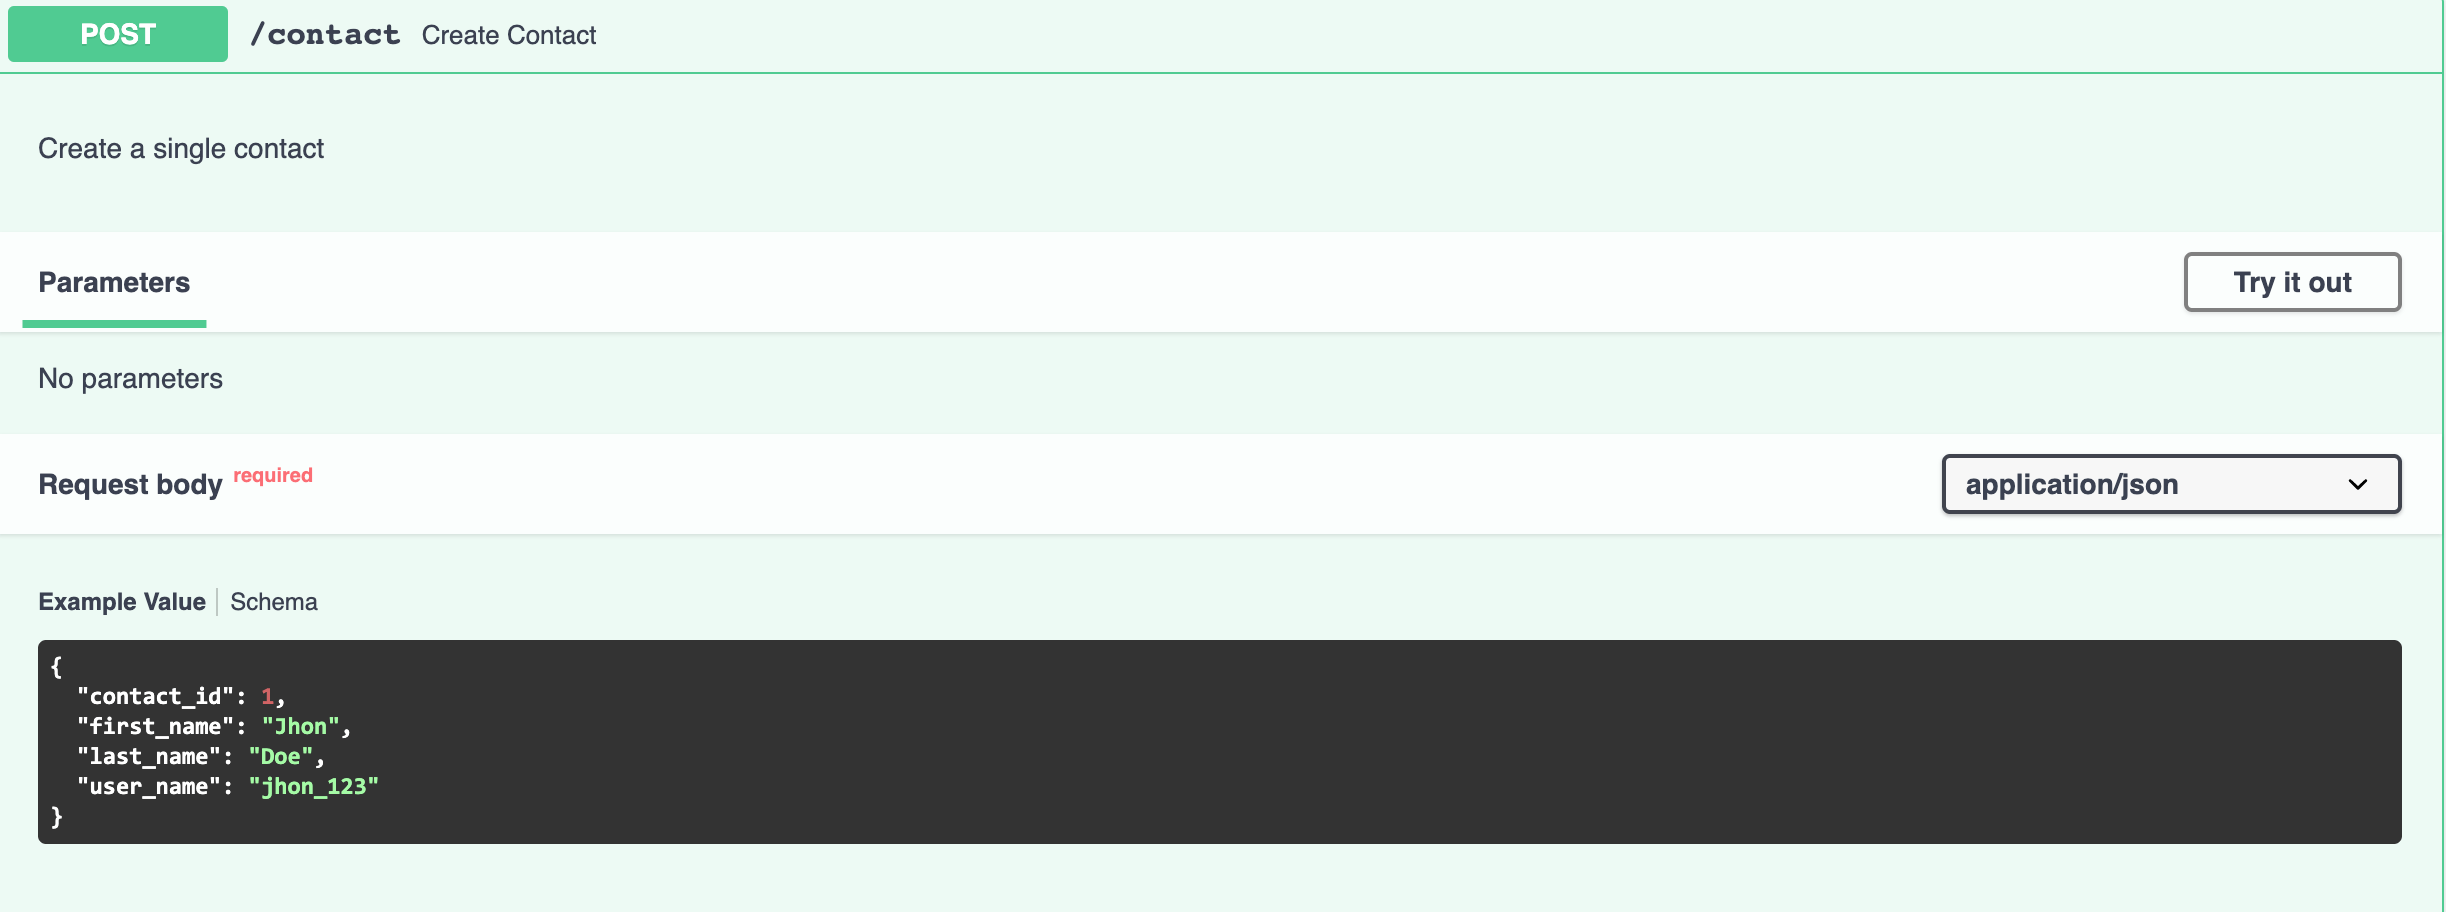
We added the description of this endpoint which you can see in the doc.

FastAPI documentation awesomeness does not end here, it also lets you set the example JSON structure of the model.
class Contact(BaseModel):
    contact_id:int
    first_name:str
    last_name:str
    user_name:str
    password:str

    class Config:
        schema_extra = {
            "example": {
                "contact_id": 1,
                "first_name": "Jhon",
                "last_name": "Doe",
                "user_name": "jhon_123",
            }
        }
And when you do that, it is rendered as:
Error handling in FastAPI
It is always possible that you do not get the required info. FastAPI provides HTTPException class to deal with such situations.
@app.get("/contact/{id}", response_model=Contact, response_model_exclude={"password"},description="Fetch a single contact")
async def contact_details(id: int):
    if id < 1:
        raise HTTPException(status_code=404, detail="The required contact details not found")
    contact = Contact(contact_id=id, first_name='Adnan', last_name='Siddiqi', user_name='adnan1', password='adn34')
    return contact
A simple endpoint. It returns contact details based on the id. If the id is less than 1 it returns a 404 error message with details.
Before I leave, let me tell you how you can send custom headers.
from fastapi import FastAPI, HTTPException, Response

@app.get("/contact/{id}", response_model=Contact, response_model_exclude={"password"},
         description="Fetch a single contact")
async def contact_details(id: int, response: Response):
    response.headers["X-LOL"] = "1"
    if id < 1:
        raise HTTPException(status_code=404, detail="The required contact details not found")
    contact = Contact(contact_id=id, first_name='Adnan', last_name='Siddiqi', user_name='adnan1', password='adn34')
    return contact
After importing the Response class I passed request parameter of type Request and set the header X-LOL
After running the curl command you will see something like the below:
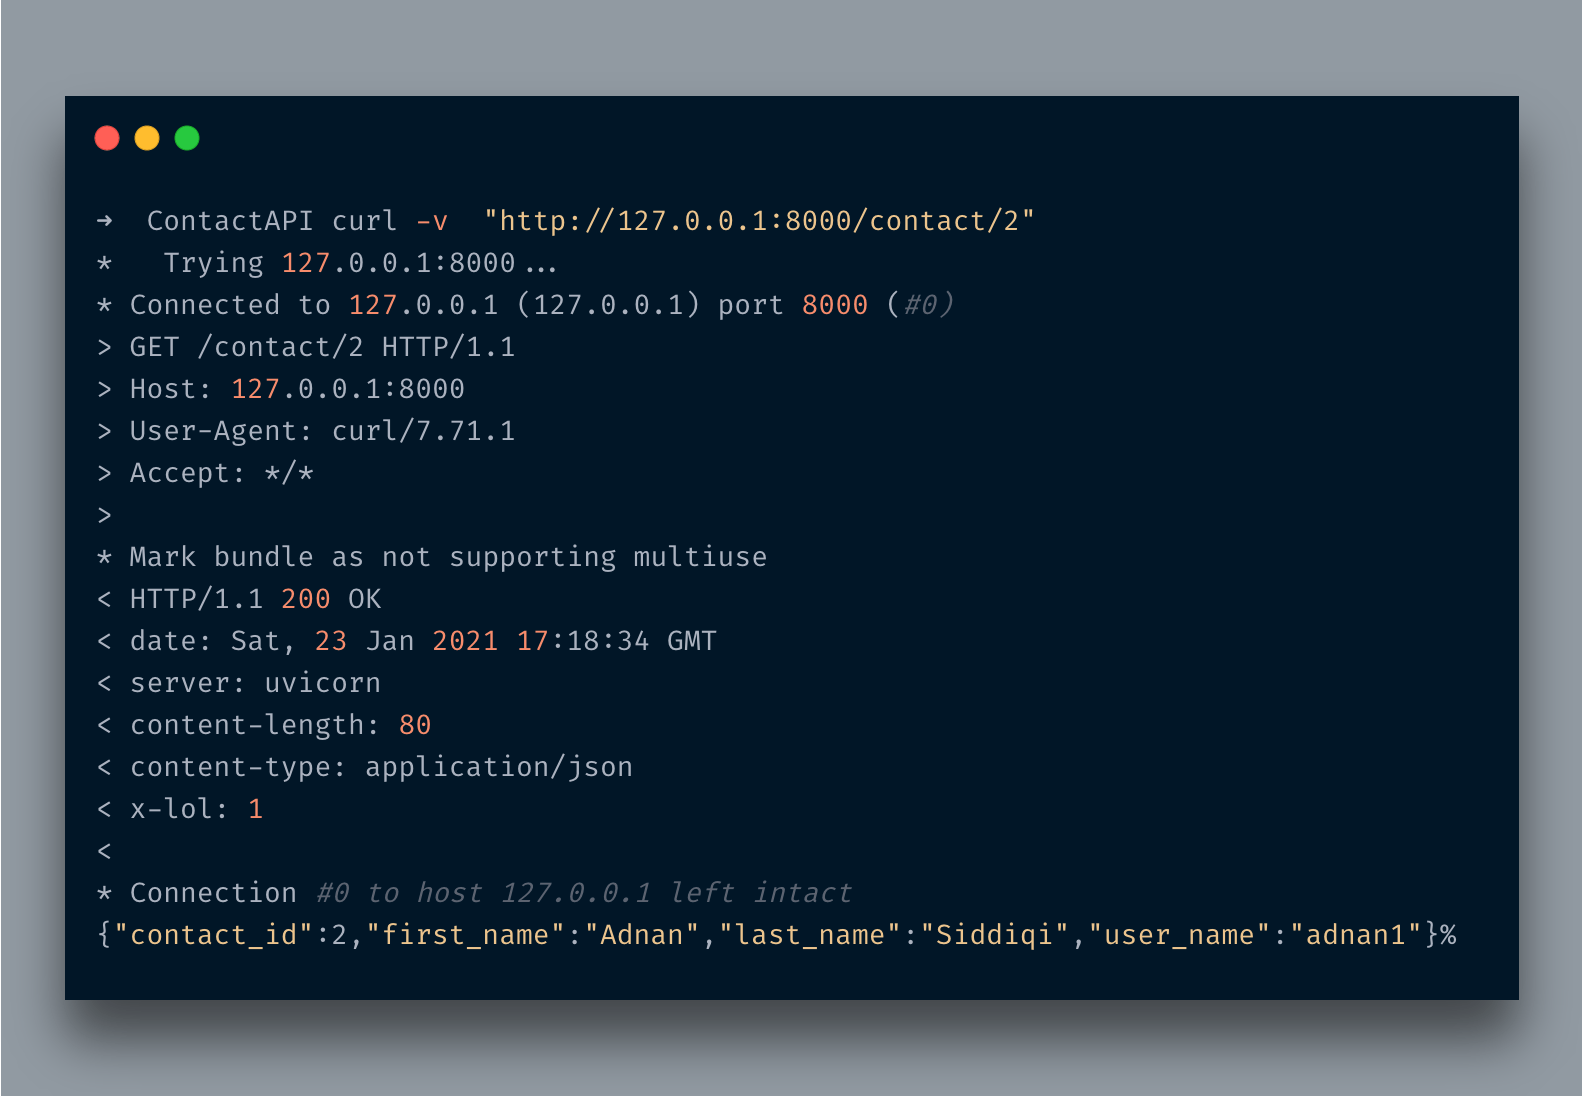
You can find x-lol among headers. LOL!
Conclusion
So in this post, you learned how you can start using FastAPI for building high-performance APIs. We already have a minimal framework called Flask but FastAPI’s asynchronous support makes it much attractive for modern production systems especially machine learning models that are accessed via REST APIs. I have only scratched the surface of it. You can learn further about it on the official FastAPI website.
Hopefully, in the next post, I will be discussing some advanced topics like integrating with DB, Authentication, and other things.
Related posts:
Learn how to create Db driven Rest APIs in FastAPI
 Getting started with GraphQL in Python with FastAPI and Graphene
 Learn how to create your first Python based GraphQL application
 Getting started with Python and IPFS
 Getting started with Apache Cassandra and Python