In last post I talked about using forms, in this last part of the series I am going to discuss about Django Admin and how can this powerful feature be used for records management.
Django Admin
Before we get into coding, we need to create a superuser(Admin). Open Terminal, go in your project’s root folder where manage.py resides and run the following command:
Adnans-MacBook-Pro:ohbugztracker AdnanAhmad$ python manage.py createsuperuser
Username (leave blank to use 'adnanahmad'): kadnan
Email address: mymail@mail.com
Password:
Password (again):
Superuser created successfully.
Adnans-MacBook-Pro:ohbugztracker AdnanAhmad$
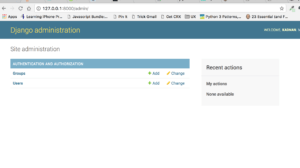
The interactive tool will ask a series of things. Once it’s over, check your settings.py file that whether admin app is available in INSTALLED_APPS or not. It should have django.contrib.admin as an app there. if all set, go to http://127.0.0.1:8000/admin and log in with the user you just created. You should have something similar on your screen:
In admin.py make the following changes:
from django.contrib import admin
from .models import Project, Task

# Register your models here.

admin.site.register(Project)
admin.site.register(Task)
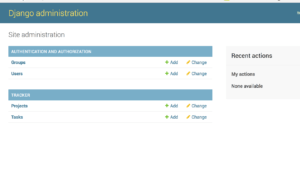
Refresh the admin panel and you will see two entries, Projects and Tasks under tracker section.
That’s it. The register function will register models and make it available on interface. This is such an awesome feature that I wish should be available on other frameworks as well.
That’s all now. This series is over. It took me days to finish it up. I know I did not cover tasks management section but hey, I am not willing to spoon-feed you. The code is open on Github, clone it and extend it while learning.
The code is available on Github.


2 Comments
Graham Seer
Great series! Not sure why but the image screenshots are blurry, one can hardly see the details.
Adnan
THanks. Click to view it properly.