In this post, I am going to discuss another cloud-based scraping tool that takes care of many of the issues you usually face while scraping websites. This platform has been introduced by ScrapingBee, a cloud-based Scraping tool.
What is ScrapingBee
If you visit their website, you will find something like this:
ScrapingBee API handles headless browsers and rotates proxies for you.
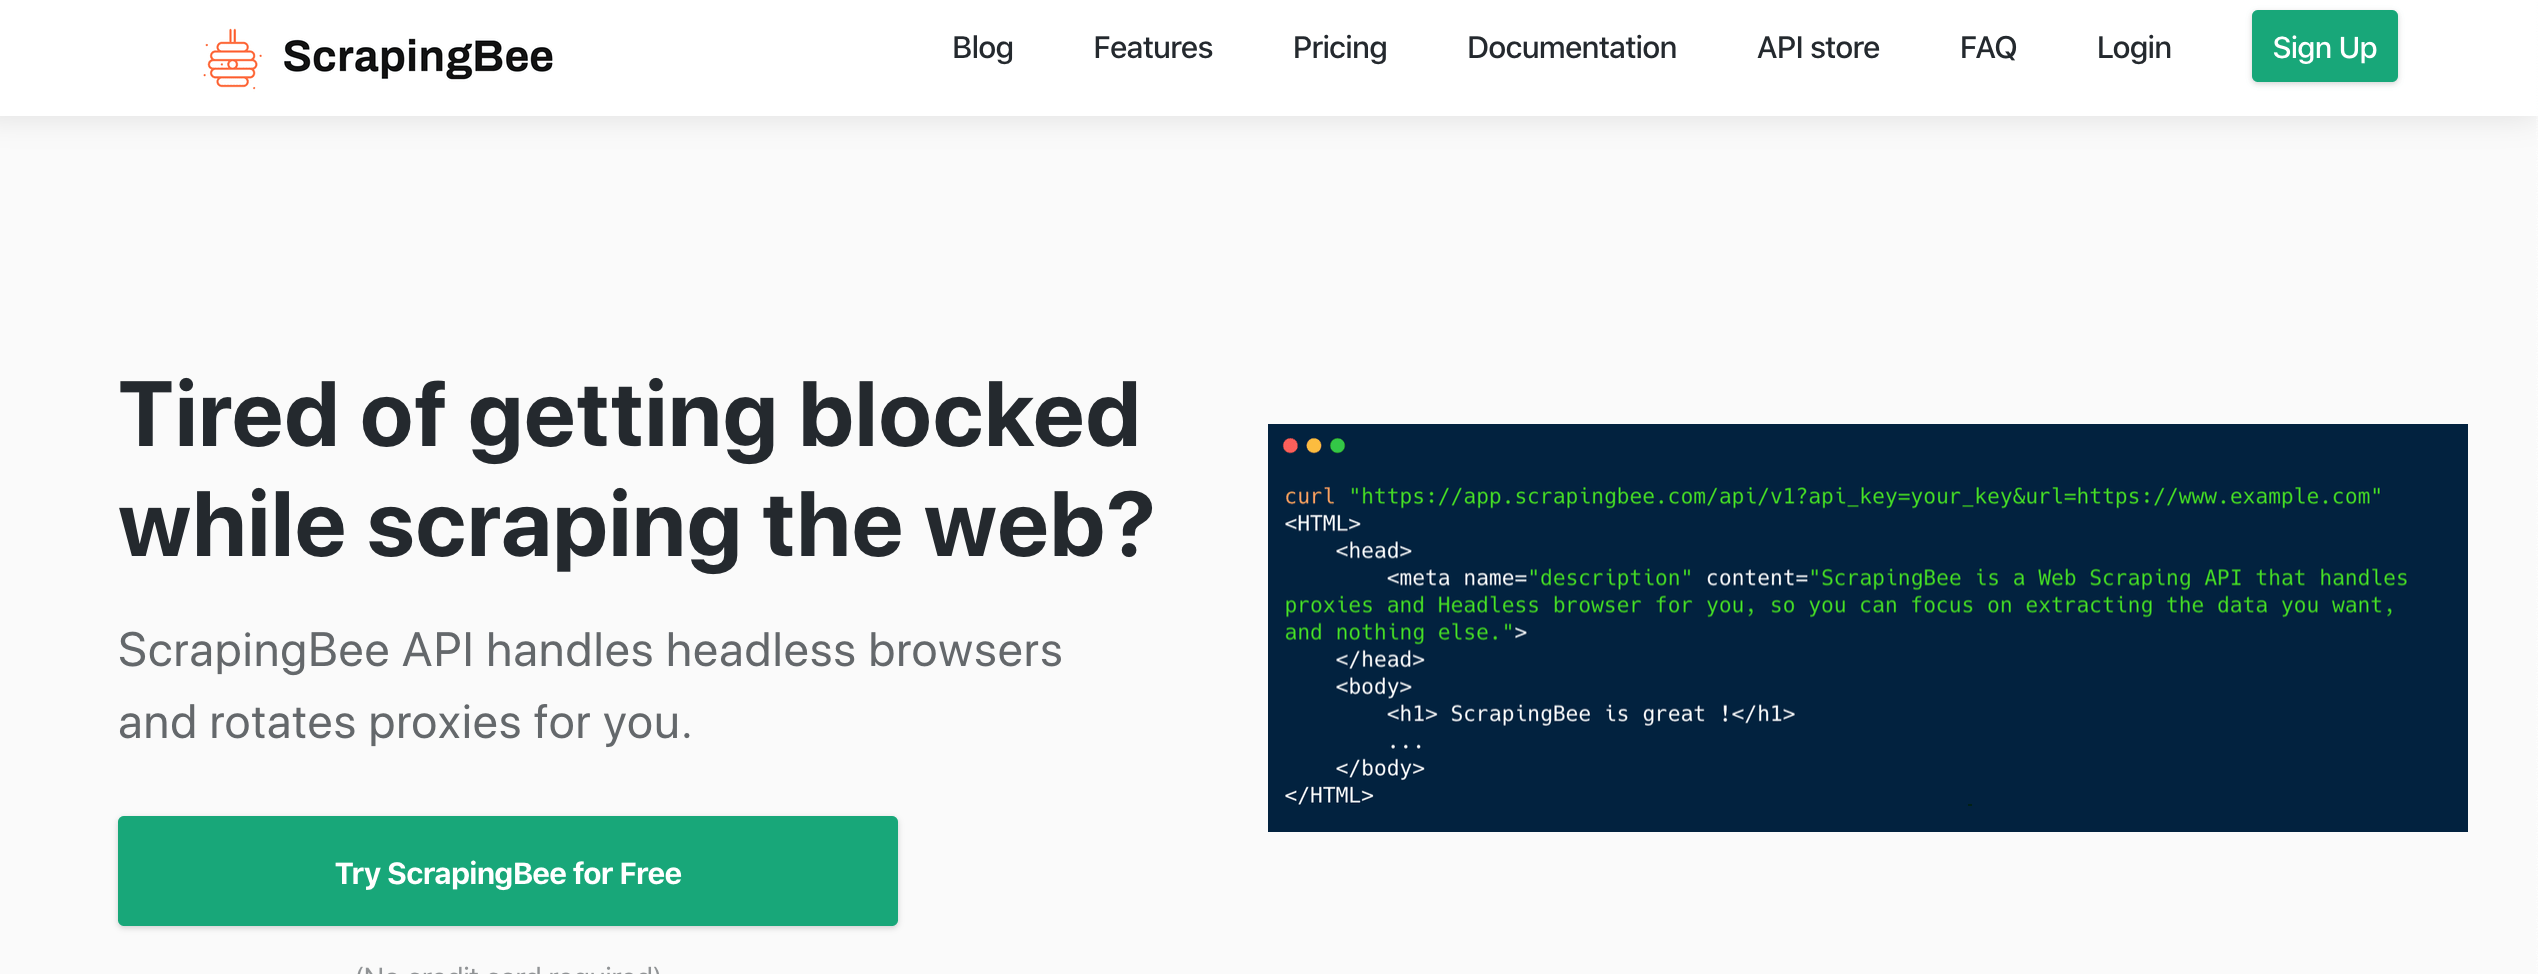
As it suggests, it is offering you all the things to deal with the issues you usually come across while writing your scrapers, especially the availability of proxies and headless scraping. No installation of web drivers for Selenium, yay!
Development
ScrapingBee is based on REST API hence it can be consumed in any programming language. Since this post is related to Python so I’d be mainly focusing on requests library to use this tool.
Once you get registered and confirmed with them they will provide you an API KEY which you can see on the dashboard. They provide 1000 free API calls which are enough to test their platform. Otherwise, they offer different plans from starter to the enterprise which you can view here.
Let’s try a simple example.
import requests

if __name__ == '__main__':
    API_KEY = '<YOUR API KEY>'
    URL_TO_SCRAPE = 'https://httpbin.org/ip'

    params = {
        'api_key': API_KEY,
        'url': URL_TO_SCRAPE,
        'render_js': 'false'
    }

    r = requests.get(
        'http://app.scrapingbee.com/api/v1/',
        params=params,
        timeout=20
    )

    if r.status_code == 200:
        html = r.text
        print(html)
On executing this code, you will see output like below:
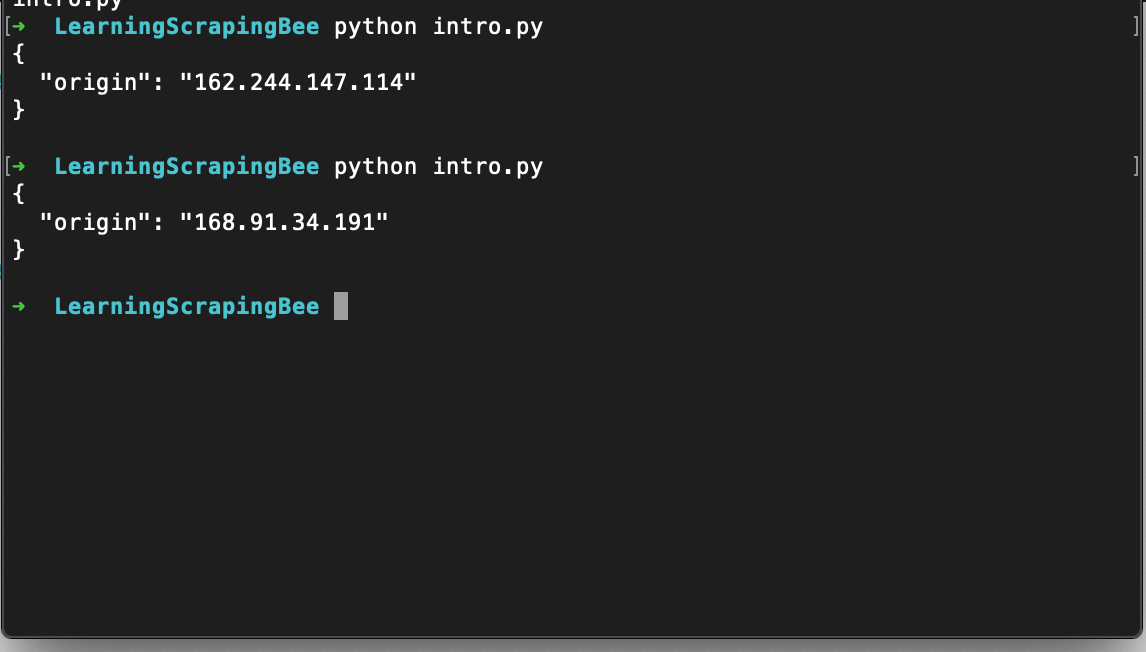 Did you notice, every time it returns a new IP address, cool, isn’t it?
You can also pass your own custom headers where needed. If I change URL_TO_SCRAPE to https://httpbin.org/headers, it will dump the default headers.
```python
params = {
    'api_key': API_KEY,
    'url': URL_TO_SCRAPE,
    'render_js': 'false',
    'forward_headers': True
}

headers = {
    'Scn-User-Agent': 'My Custom ScrapingBee APP',
    'Scn-X-MyOwn-Header': 'ROFL'
}

r = requests.get(
    'http://app.scrapingbee.com/api/v1/',
    params=params,
    timeout=20,
    headers=headers
)

if r.status_code == 200:
    html = r.text
    print(html)
```
So I changed the URL of httpbin to display headers. First I set the parameter forward_headers as True and then I override the existing header, in this case, User-Agent parameter as Scn-User-Agent. As per documents, you have to set Scn- as a prefix to override the existing one or add your own one. In our case, I added a new header as Scn-X-MyOwn-Header. When I run this it displays the following:

Cool, No?
Creating OLX Scraper
Like previous scraping-related posts, I am going to pick OLX again for this post. I will iterate the list first and then will scrape individual items. Below is the complete code.
from time import sleep
import requests
from bs4 import BeautifulSoup

if __name__ == '__main__':
    all_links = []

    API_KEY = '<YOUR API KEY>'
    URL_TO_SCRAPE = 'https://www.olx.com.pk/tablets_c1455'

    params = {
        'api_key': API_KEY,
        'url': URL_TO_SCRAPE,
        'render_js': 'False',
        'country_code': 'us'
    }

    r = requests.get(
        'http://app.scrapingbee.com/api/v1/',
        params=params,
        timeout=20
    )

    if r.status_code == 200:
        html = r.text
        soup = BeautifulSoup(html, 'lxml')

        links = soup.select('.EIR5N > a')

        for link in links:
            all_links.append('https://www.olx.com.pk' + link['href'])

    idx = 0

    if len(all_links) > 0:
        for link in all_links:
            sleep(2)

            if idx > 1:
                break

            params = {
                'api_key': API_KEY,
                'url': link,
                'render_js': 'False',
                'country_code': 'us'
            }

            r = requests.get(
                'http://app.scrapingbee.com/api/v1/',
                params=params,
                timeout=20
            )

            if r.status_code == 200:
                html = r.text.strip()
                soup = BeautifulSoup(html, 'lxml')

                price_section = soup.find('span', {'data-aut-id': 'itemPrice'})
                print(price_section.text)

            idx += 1
I am using Beautifulsoup to parse HTML. I have only extracted Price here because the purpose is to tell about the API itself than Beautifulsoup. You should see my post here in case you are new to scraping and Python.
Here I introduced another parameter, country_code which I used in the USA. This parameter ensures the use a proxy from the US only instead of any random country. Anyways, when I scrape the Tablets section of OLX, it prints the following:
python intro.py
Rs 12,999
Rs 7,500
Conclusion
In this post, you learned how to use the ScrapingBee API for scraping purposes. Whatever you can do with this API you can do it by other means as well; this API provides you with everything under the umbrella, especially rendering of pages via JavaScript, for which you need headless browsers which, at times become cumbersome to set things up on remote machines for headless scraping. ScrappingBee API is taking care of it and charging nominal charges for individuals and enterprises. The company I work with spends 100s of dollars on a monthly basis just for the proxy IPs.
Oh, if you sign up here with my referral link or enter promo code ADNAN, you will get a 10% discount on it. In case you do not get the discount, just let me know via email on my site, and I’d sure help you out.
In the coming days, I’d be writing more posts about the ScrapingBee API, discussing further features.
Related posts:
 Develop AirBnb Parser in Python
 Create Amazon Scraper in Python using Scraper API
 Learn how to create an Amazon scraper in python to scrape product details like price, ASIN etc
 How to Build an Automated Buying Bot in Python with ScrapingBee
Create Ebay Scraper in Python using Scraper API
How to Build an Automated Buying Bot in Python with ScrapingBee
Create Ebay Scraper in Python using Scraper API Learn how to create an eBay data scraper in Python to fetch item details and price.
