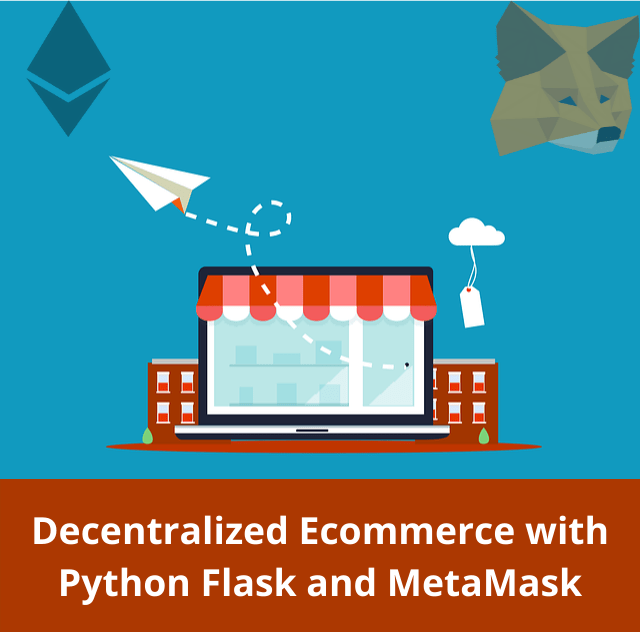
In the previous post, I had discussed how you can use MetaMask and Web3.js library for creating the frontends of your blockchain apps. In this post, I am going a step further and will discuss how you can create a decentralized e-commerce website by using Python Flask as a backend and MetaMask libraries for accepting ETH on your website. Our typical demo website will look like the below:
Besides telling you about how an existing backend application can start accepting Ethereum and other ERC20 tokens, the point I want to make is that you do not always need a smart contract or a web3.js library to make your app a decentralized app(as per the current definition of dApp).
The web app I have made is using Flask 2 libraries and Sqlite3 for DB purposes.
I am not going to teach how a Flask App is developed, you may check other tutorials. I am going to discuss how you can integrate your web app with an Ethereum node(in this case Ganache) via MetaMask and start accepting tokens on your website.
When you open the main page, it asks you to connect your wallet. Once connected you will see your wallet is connected to the website.

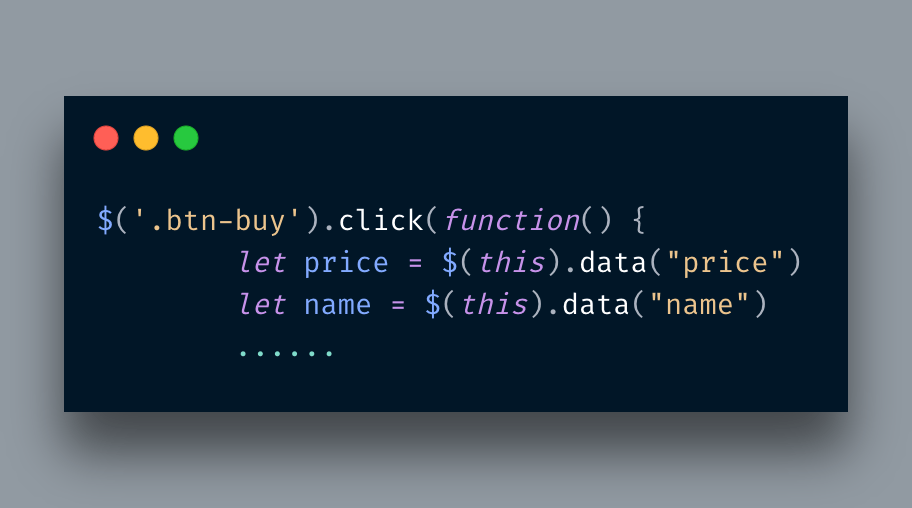
$(document).ready() function contains the code of detecting MetaMask and registering click event of the Buy Button. In the HTML I am using data attributes, data- to pass the required information.
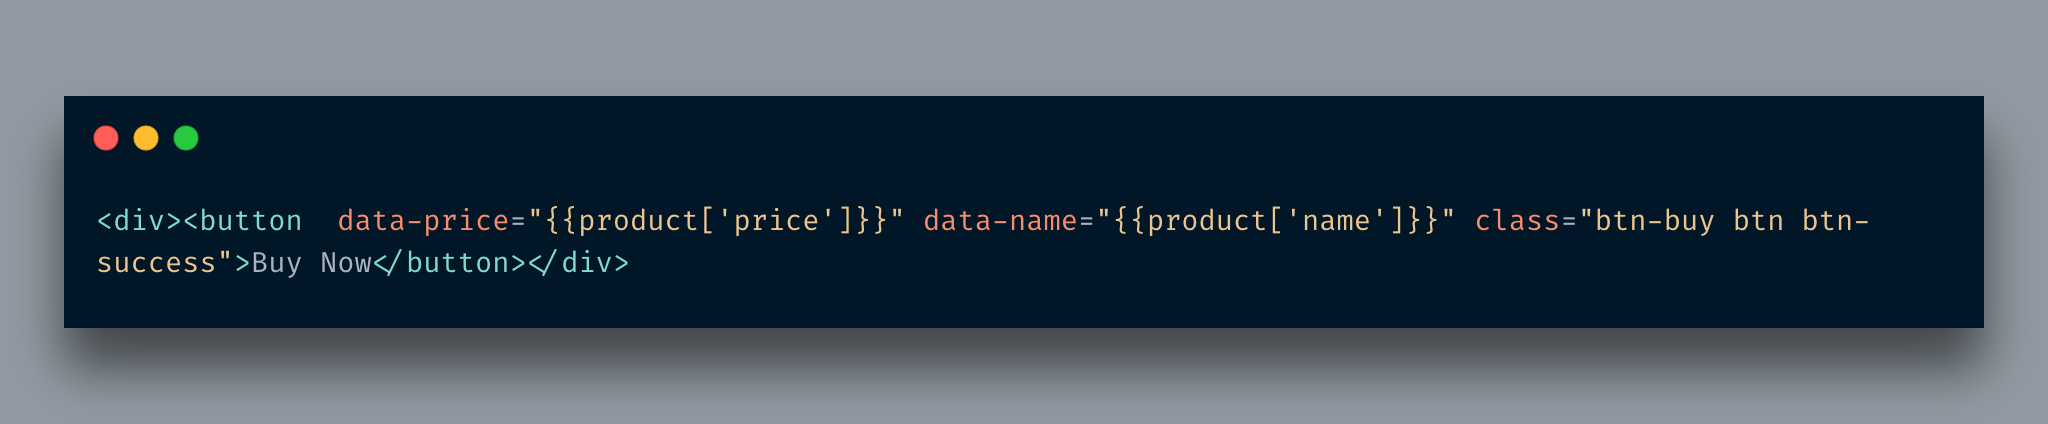
In Javascript, I am fetching these values on the click event via JQuery.
Next, I am using etjs-unit library to convert Eth to Wei.
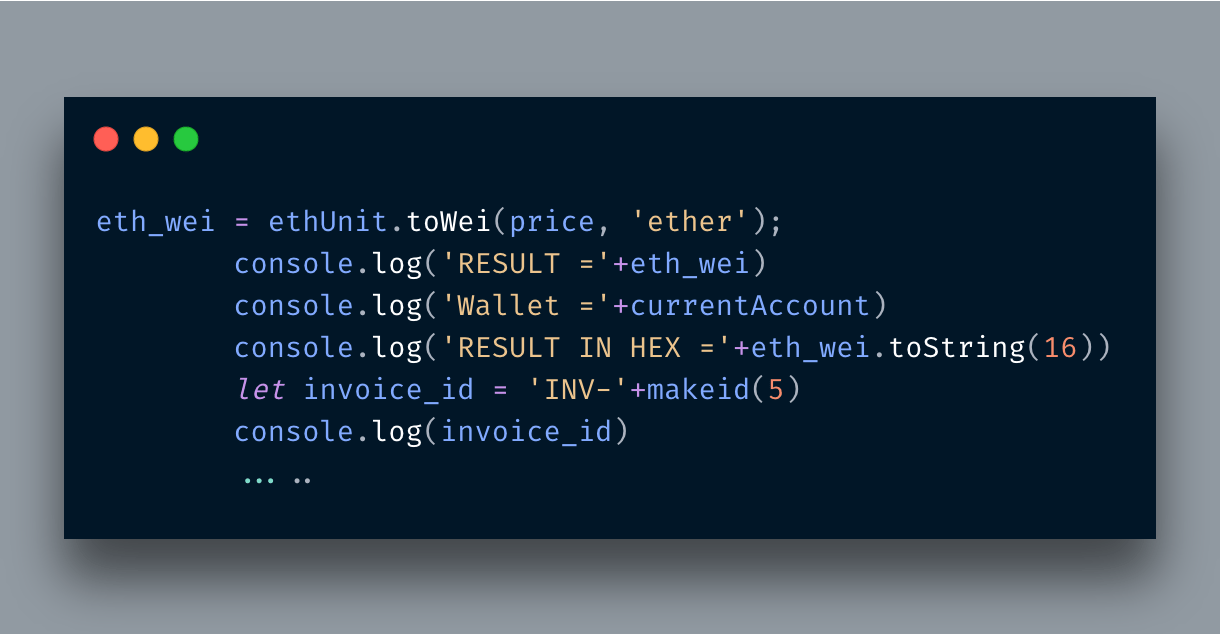
First I used ethUnit.toWei to convert a unit ether to Wei which is 10^18. Later I am converting it into Hex. I am doing it because the MetaMask transaction function needs all data in Hex. I am also generating an Invoice ID and passing that information with each transaction. It is very important as it will help you during the auditing.
Next, I am constructing a constant dict object that contains all information related to the transaction:
![]()
I have taken the code from the MetaMask documentation. You can set most of the parameters, some are available in the MetaMask interface and editable, for instance, the gas amount.
![]()
The promise above actually invokes the MetaMask interface. If you make a transaction then information like transaction hash is available for you.
![]()
The above screen was constructed due to the parameters you had set in the variable above.
![]()
The data parameter I set, in this case, invoice ID, is also stored here. When a transaction is successfully made, it is recorded in the blockchain, in this case, Ganache contains all the data(Note: the data you see below is from the previous transaction).
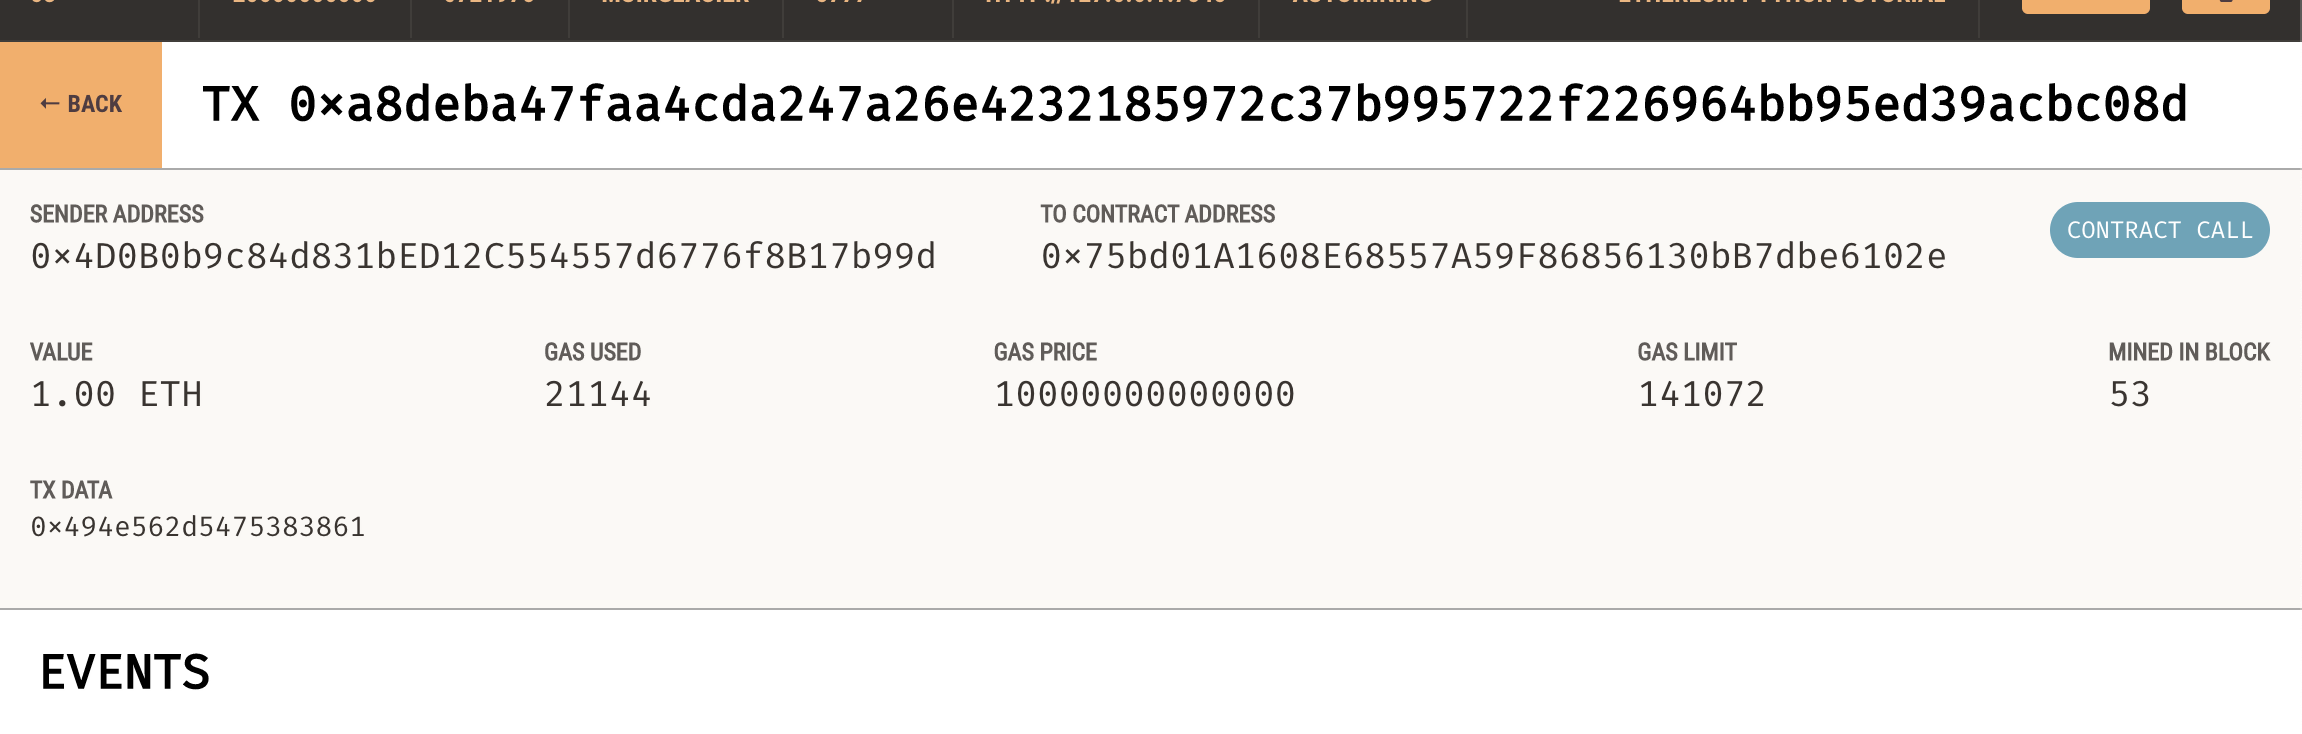
You can see Tx Hash, ETH Amount, Gash price and consumption, and TX Data, all information is given here. The amount from the customer wallet was transferred to the merchant wallet address. The customer can see all this information in the Order History.

Conclusion
As you can see, it is pretty straightforward to integrate Ethereum blockchain in your web e-commerce website and starts accepting payments. The code is available on Github.