Hello I am back after l00Ong time!! The next thing I am going to cover after AngularJS in LxD series is Laravel 5. I am specifically mentioning 5 because it has been released last month and Laravel 4 or L4 is already in use by various organizations and developers.
Laravel 5 has gone thru major overhaul. Beside change in directory structure. Specially it’s now following PSR-4 Autoloader and names-spacing strictly and this is one of the major reasons I picked L5 since it’s going to help learning PHP Standards for next projects.
Though I have worked pretty much on Laravel 4 but this series totally assumes that you never worked on Laravel in your life. So if this is your first time, Good Luck! If you are already a Laravel User then you can read Noman’s article about What’s new in Laravel 5?
I am going to create a Freelance Manager System; a system that will help freelancert o keep records of their clients and projects. As I mentioned here, this is not a tutorial series rather than online documentation of what I am going to learn so in posts you will find me getting stuck at some point or asking on Stackoverflow etc.
Ok! Without any further ado I am going to get into main thing. The first thing we have to do is to install Composer which is a dependency manager tool similar to Rails’ bundle or NodeJS’ npm.
Installing Composer
The following one-liner will install composer for you:
curl -sS https://getcomposer.org/installer | php
It assumes you have curl installed on your machine. If you don’t have curl installed you can do the following:
php -r "readfile('https://getcomposer.org/installer');" | php
You can learn about more options here.
Once composer is installed,you can run composer command on CLI and hit ENTER which should give you something similar:
  ______
  / ____/___  ____ ___  ____  ____  ________  _____
 / /   / __ \/ __ `__ \/ __ \/ __ \/ ___/ _ \/ ___/
/ /___/ /_/ / / / / / / /_/ / /_/ (__  )  __/ /
\____/\____/_/ /_/ /_/ .___/\____/____/\___/_/
                    /_/
Composer version 1.0-dev (833ce984264204e7d6576ab082660105c7d8f04c) 2015-02-17 21:55:44

Usage:
 [options] command [arguments]

Options:
 --help (-h)           Display this help message.
 --quiet (-q)          Do not output any message.
 --verbose (-v|vv|vvv) Increase the verbosity of messages: 1 for normal output, 2 for more verbose output and 3 for debug.
 --version (-V)        Display this application version.
 --ansi                Force ANSI output.
 --no-ansi             Disable ANSI output.
 --no-interaction (-n) Do not ask any interactive question.
 --profile             Display timing and memory usage information
 --working-dir (-d)    If specified, use the given directory as working directory.
If you see it, pat your back as you successfully installed composer tool.
Installing Laravel
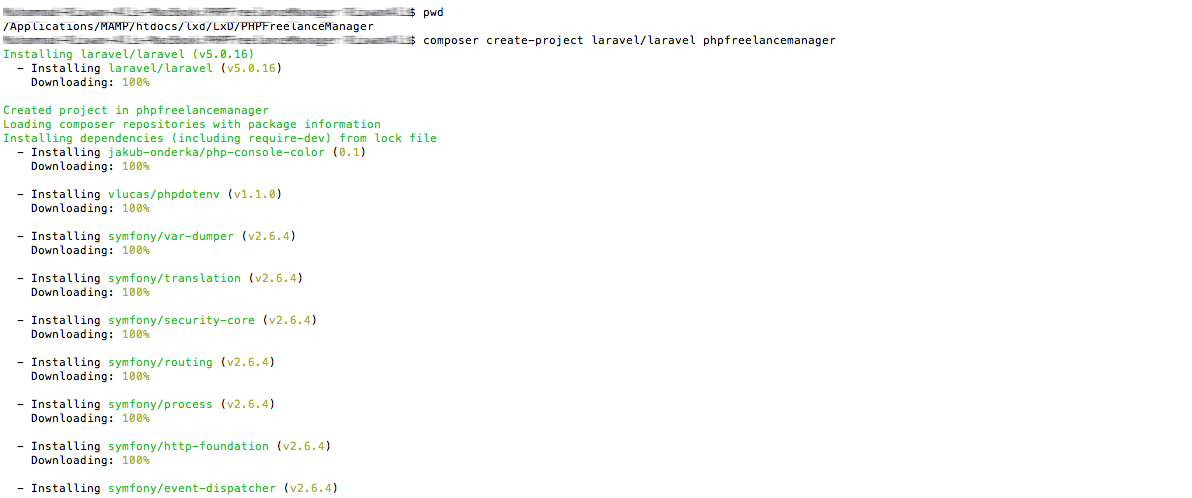
There are multiple ways to install Laravel as mentioned here. You can also download released zip file from Github. I am rather preferring to opt for using Composer since it’s not only going to download things automatically on my desired folder but it’s also not letting me to install global laravel installer which I don’t want to. I am using following composer command to download Laravel 5.x as well as creating a new project:
composer create-project laravel/laravel phpfreelancemanager
It takes a while and then should see dependencies and laravel itself being downloaded.
So what it does? We created a new Laravel Project, named as phpfreelancemanager, once all downloaded you should see a folder named phpfreelancemanager.
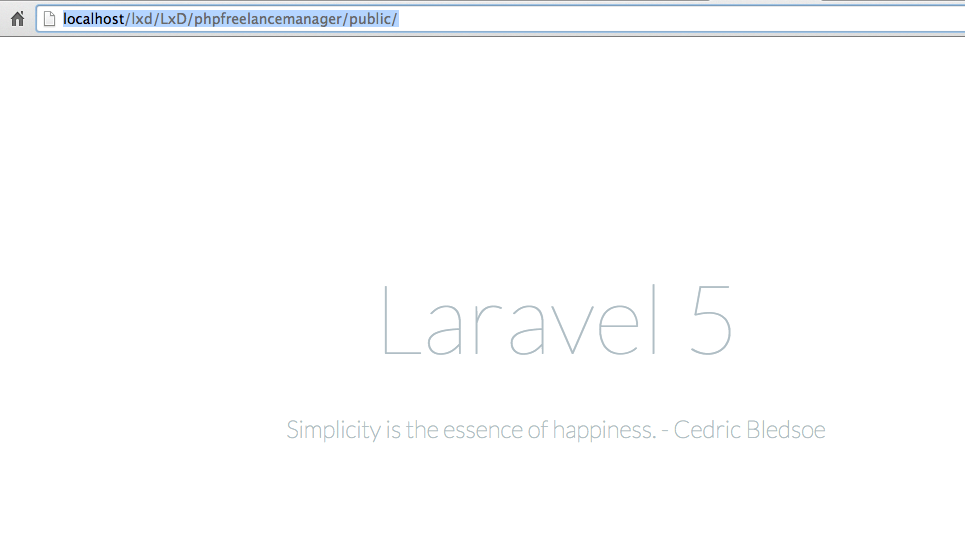
Alright! We want to check our installation. Start your web server. I am on Mac and using MAMP. You can use WAMP or even builtin webserver shipped with PHP > 5.3 I guess?
If successfully installed, we should see this simple yet beautiful landing page.
But wait! Did you notice public folder in the URL? It does not look good if we are going to deploy it on production servers. There are multipe ways to remove it; setting up a VHost which is pointing directly to public folder, adding an .htaccess entry. What I am going to do which I should not recommend is to make path changes in Laravel framework itself and moving index.php from public/ to root folder of Laravel. Once done that, do following changes in recently moved index.php file
Change
require __DIR__.'/../bootstrap/autoload.php';
to
require __DIR__.'/bootstrap/autoload.php';
and then
$app = require_once __DIR__.'/../bootstrap/app.php';
to
$app = require_once __DIR__.'/bootstrap/app.php';
and if if all goes well we should see similar screen after visiting: http://localhost/lxd/LxD/phpfreelancemanager/
That’s it for now. We will continue our journey to create our first Laravel 5 based app. As always, give your feedback and comments either on this blog or via email.


